Shoot Film Like a Boss
Latest YouTube Video
Latest Post
Recent Posts
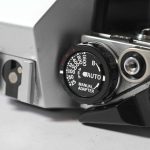
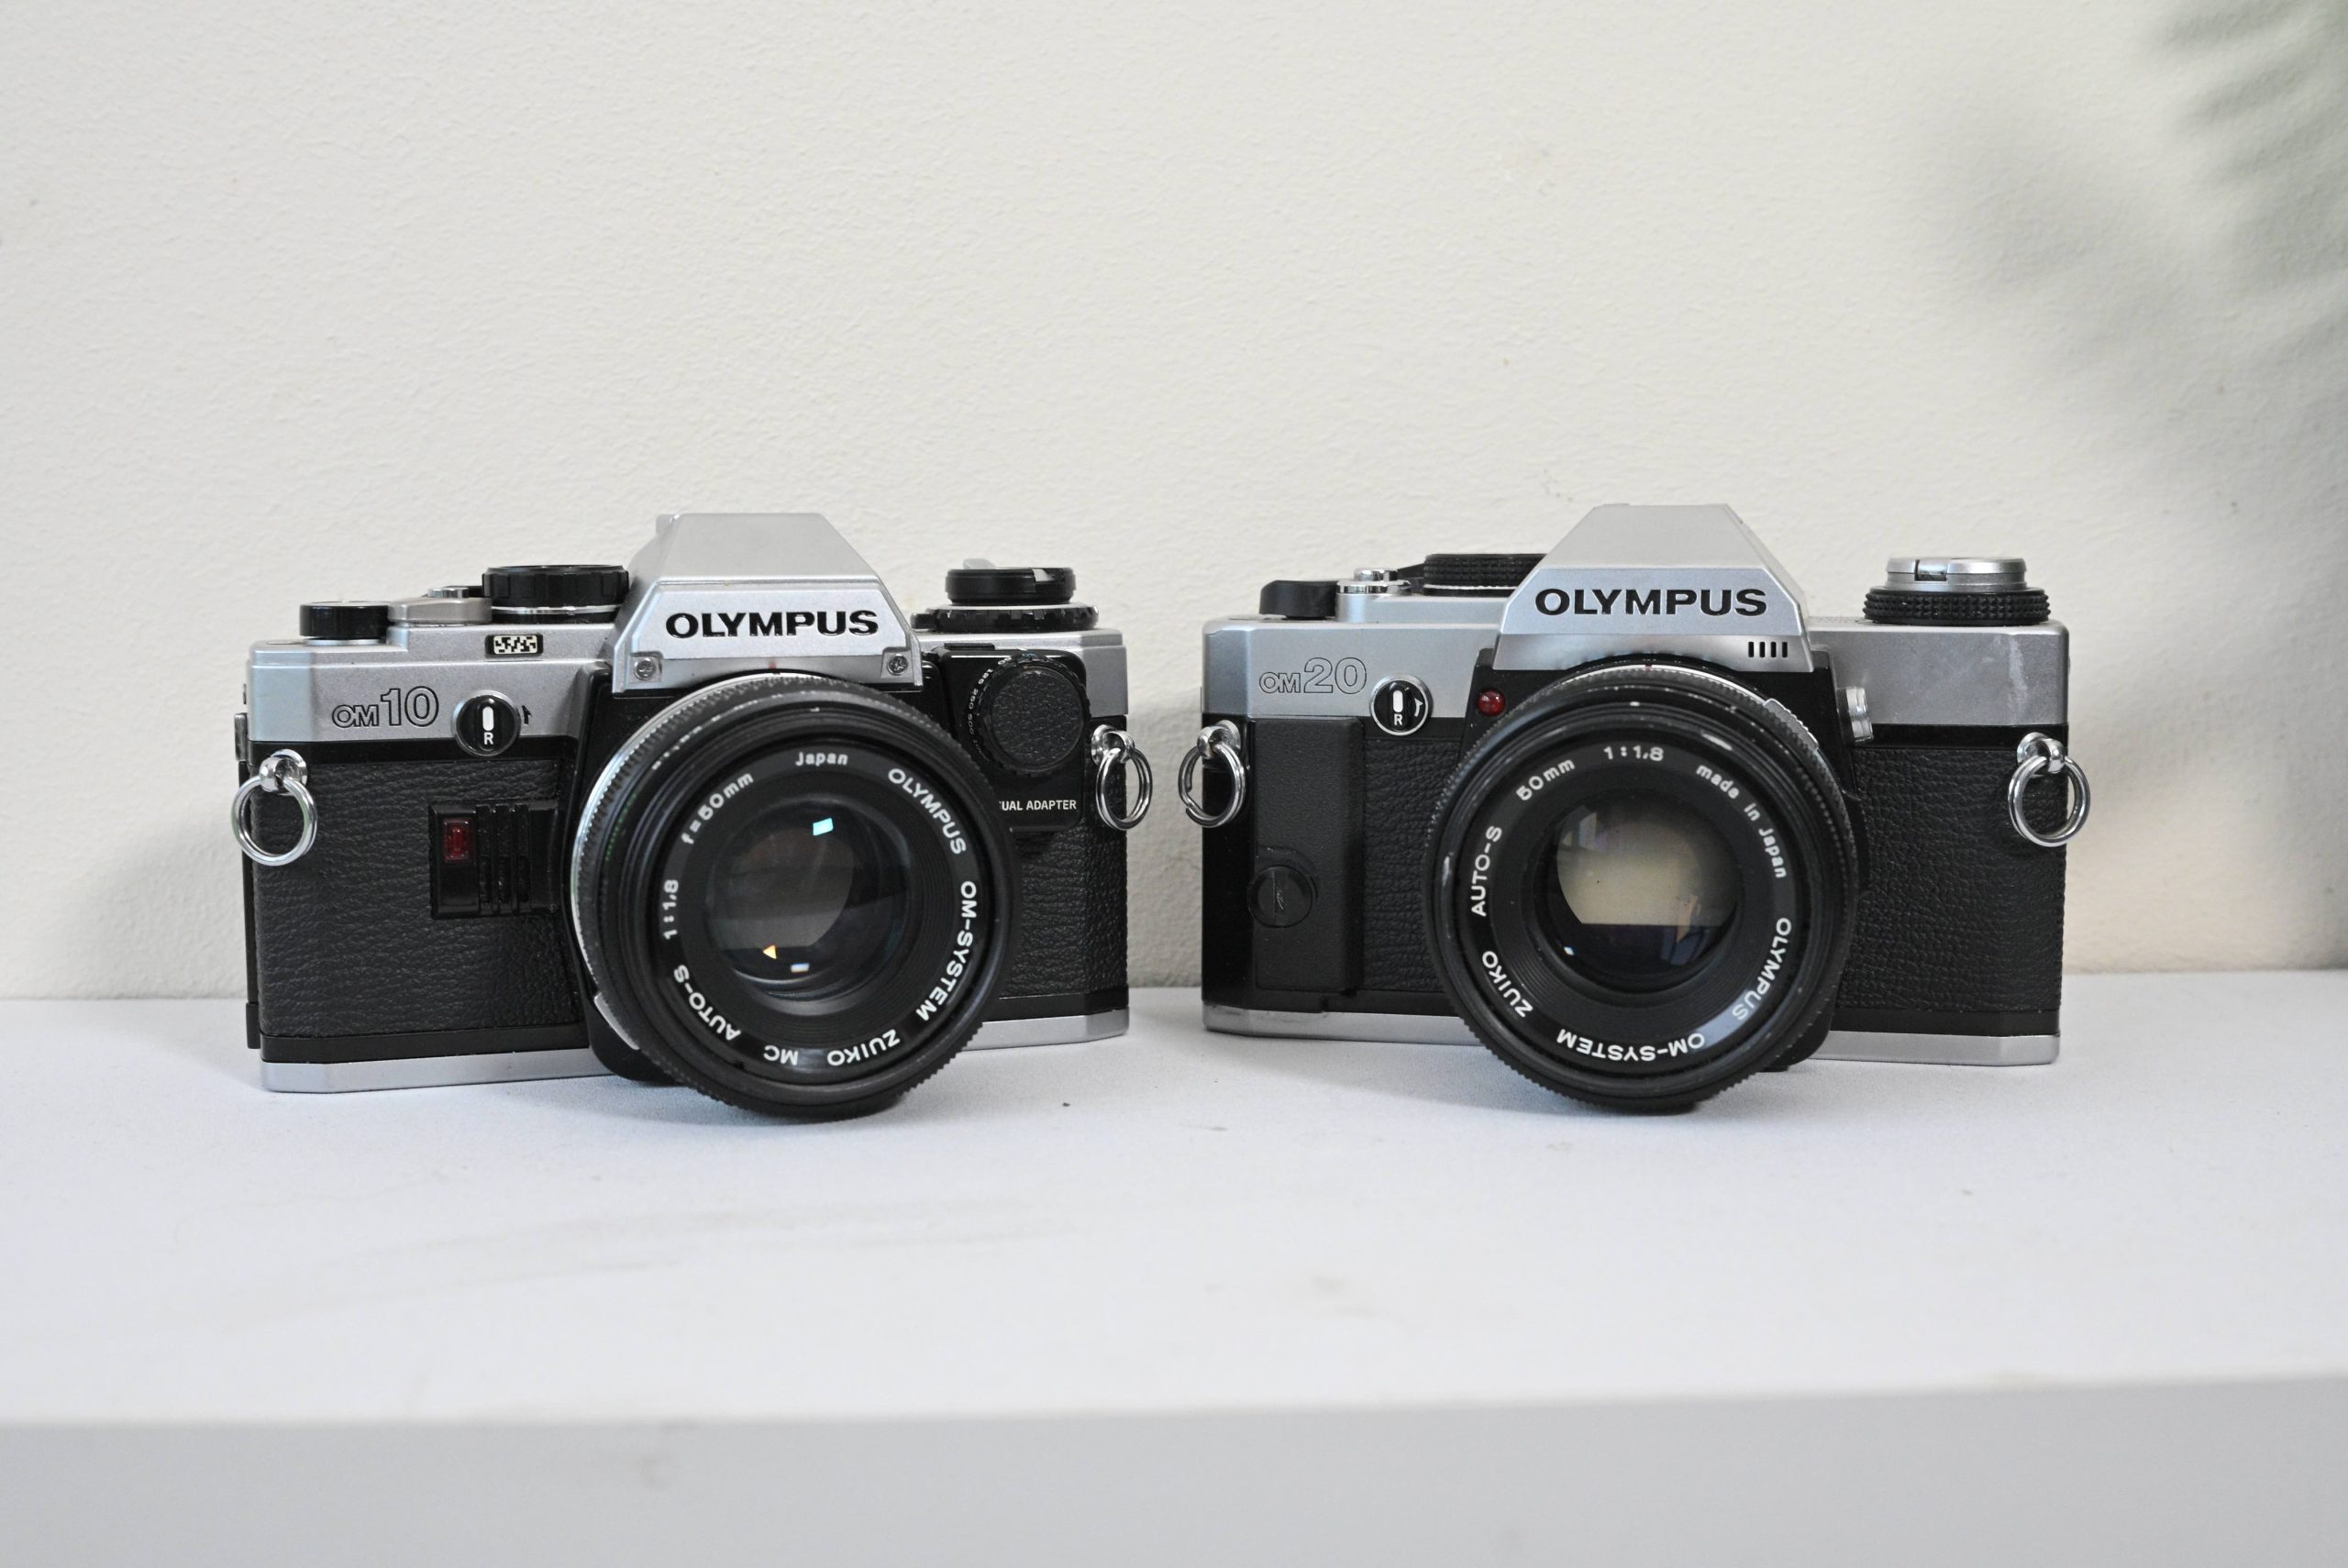
- The Olympus OM-10: The People’s SLR (1979)
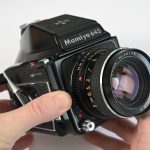
- Mamiya 645 1000s
- New Waist Level Viewfinder by ChinoTechs
- Panoramic Photography with Lomography Horizon Camera
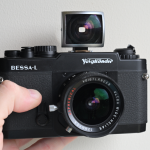
- Voigtlander Bessa L with 12mm Lens