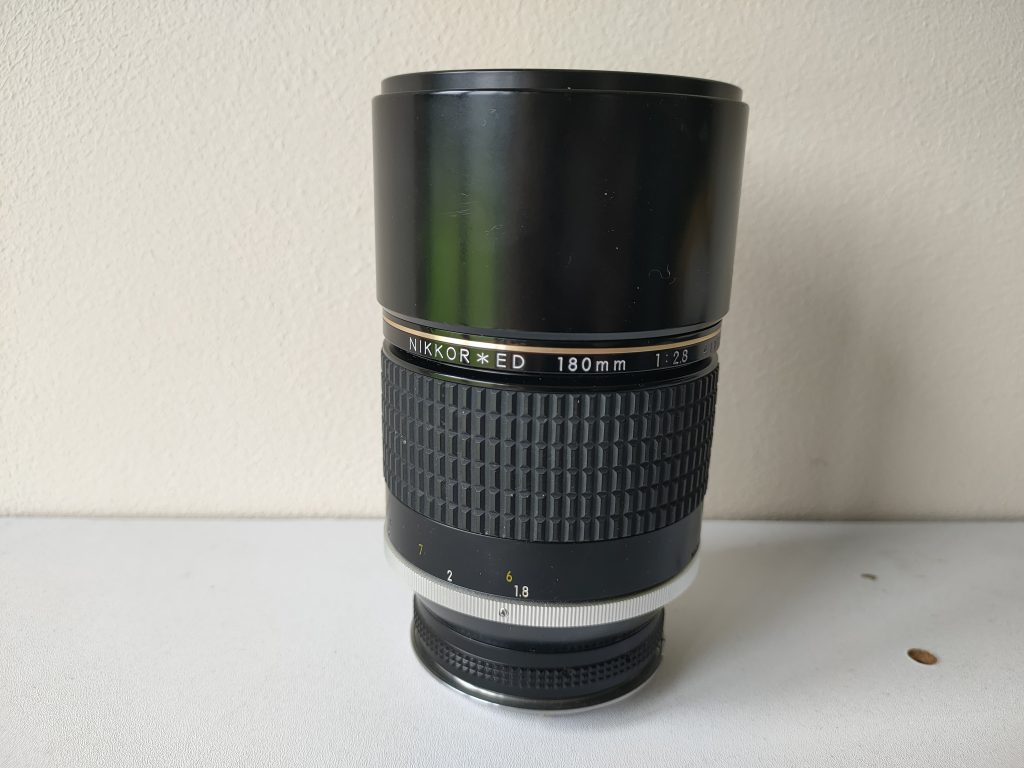
Nikon 180mm NIKKOR ED F2.8
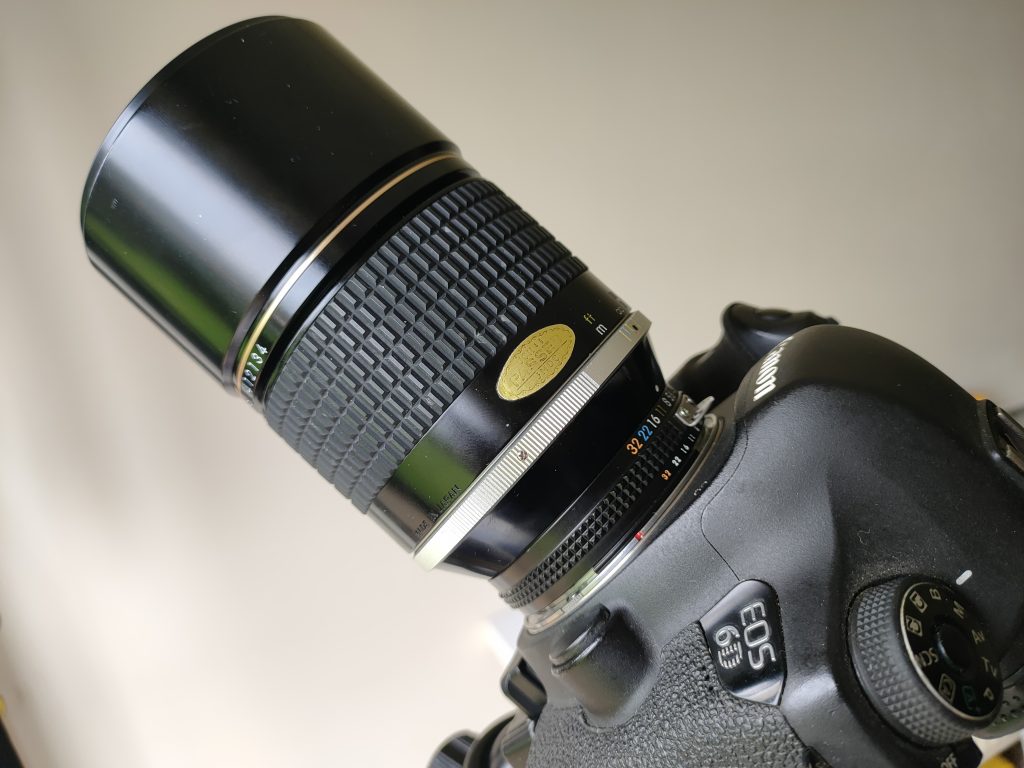
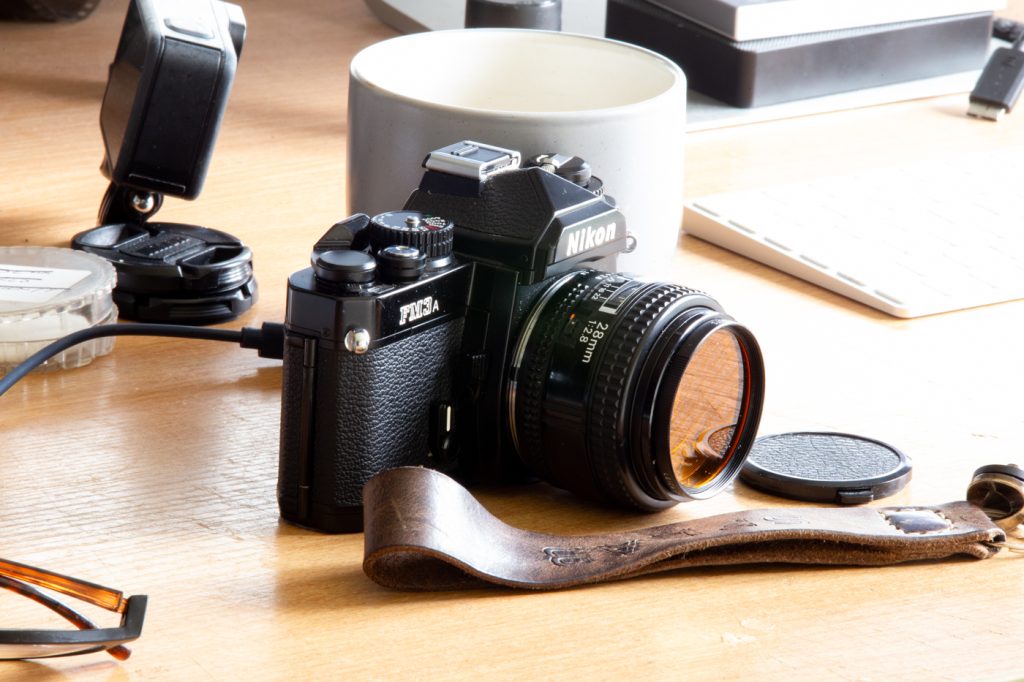
This is the Nikon 180mm F2.8 AIS ED F2.8 Lens from the 80s I recently got and I wanted to do a quick test using my DSLR to find its sweet aperture spot! Here I am looking at sharpness and Chromatic Aberrations. I went through all the apertures on a simple scene near window light.
Watch the Video!
Full Frame (My focus spot was the 28mm lettering on the lens)
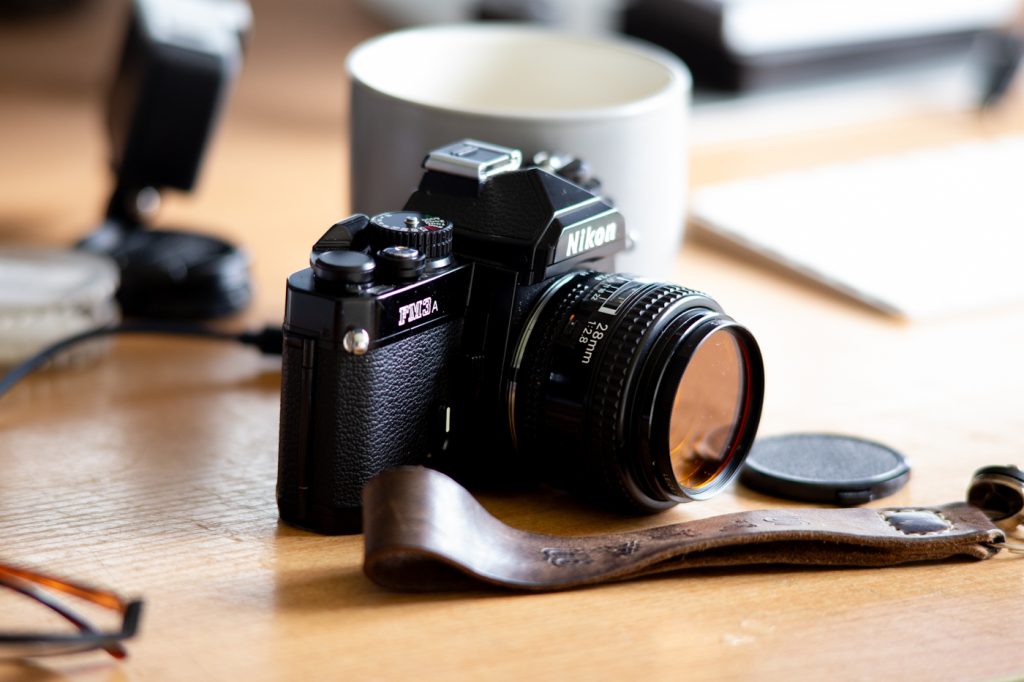
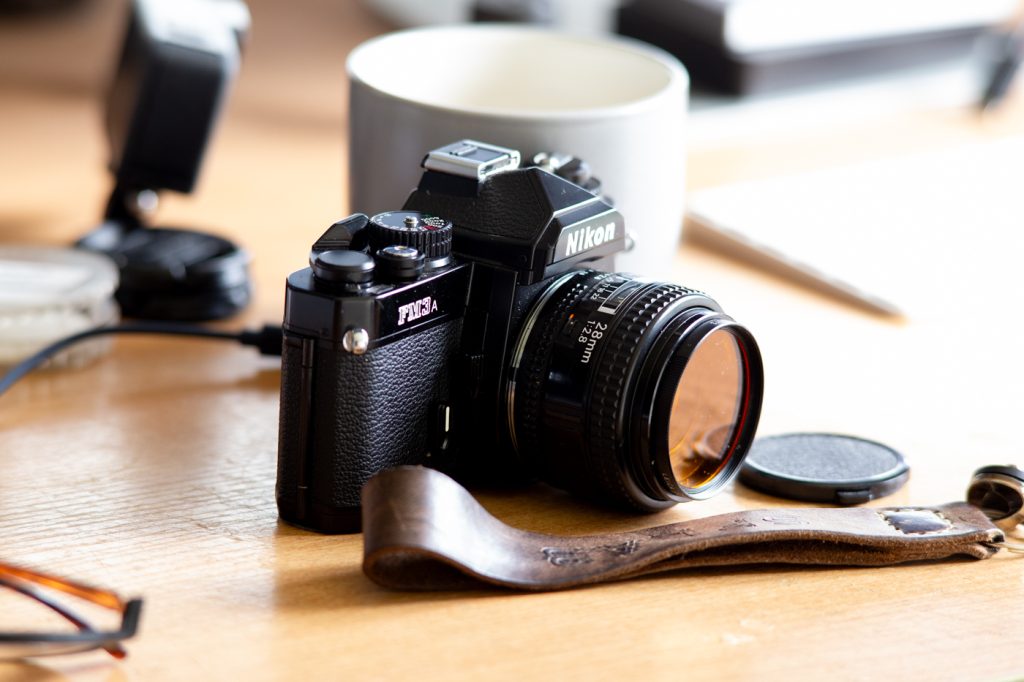
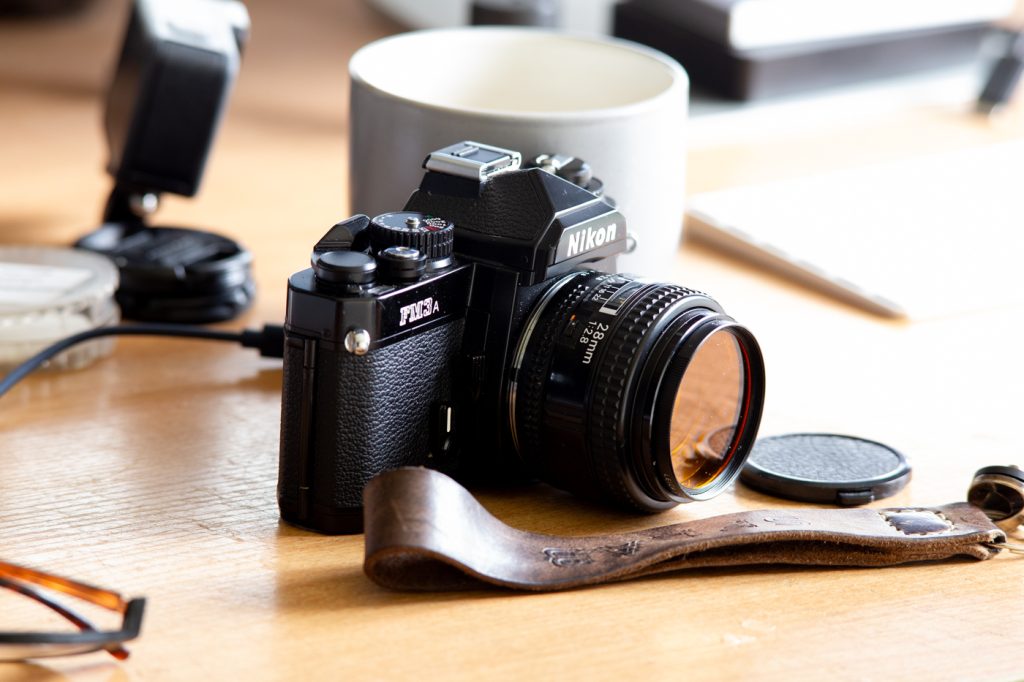
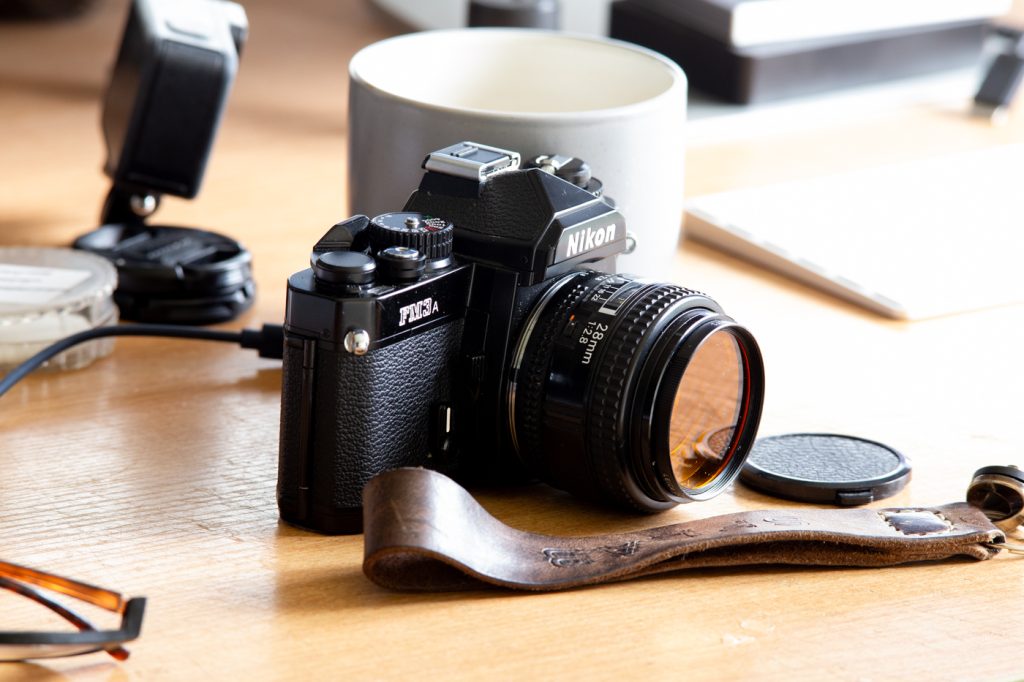
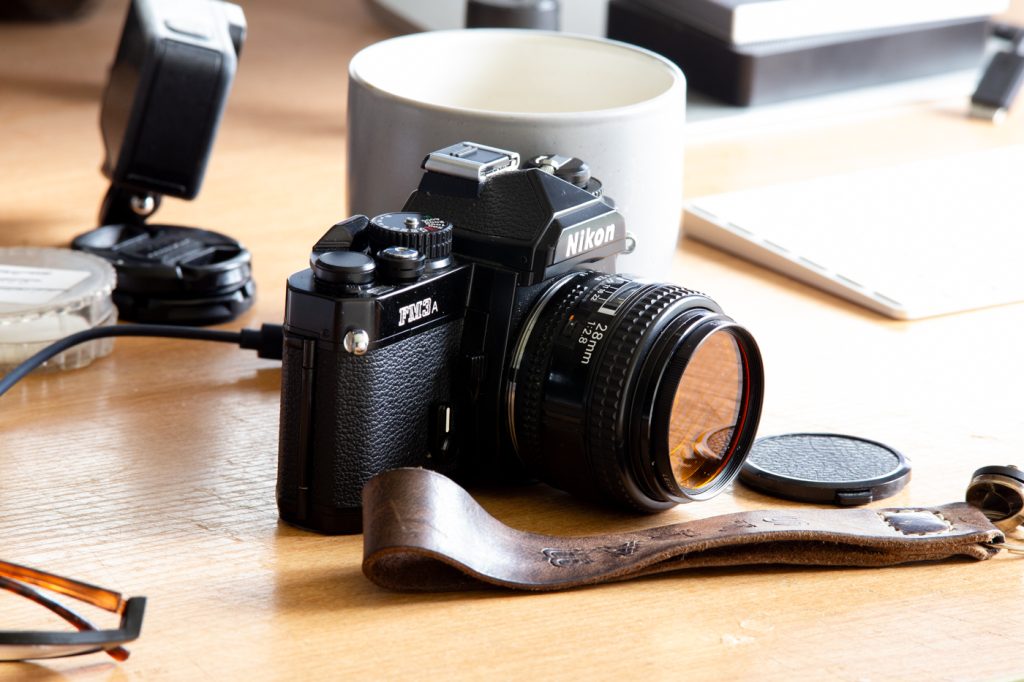
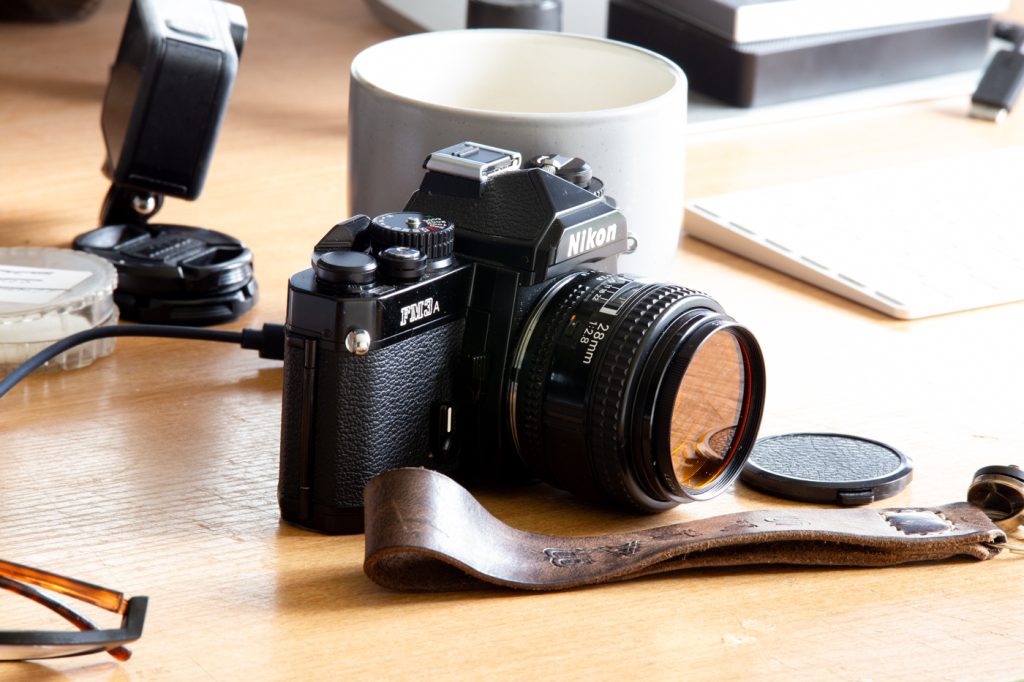
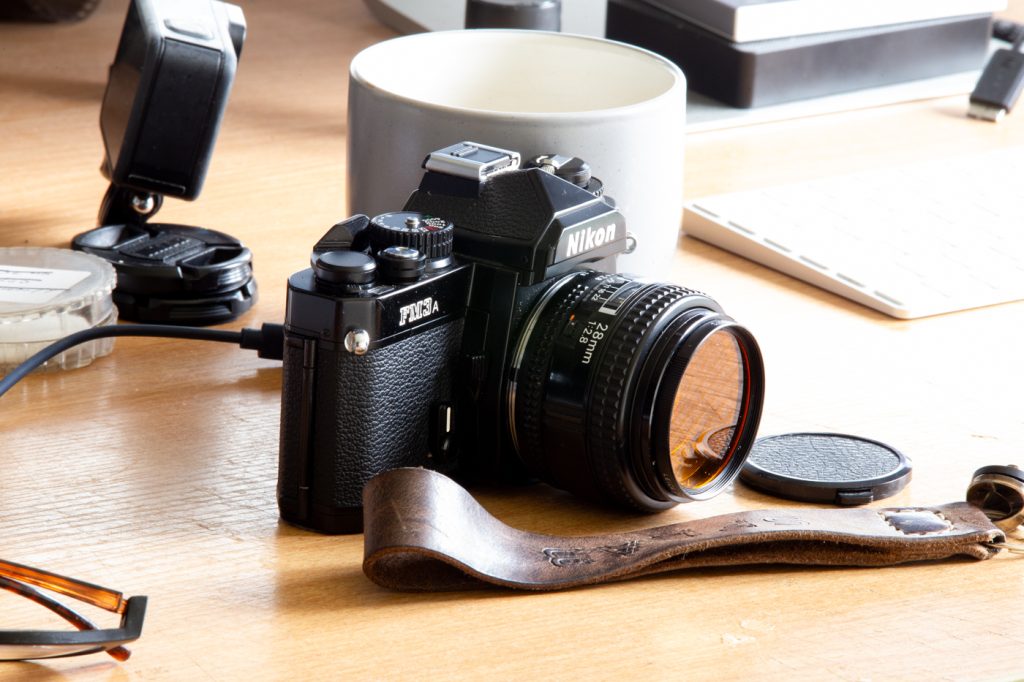
32
Sweet Spot
Normally a Lenses “Sweet Spot” is 2 stops down from its widest aperture. In this case f/5.6.
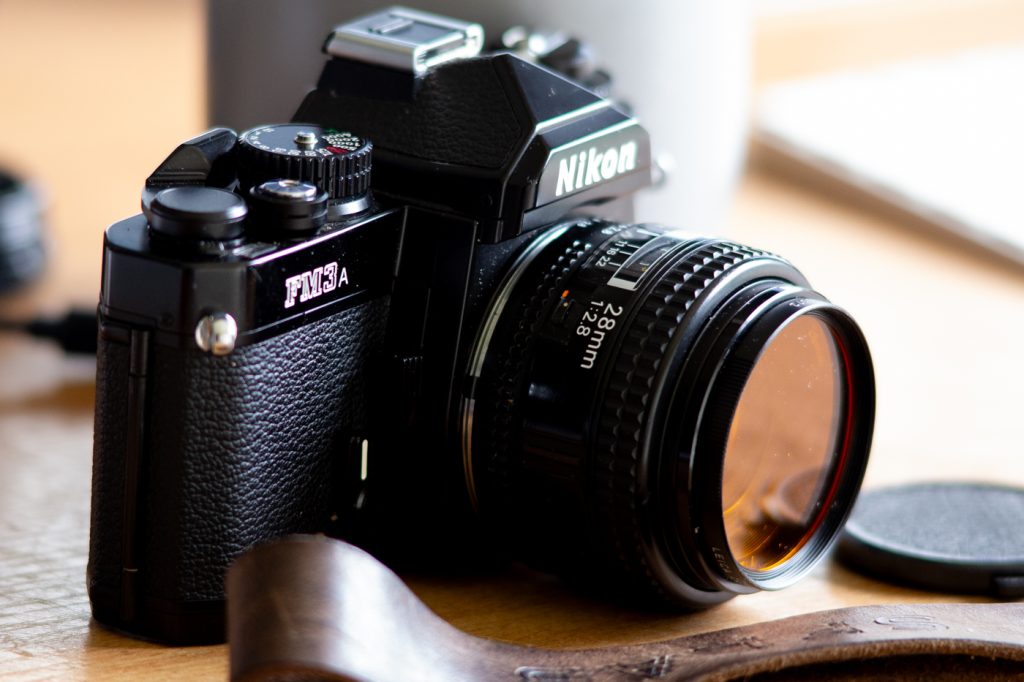
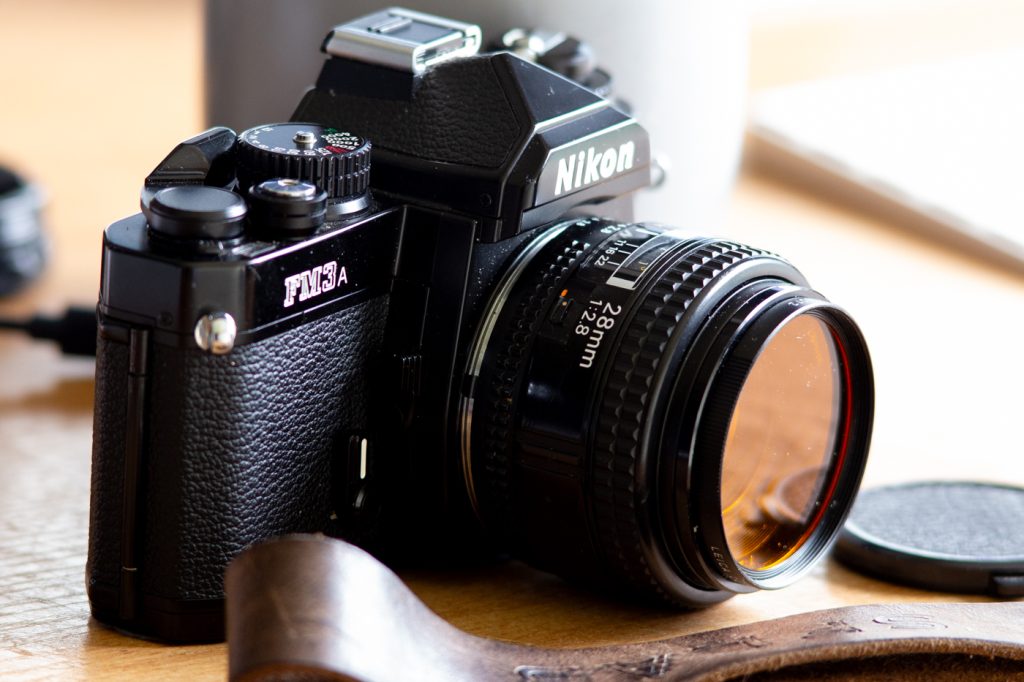
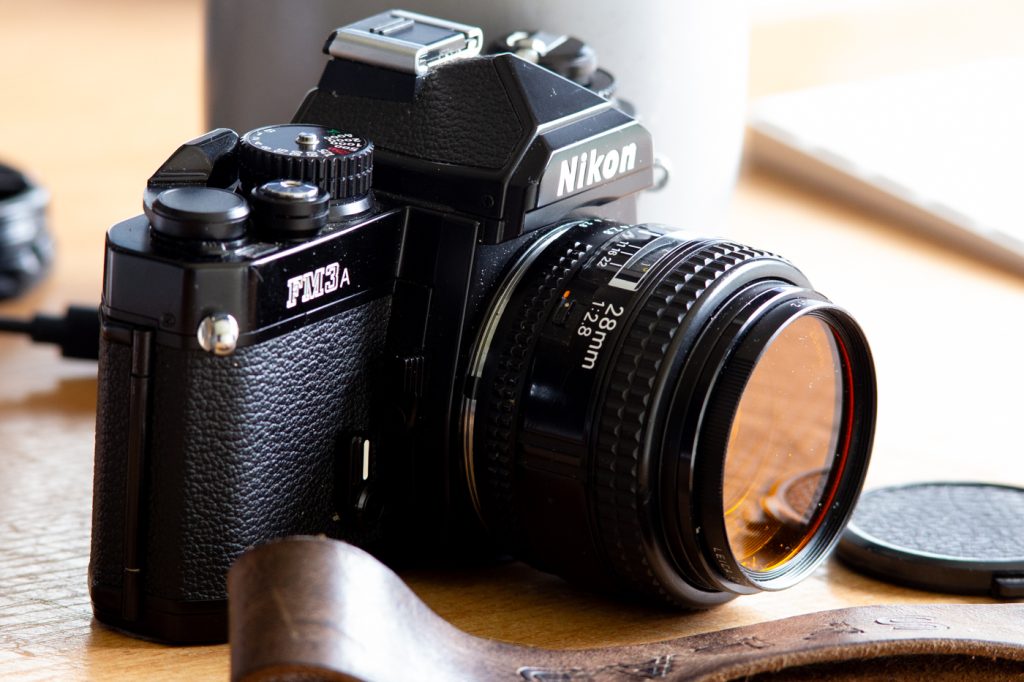
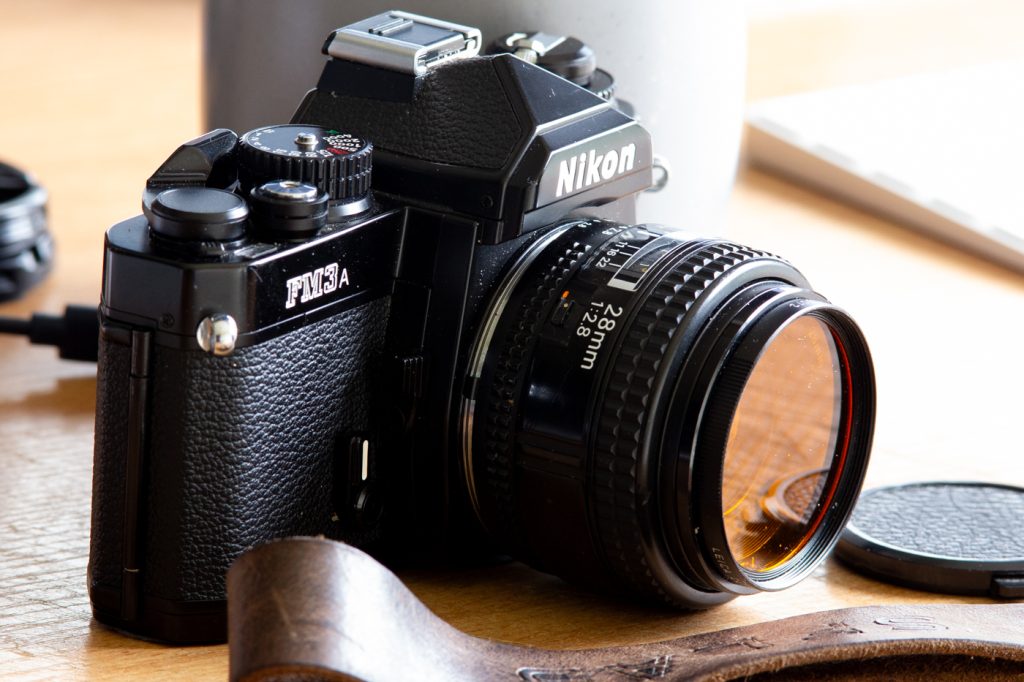
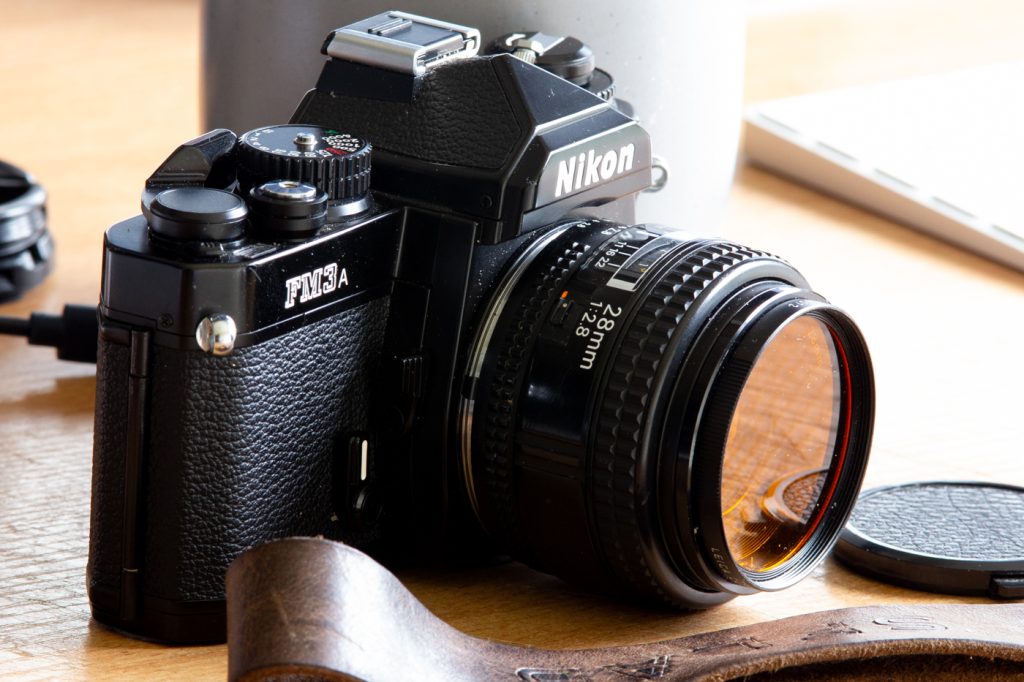
So for me this lens is best at f/8 at the closest focus distance.
Chromatic Aberrations.
Nikon say “Chromatic aberration is a phenomenon in which light rays passing through a lens focus at different points, depending on their wavelength.”
You can see it in these images real close. Like a purple edging.
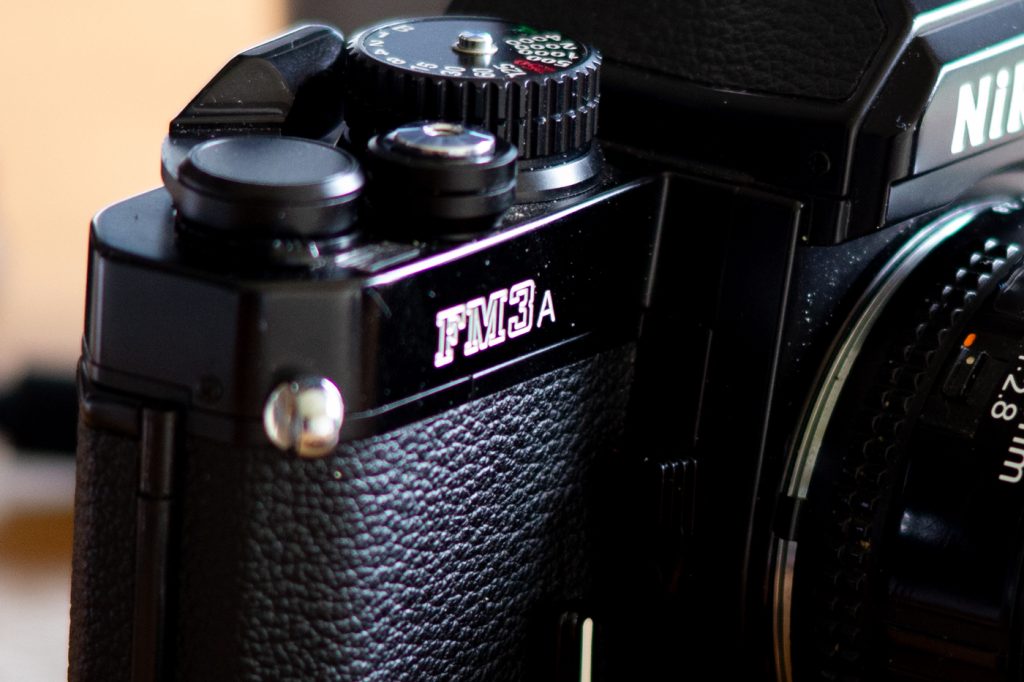
f/2.8. You can see the purple banding on the FM3a logo and the strap clip and also along the top plate.
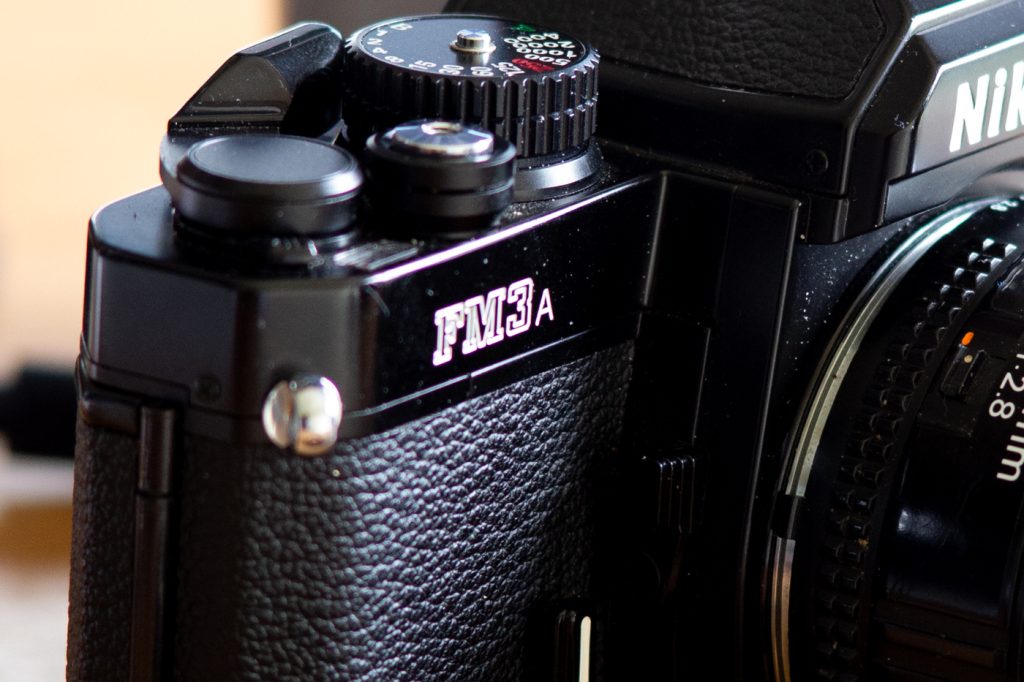
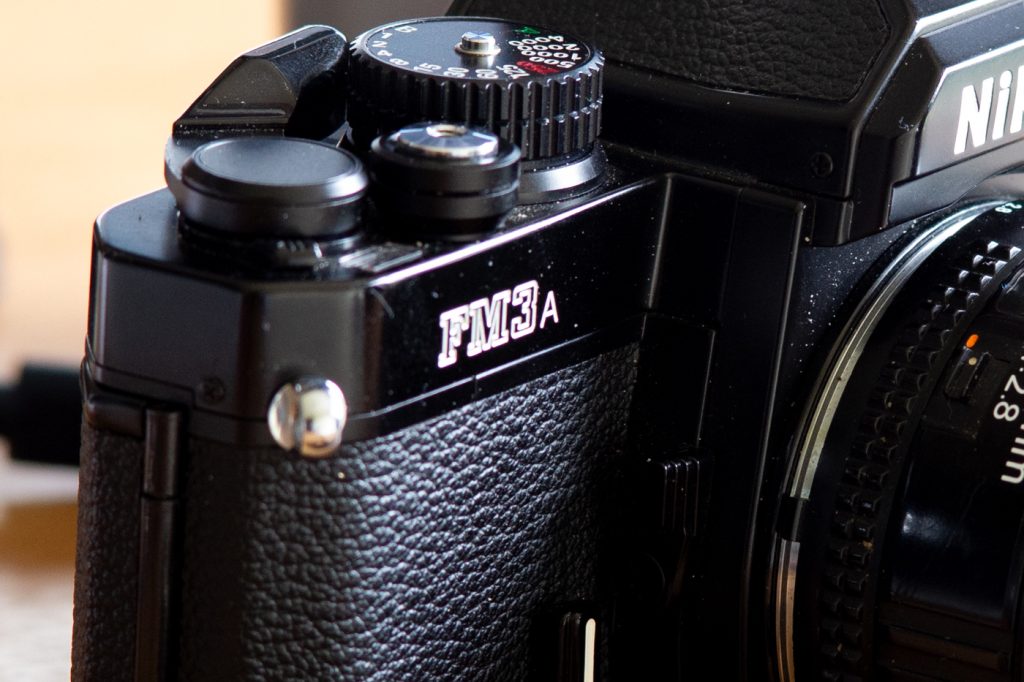
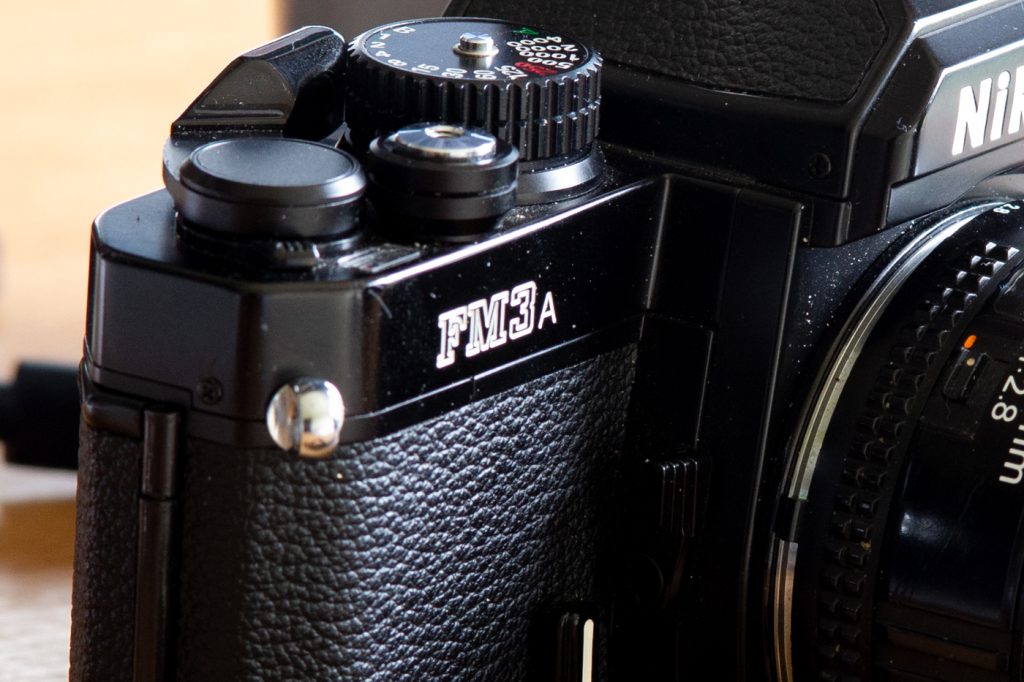
So I would definitely say my sweet spot for this lens and camera is f/8. And I shall remember this for using this lens on other cameras knowing safe that I can still shoot F/5.6 with still quality results.
Even at f/2.8 and f4 were good.
Fomapan 200 rush
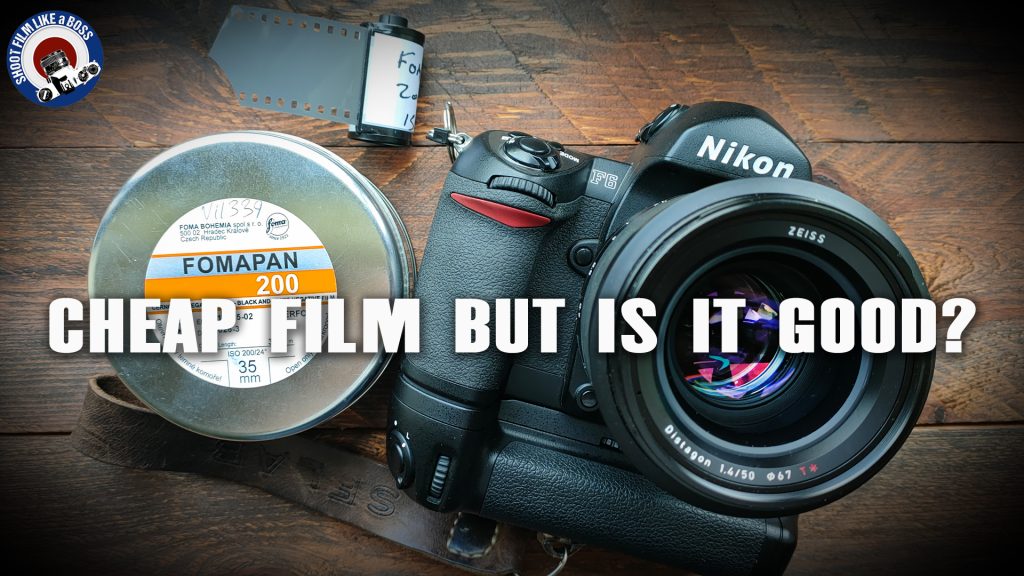
As prices of film, chemicals and paper continue to increase for us film lovers I thought I would see how Fomapan 200 grabs me by buying a 100ft tin of the stuff! Thats going to give me enough role to experiment with to see if I like it enough for a go to film. And with loading the cassettes myself I can decide how many shots per roll I want to shoot. I’m loading on average 20-25 exposures per cassette.
I did make a video about a year ago on the Fomapan 200 where I got good results but when my brick ran out I continued on with my favourite films.
The developer I am trying to settle in with is my own made D23. It’s a bit like Kodak D76 but it has no Hydroquinone or Borax. Just two chemicals. Sodium Sulphite and Metol. Easy to make!
I settled on shooting the Fomapan 200 at 100 and 7 minutes development time in a rotary processor at 1 part to 1 part and at 20°. I’m not pulling the film. I’m just giving it a bit more exposure.
I recently made another video where I took Photographs of a Corn Field using the Nikon F6 and a Zeiss Milvus 50mm f1.4 Lens. And the results were not great! Mainly because the film I handled bad and I had a scratch all the way along. Probably from scanning or maybe the cassette had a bit of grit inside. But, onwards and upwards.
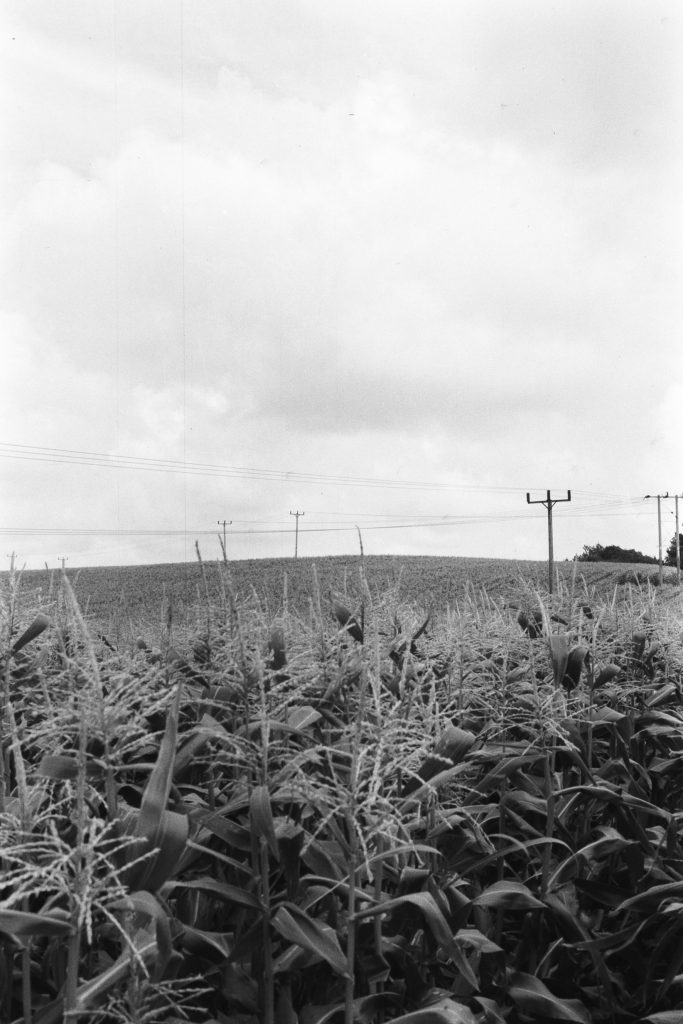
The above was developed for 6 minutes which is when I thought I could add another minute to the development for a bit more punch. I like contrast!
So on my second attempt I went back to the Cornfield. This time with a Nikon FM3A and a 28mm lens. I also packed an Orange, a Red and a Polariser Filter. And this time I developed for 7 minutes.
The conditions were much better with nice blue sky and fluffy clouds. Ideal for the filters. The above was with an Orange Filter.
I was happy with these results which took me into the darkroom for prints.
My next shoot I wanted to try some street (people) photography so I doodled along to the local “Pride” event which was a great day full of happy people and good entertainment. The best part about taking pictures at events where people are usually dressed to impress is that you don’t get questioned why. You can just take pics and people are happy for you to do so.
This time I took the Leica MP with a 50mm Voigtlander f2 APO lens. And I used the same development, however, I shot the film at 200! It was a bright day.
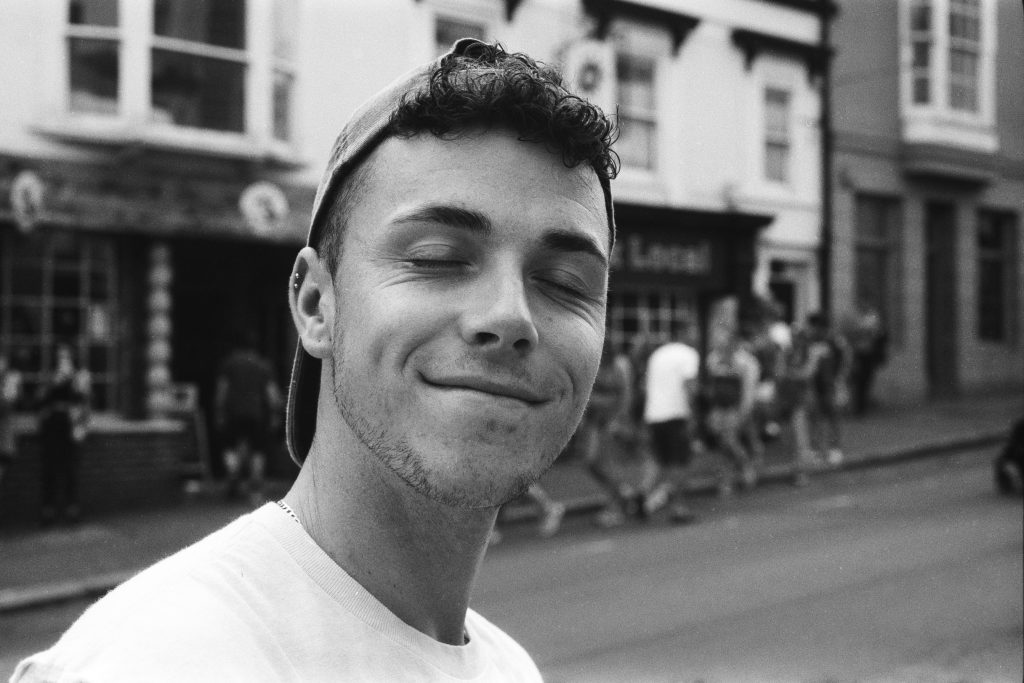
The contrast in this image I like! And the grain is there but it’s not awful. Its nice.
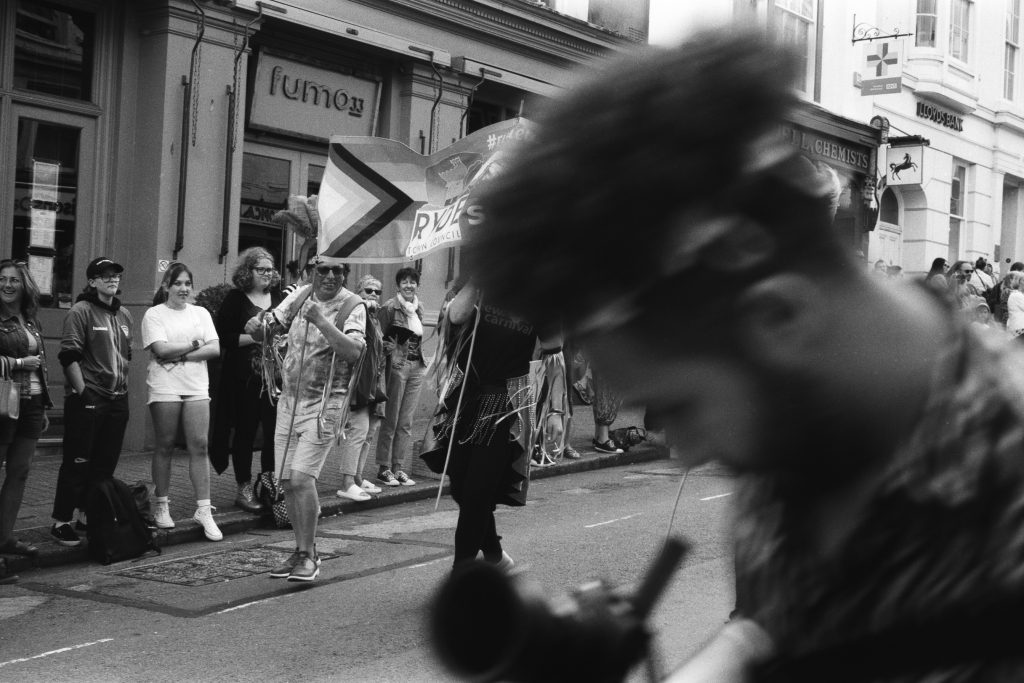
The moment another Photographer walked into my shot. Looks cool though!
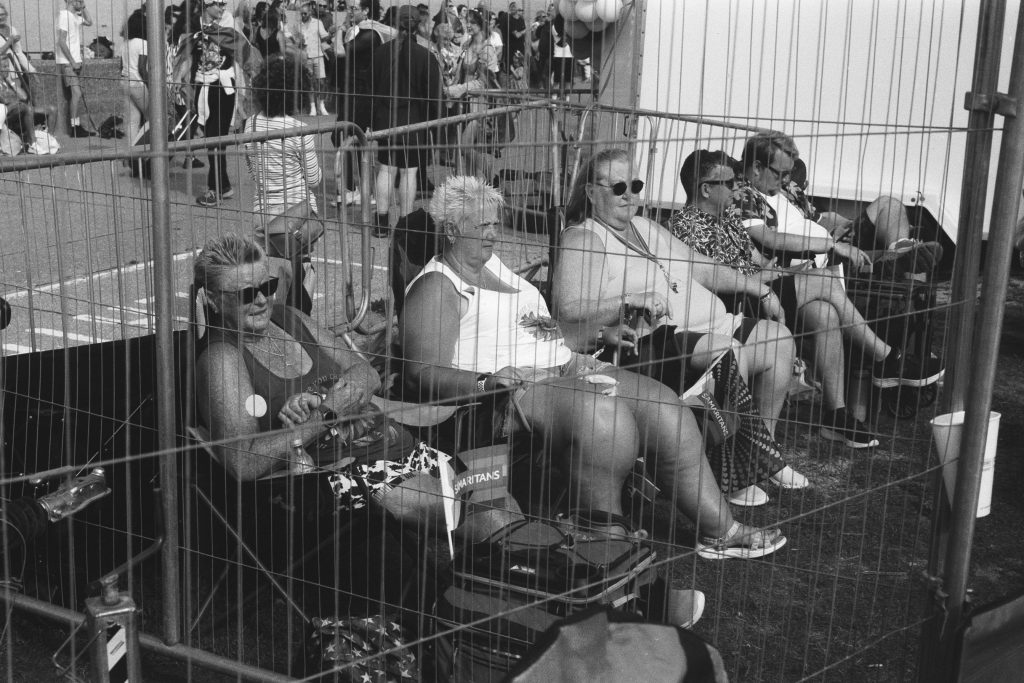
Showing through the fence for effect.
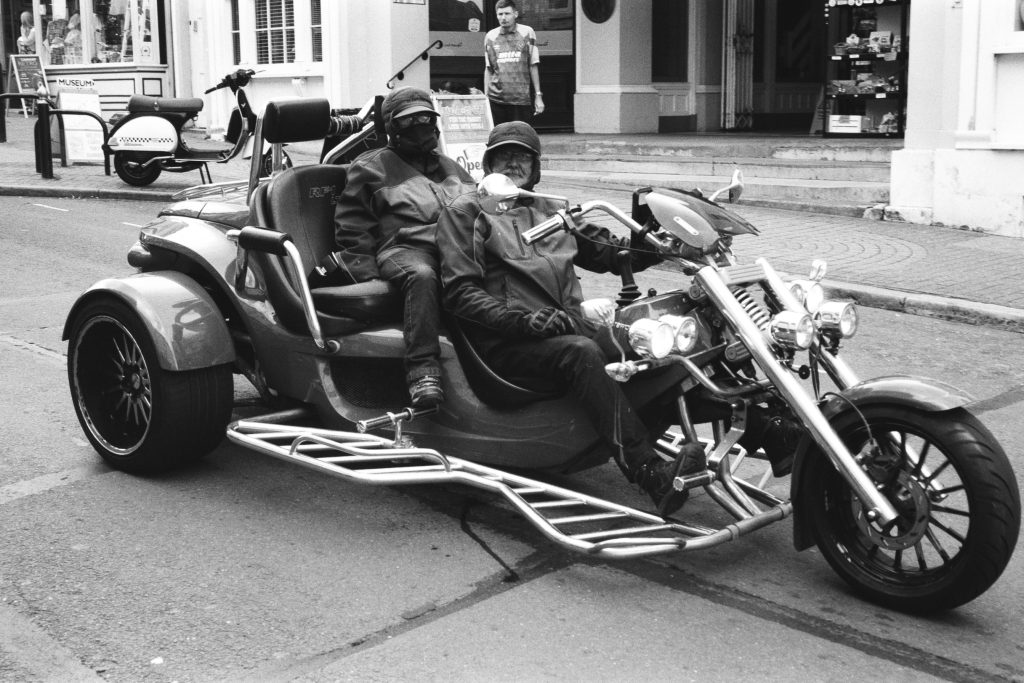
A loud trike!
I also had with me the Rollei 35LED camera. With this camera I developed the exposures in Rodinal at 1:50 and used the Rotation Processor for 7 minutes. I found these images to show more grain and a tad less contrast.
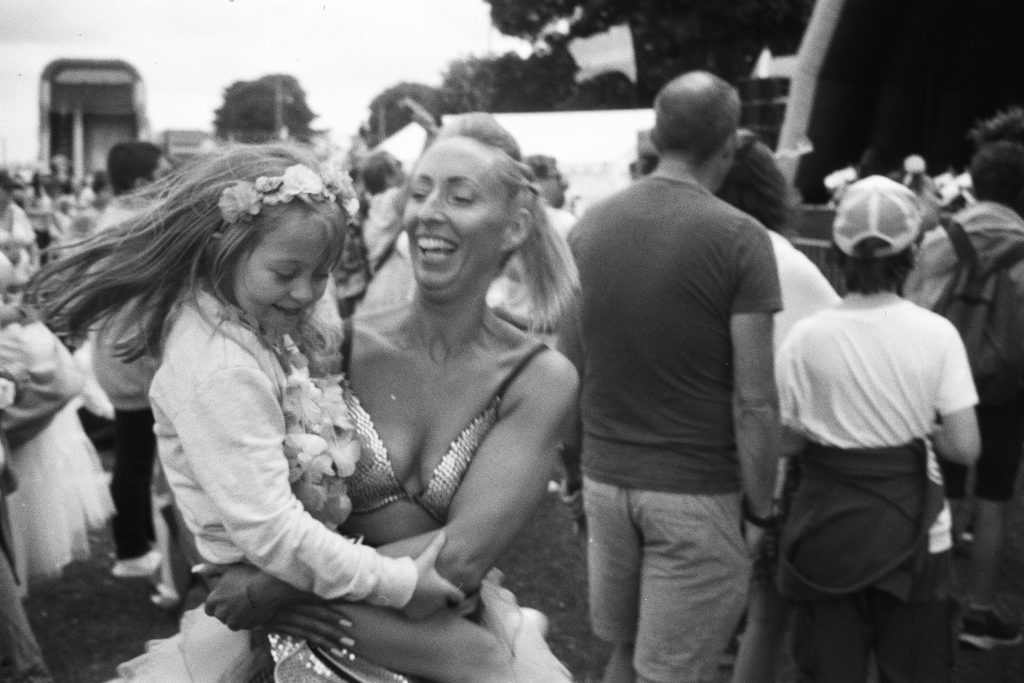
A mother swinging her child around.
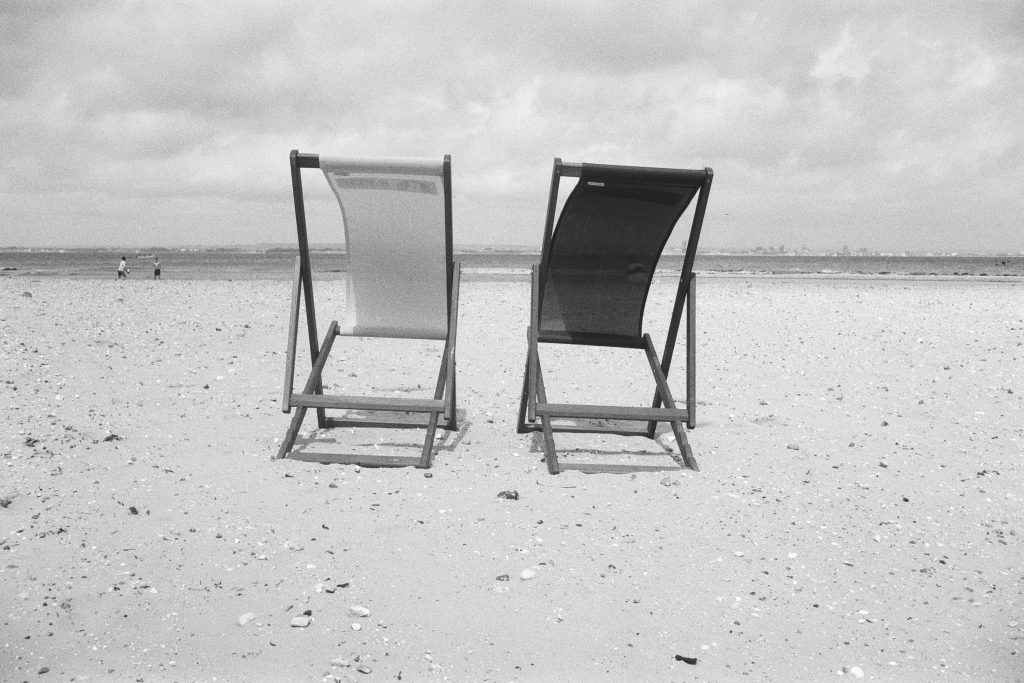
A random photo I took of these Deck Chairs on the beach.
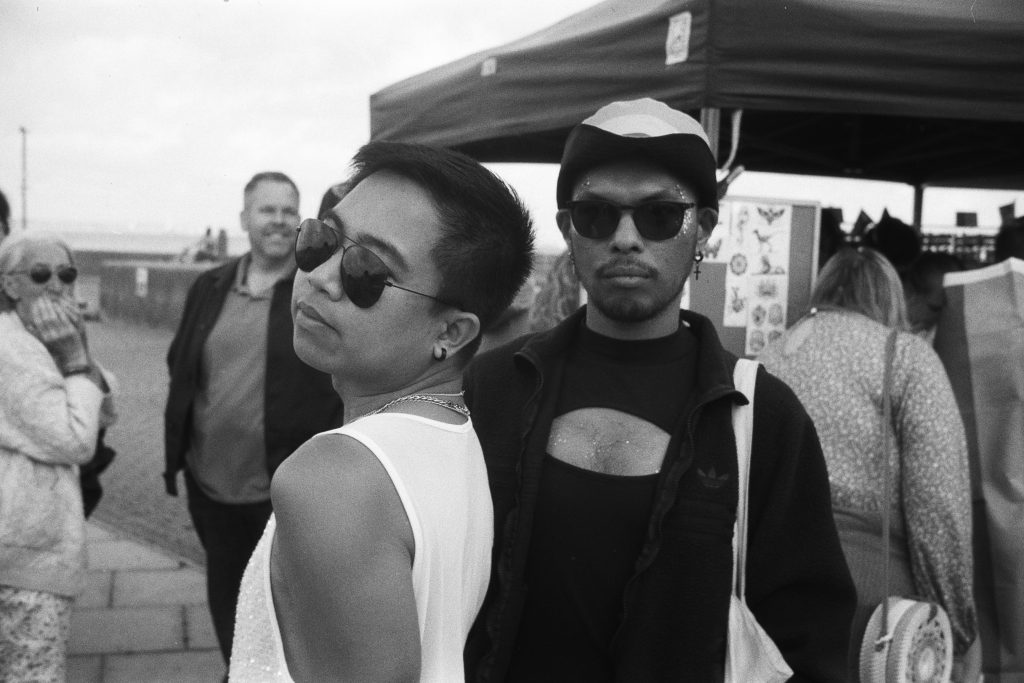
A couple posing for me. The women in the background!
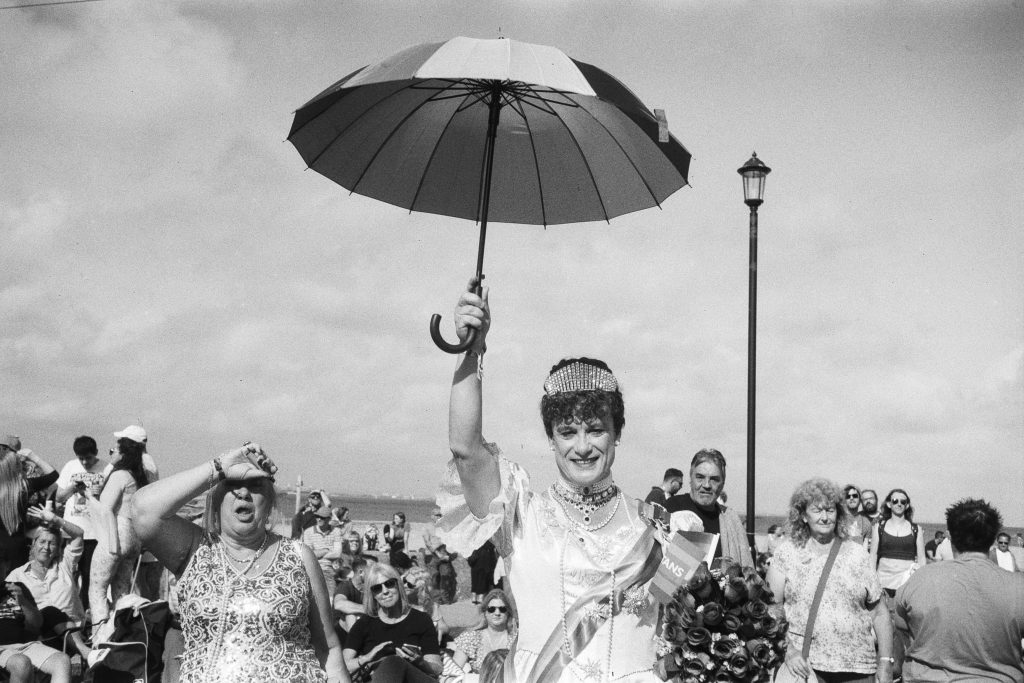
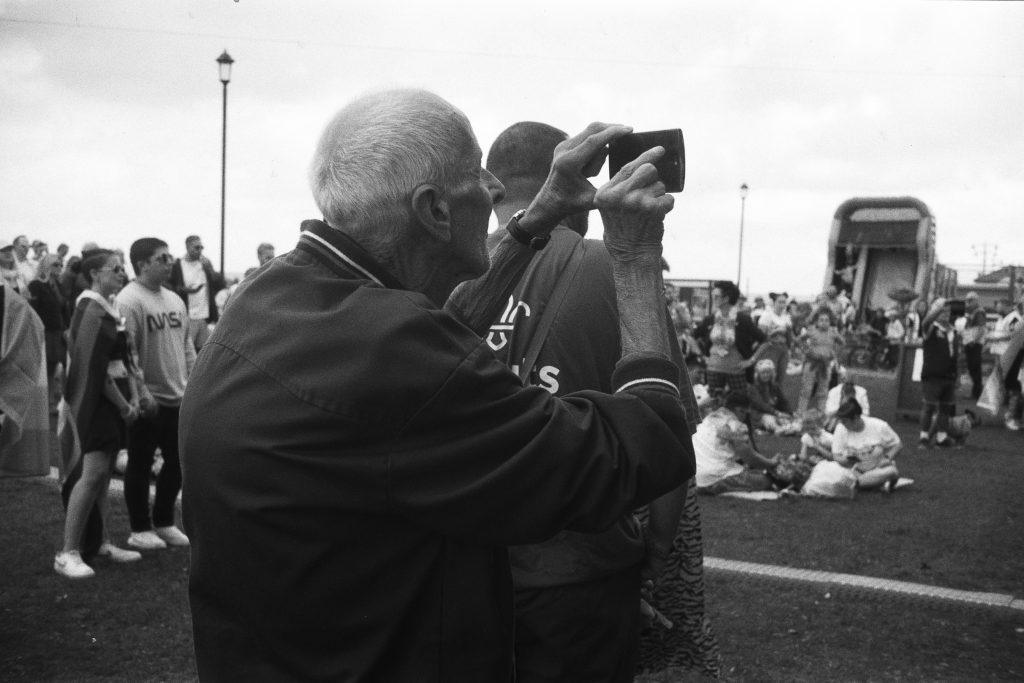
All of these images turned out well and are easily printable in the darkroom.
So far I am happy with the Fomapan 200, as long as I handle it with care for the soft emulsion is easily scratched! Of course it is not on the same par as Kodak Tmax 100 or Ilford FP4 / Delta but it is a cheaper film especially if you are buying in a tin!
You can see the video from the Pride Event here.
dubblefilm Daily 400
What on earth is this film?
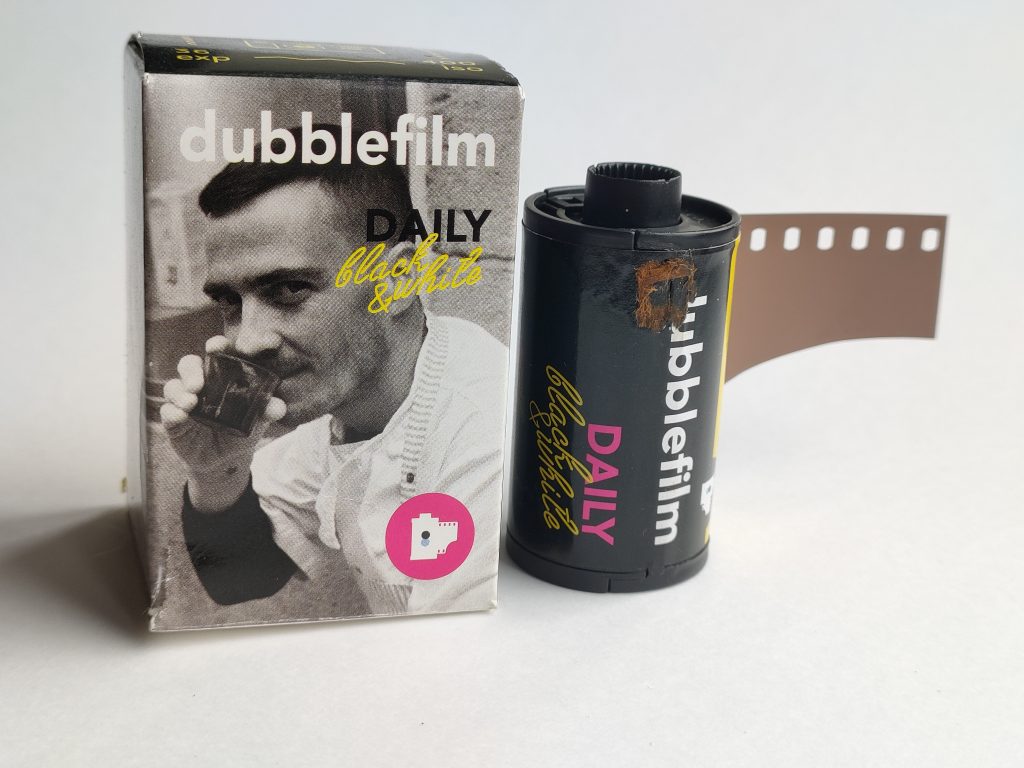
I was sent this roll of 35mm film to play with by Keith Sharples, who is an SFLaB follower on Instagram.
Keith had already sent me some sample images that he got with this film and with so many variables to shooting and developing film I thought I would give it a go.
What is that guy doing on the box? Drinking coffee? Sniffing a sample of some substance? He looks a bit shifty!
dubblefilm
It is produced by a company in Barcelona called, wait for it… dubblefilm. If you look at their website they produce a variety of weird and whacky films in Black & White and Colour too. Who knows where they get the film stocks from, but no doubt they are finding them from somewhere in large quantities and rolling them up for us to have fun with. And the price isn’t bad either with this film I am playing with around £7 a roll of 36 exposures.
My Shoot
So, what did I do? I shot the s**t out of this roll rating the film at 200 ASA with my Leica MP, a 50mm Voigtlander APO lens and then I developed the film in 510 Pyro at 1:100 at 22° using my Rotary machine because I can be a lazy git sometimes. I developed for 13 minutes in the Pyro.
Why did I rate it at 200 and not shoot box at 400? Well, I had a feeling it was some sort of surveillance film and in my experience that are contrasty!
There was no times for the 510 Pyro so I winged it and used Fomapan 400 times which recommended 17 minutes but I took some time away for rotary processing. Looking at the leader of the film after developing I think I could have taken another minute or so away but all in all the negs came out looking nice.
So, here are some of the photographs I took.
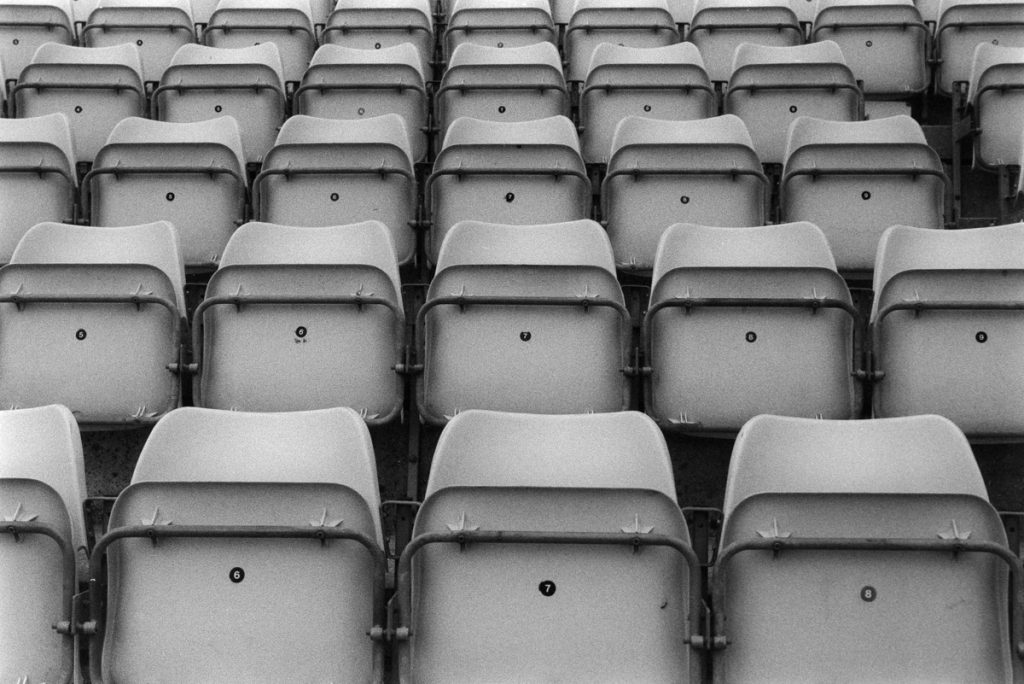
This was a Cricket Stadium on a dull day. Even in the Pyro the grain is very noticeable and we have some nice tones going on, although this scene doesn’t stretch the dynamic range.
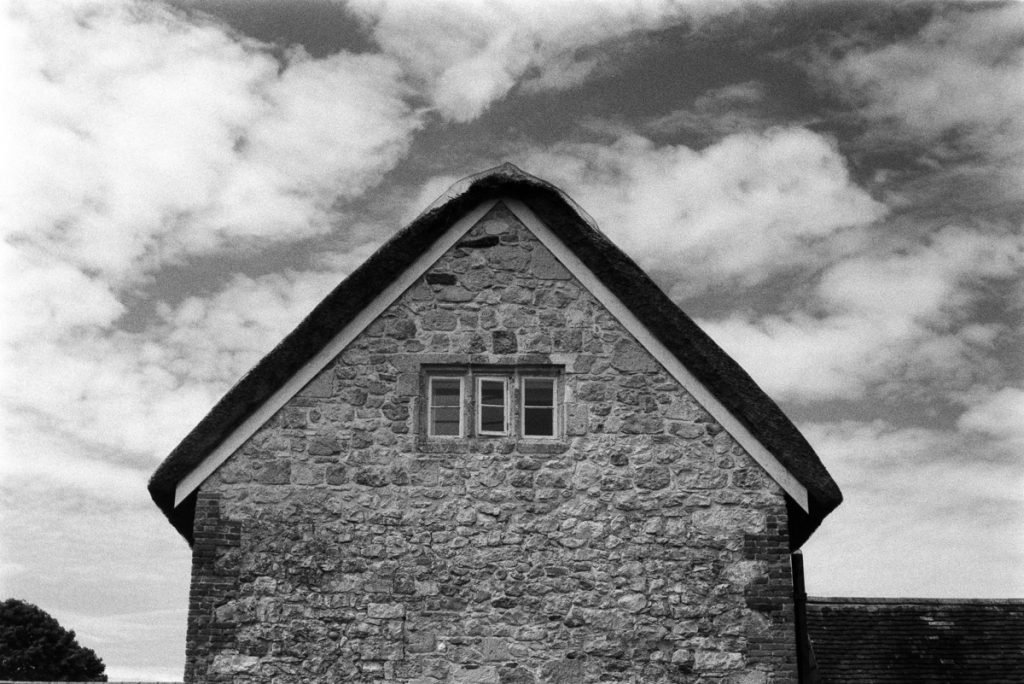
A different day, with an Orange Filter on the lens. Showing some sky the grain is now very noticeable. And I don’t like that sort of grain on my Skys. Contrasty too, probably because of the filter.
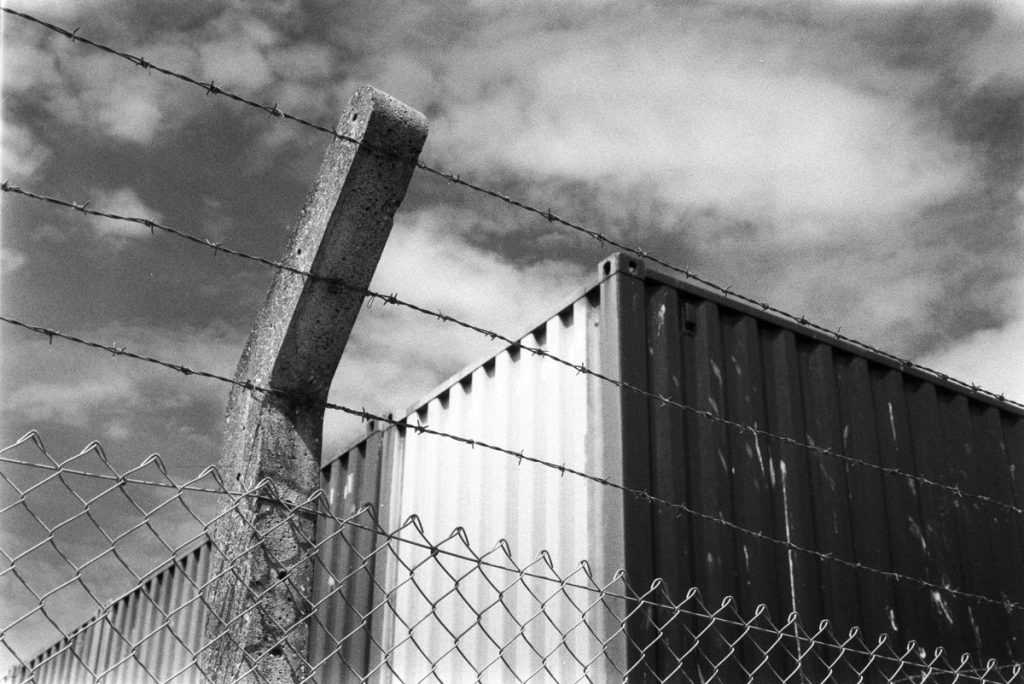
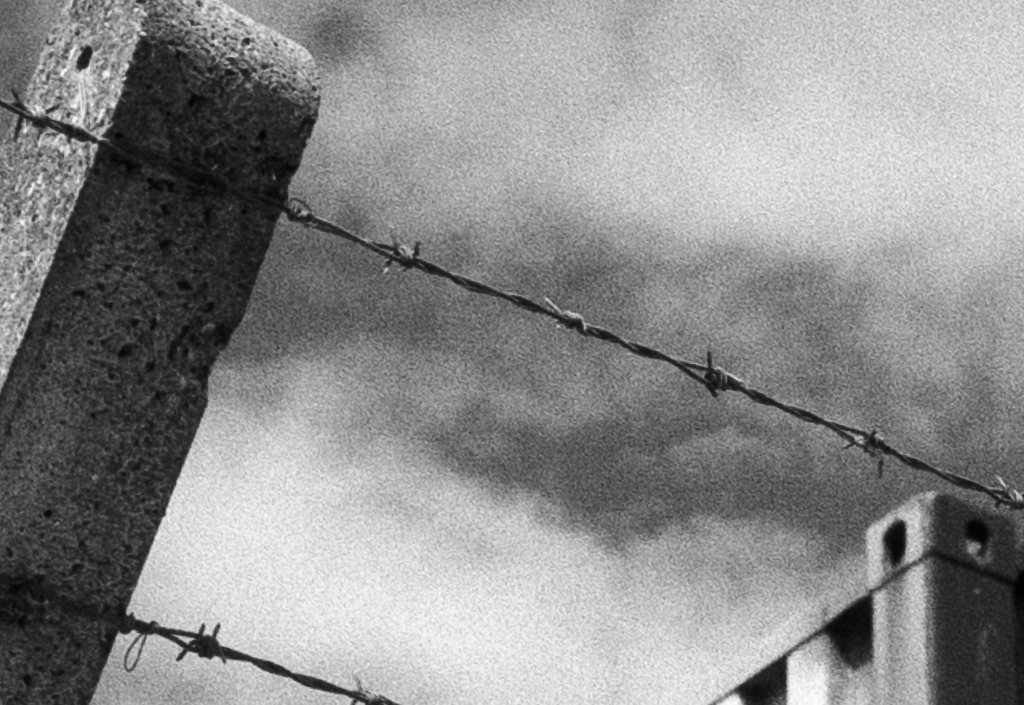
If we zoom in to that container photograph we can see the grain more.
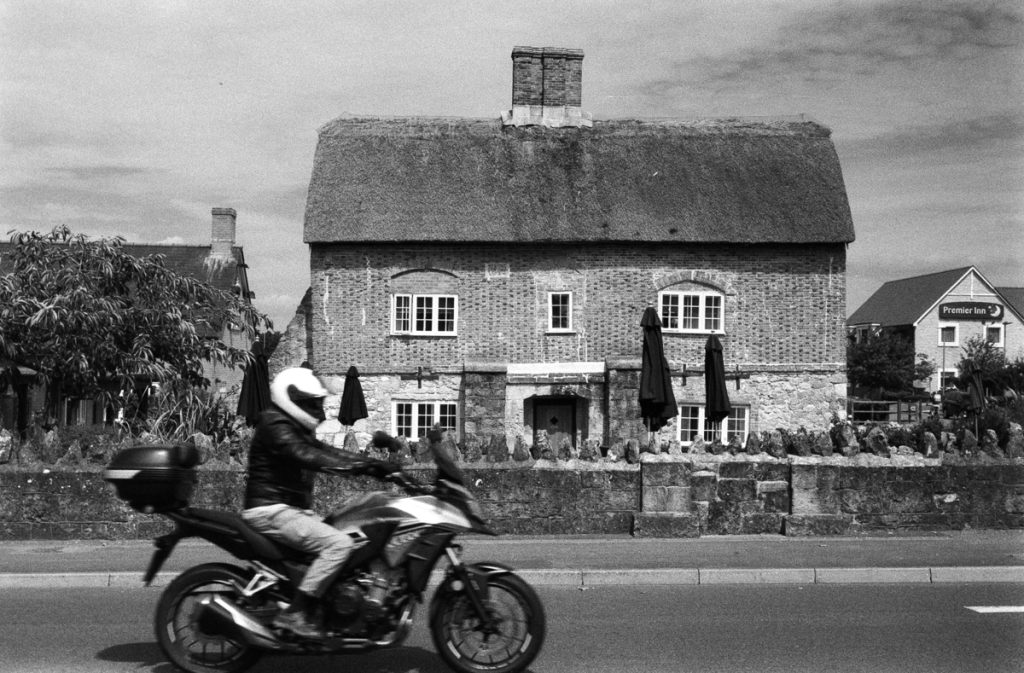
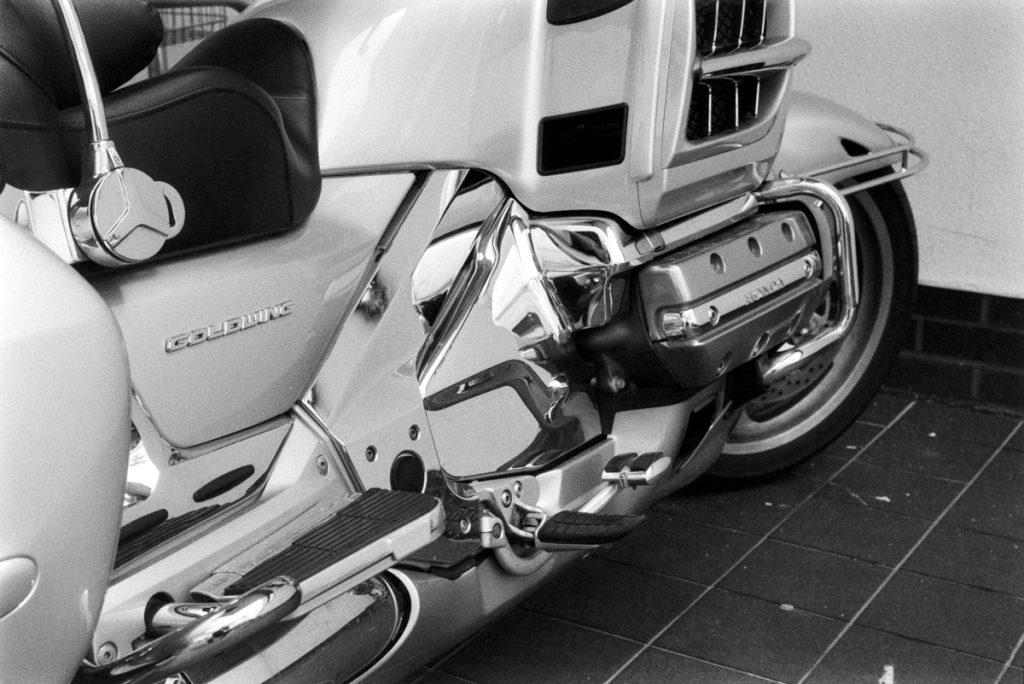
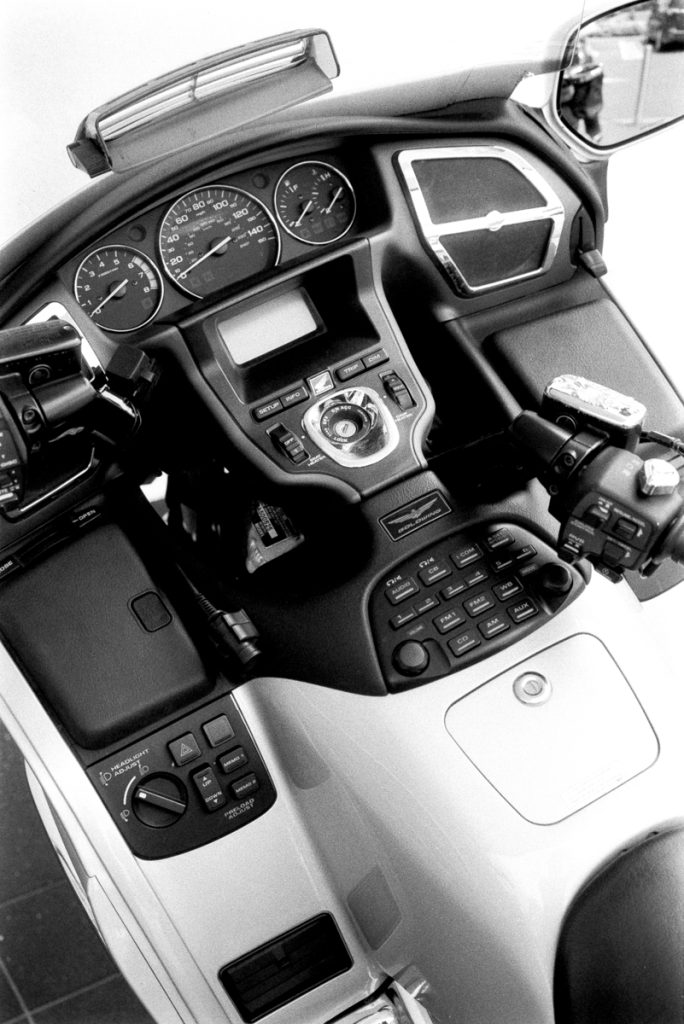
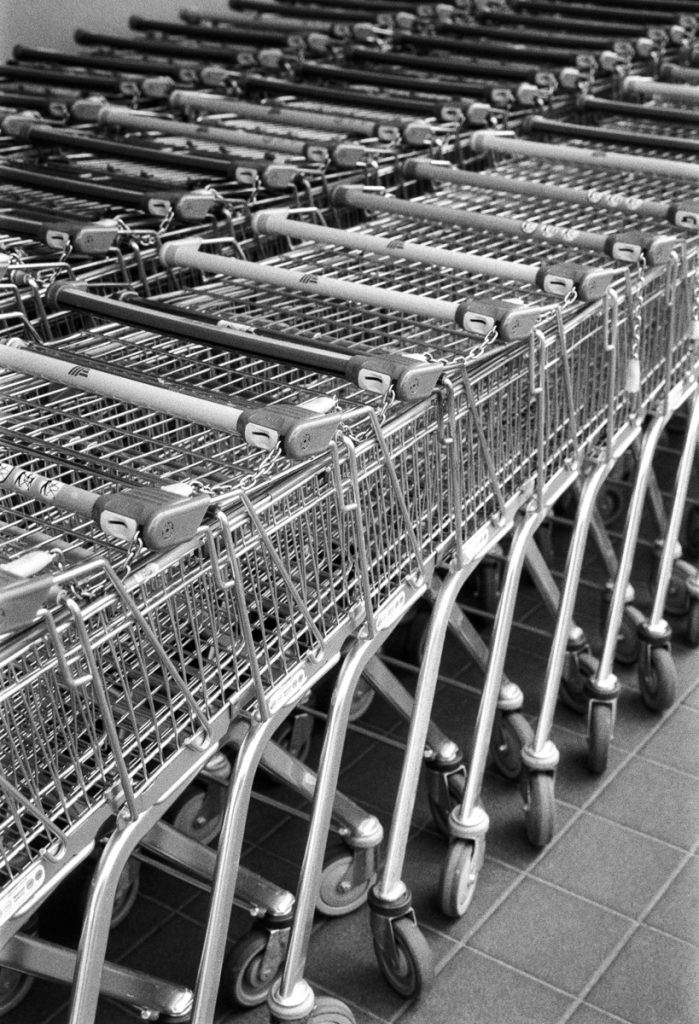
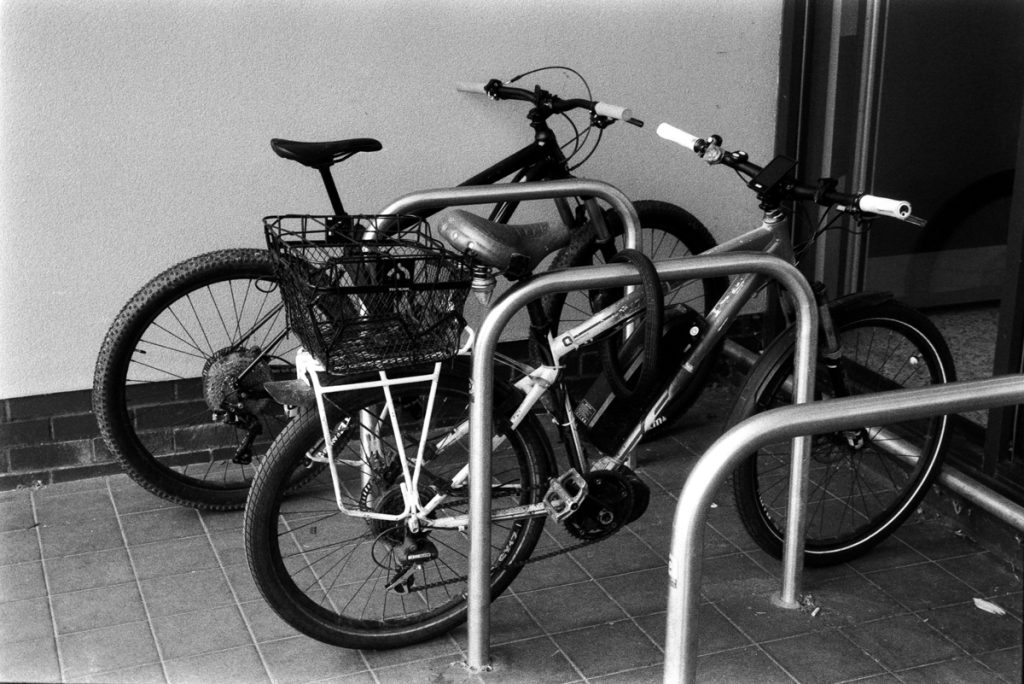
These bikes were in the shade. Another contrasty looking photo.
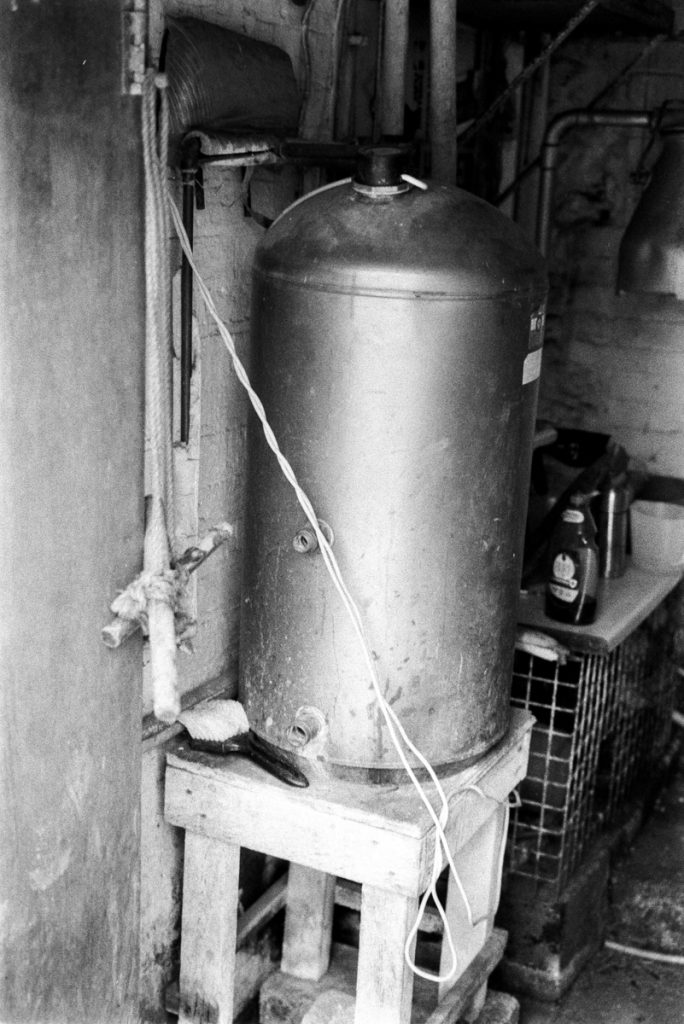
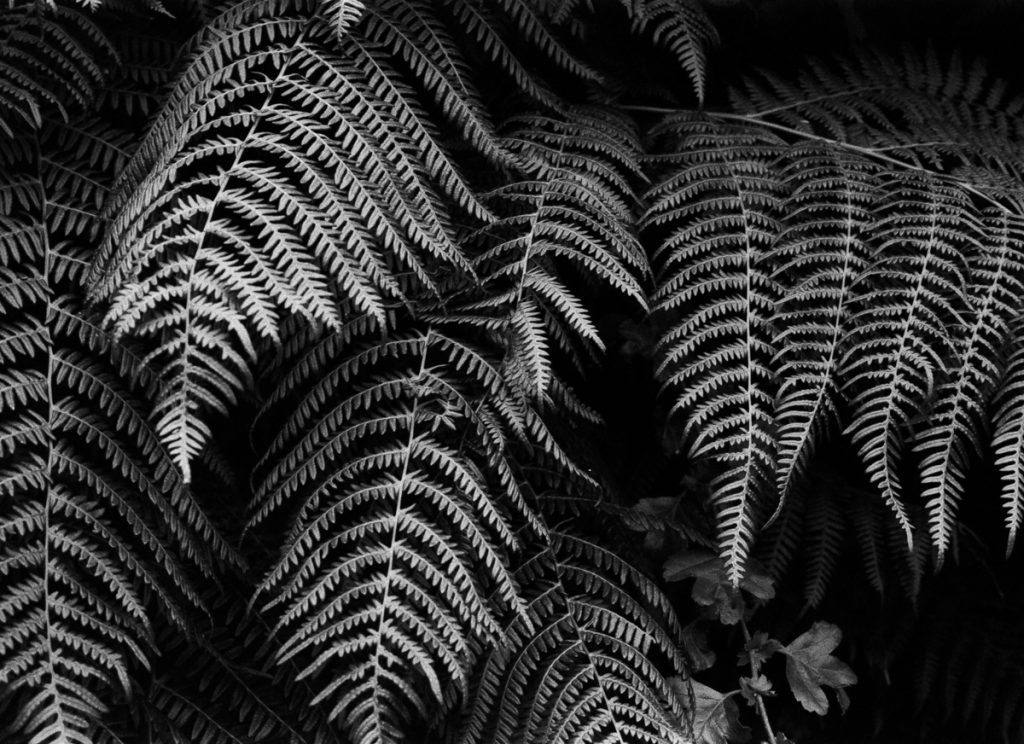
And finally Ferns. This actually looks really nice! The blacks are awesome and the highlights are well controlled, probably due to the 510 Pyro doing its thing but still. It complimented the film well.
Final Thought
To be honest I am not one for getting all excited over these kind of films. I have my go to favourites but when they arrive on my desk for some fun it is interesting to see the results and I must say I actually like it! Whatever it is?
We know that dubblefilm don’t have a plant for making emulsions and I very much doubt their films are rebrands from Fomapan/Kentmere. Initially I did wonder if it was Fomapan 400 but it is totally different. It more reminds me of JCH Street Pan 400 Film which we all know is a Surveillance Film. So maybe this double daily 400 is a Traffic Camera stock/Surveillance Film Stock.
The grain structure reminds me of Kodak Tri-X 400 which is a beautiful film for street photography and quirky looking edgy portraits. Having developed this in 510 Pyro, which usually makes good of grains films, makes you wonder what a developer such as Rodinal or D76 would have done to the grain. Probably exploded it into the abyss!
Anyway, thanks to Keith for sending me the film and also let’s applaud dubblefilm for punching out these films for us to dabble with and keeping film alive. Horahh!
Using a CPL Polarising Filter
This is one filter that I rarely use but really it should be a filter that I always take out with me on a shoot!
The Circular Polarising Filter (CPL) works like magic on sunny days getting rid of unwanted reflections on water, glass and other surfaces as well as making blue sky a deeper blue if you are shooting colour and giving a nice separation between the sky and cloud.
It’s also great for out door portraiture if you’re shooting in bright sun taking the shine of your subjects skin. Not that you would want to shoot a portrait in bright sun! But the option is there.
Here is a still taken from the video where I had the polariser on. No shine on my head. I then turned the polariser in the opposite direction and you can see the difference.
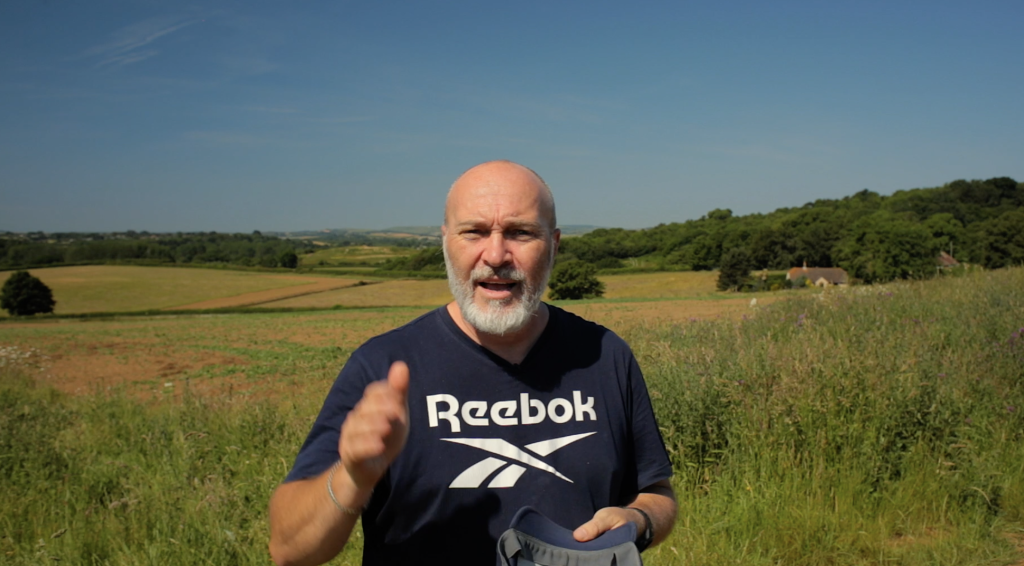
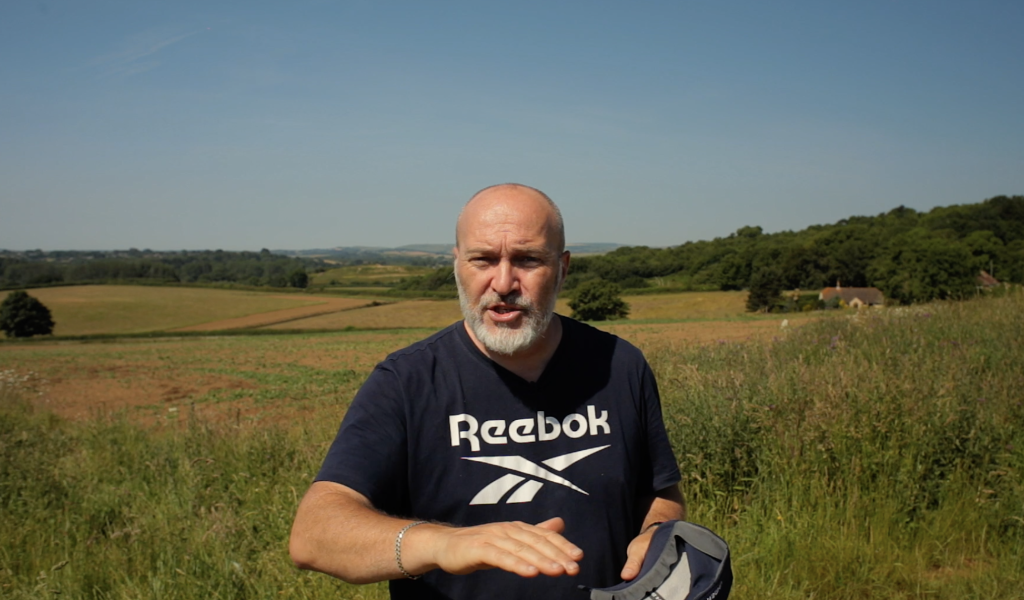
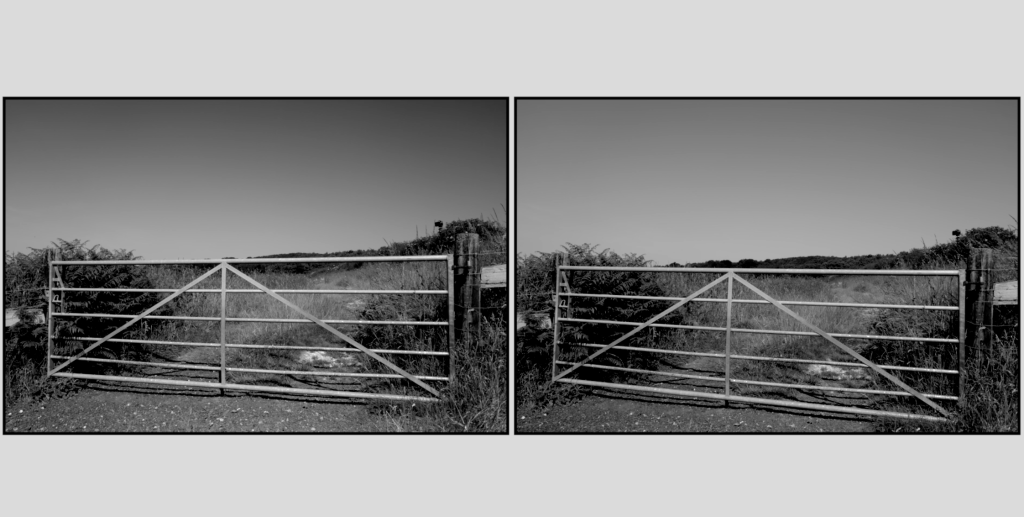
The filter works best when your subject is at a 90° angle from the sun. So you have to keep this is mind when you are taking your pictures. And if you are shooting scapes and you are not at the right angle you will start to see uneven graduation in the sky. Such as this image below. The sky is darker on the right side than the left.
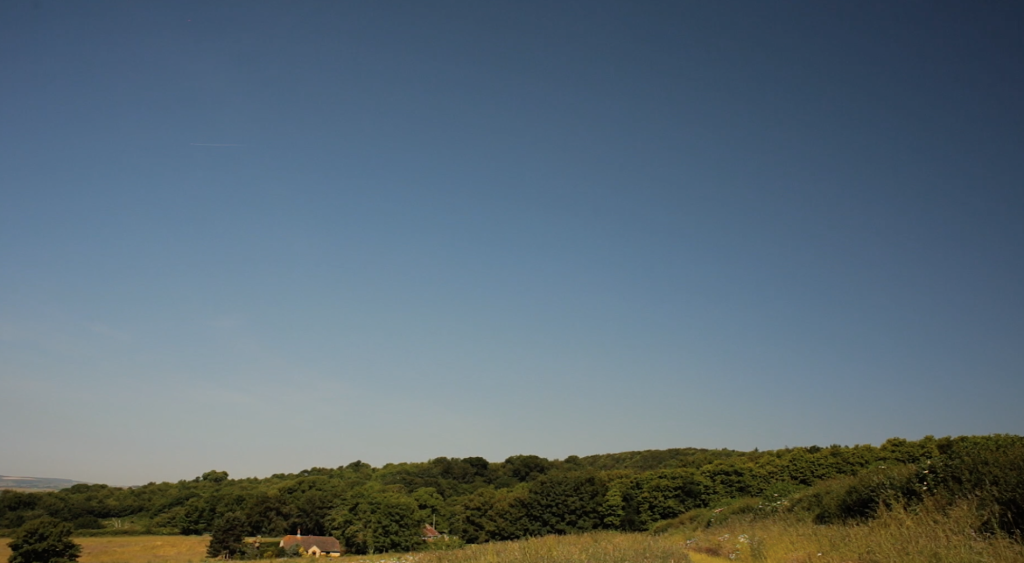
It does look a bit odd so maybe this is a time when you decide not to use the filter. But if you are at the correct angle for maximum effect you do get some wonderful gradient in the sky. Especially if clouds are present.
The left image is using a Polariser Filter and the right is no filter.
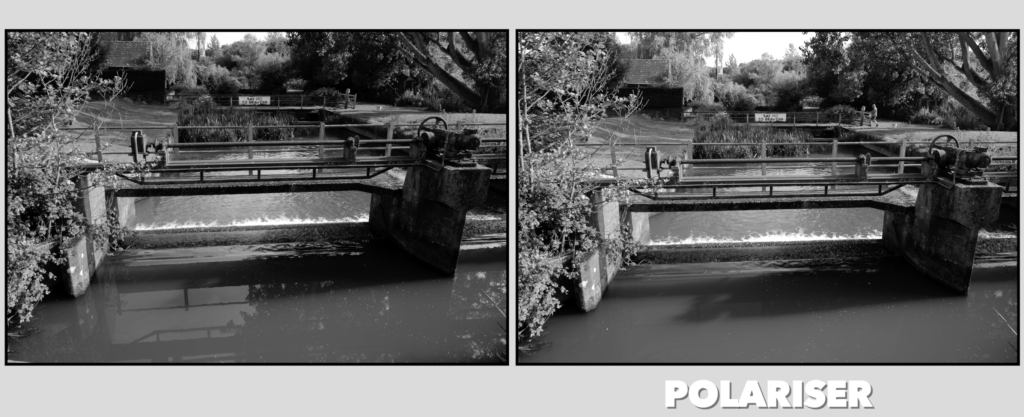
And here is another scene where you can see how the filter has worked with unwanted reflections in the water.
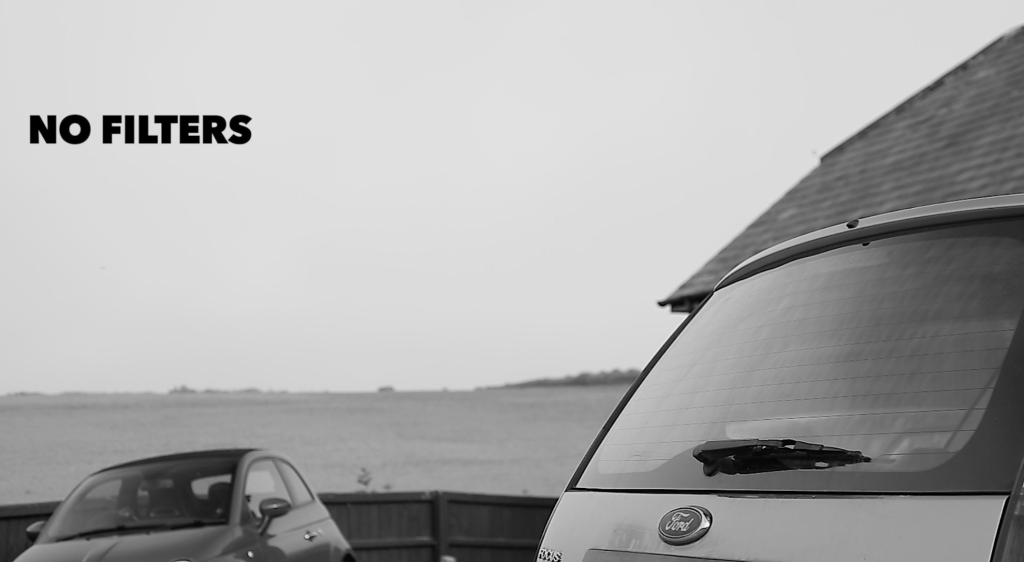
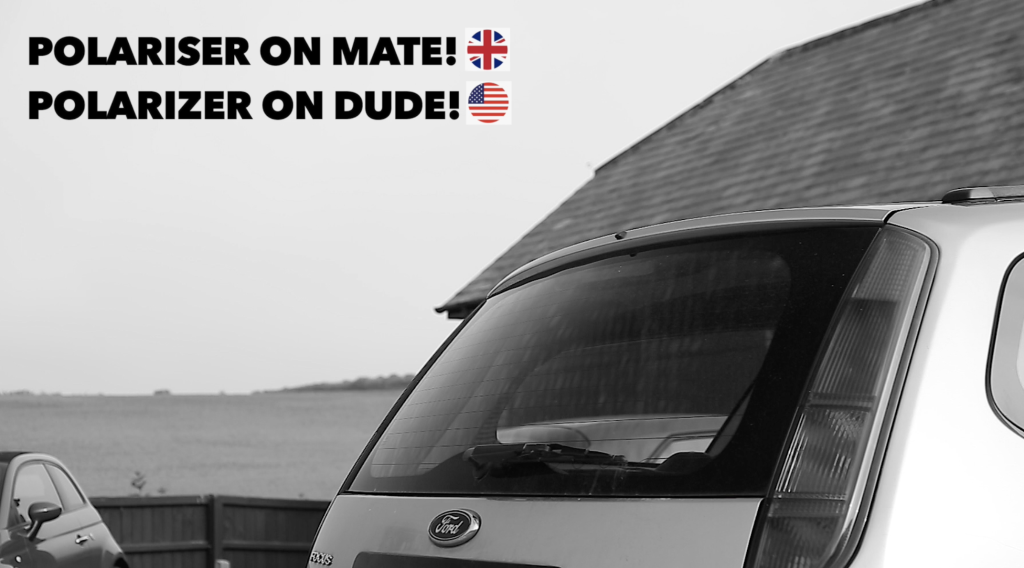
Another screen grab from the video, with a UK/US grammar quote, you can see how it works on glass and in particular, cars. Good to remember for you car show photographers.
As for the science behind how it works you can read this up online. There are plenty of articles on how polarisation works that explain it far better than I could. But to be honest, I don’t need to know how it works as I can see how it works when I am using the filter. As long as I am using an SLR.
If I am using a Rangefinder where I can’t see what is going through the lens then it’s just a case of looking through the filter with your eye and then using the indication mark on the filter as a reference.
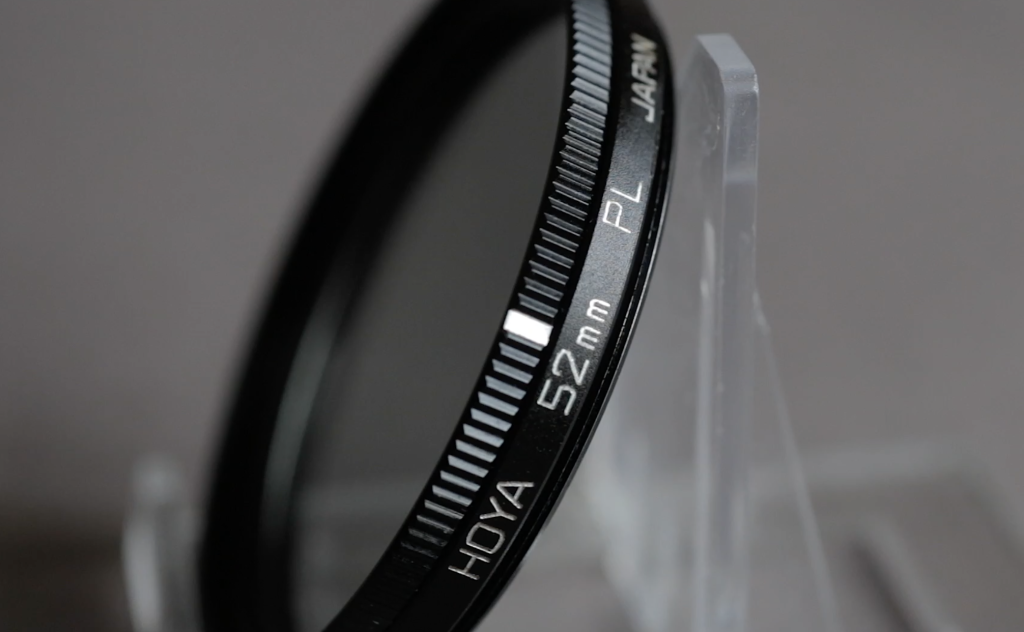
That line on the filter is an indication of where to position the filter. It should be in line with the direction of the light source, thats where I have found it to work best. So you can use this as a reference for your rangefinder. But, not all filters have this line. Which is fine, if you’re doesn’t then you can make your own line on the filter with some typer fluid or white pen.
Probably the only thing you need to know is that it works best when your subject is a a 90° angle from the light source. And also you will lose light using the filter. My one is 2 Stops. Others may vary depending on the brand and quality.
Here is a list on what I found this filter to be able to control in my own photograph.
- Water Reflections
- Surface Glare
- Cloud and Sky Separation
- Unwanted skin glare from light sources
- Glass Reflections (Think car show, shop windows, home interiors)
- Vegetation Glare
Also, if you need to shoot interiors for an office the filter will also turn LED screens black! Very handy if you are shooting interiors that have these screens such as an office.
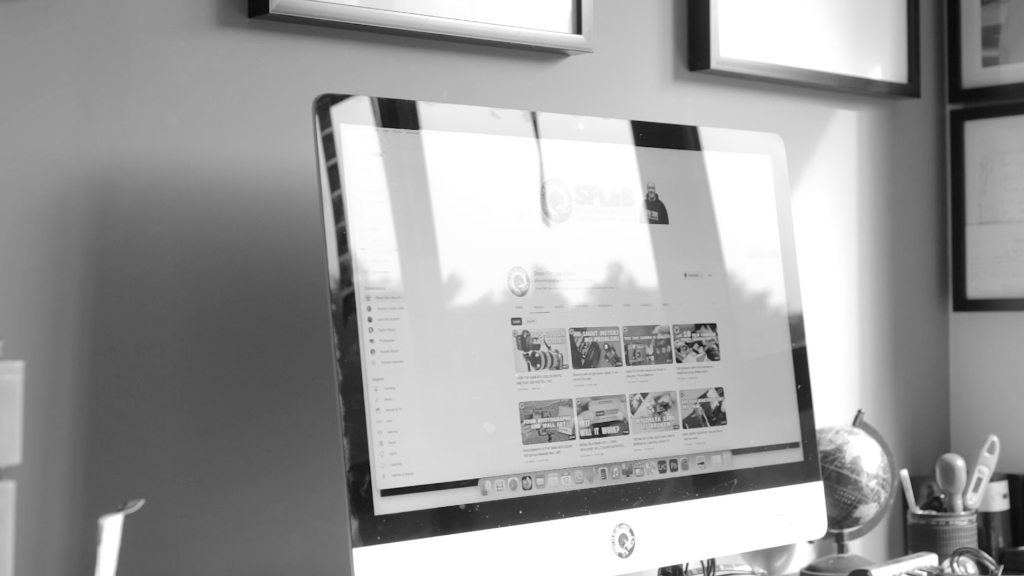
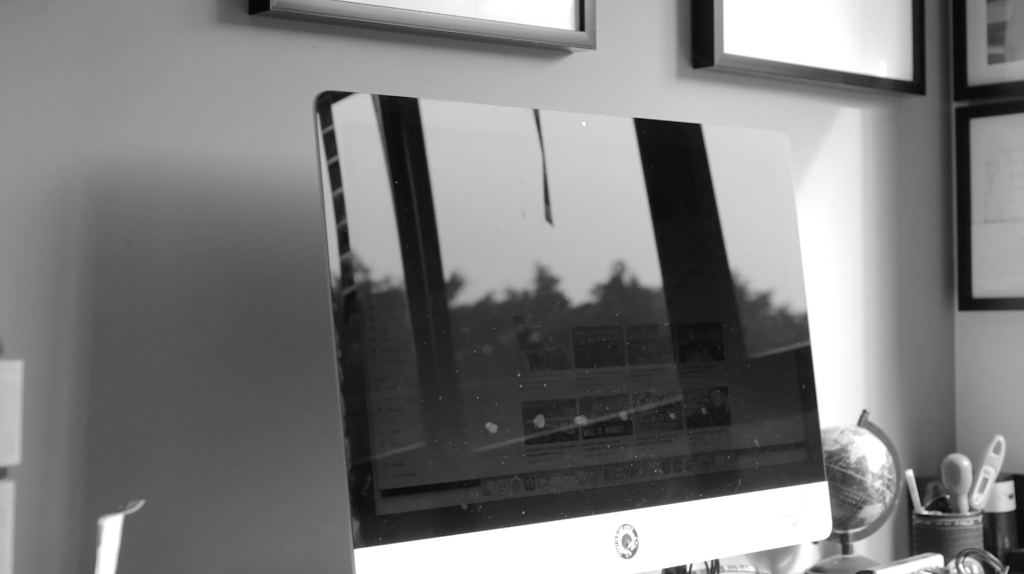
There are many brands of CPL. I have the Hoya Brand which work pretty well, but there are brands that are more expensive and probably work better and brands that are cheap that probably work okay.
Chinon CE-5 is Under-rated
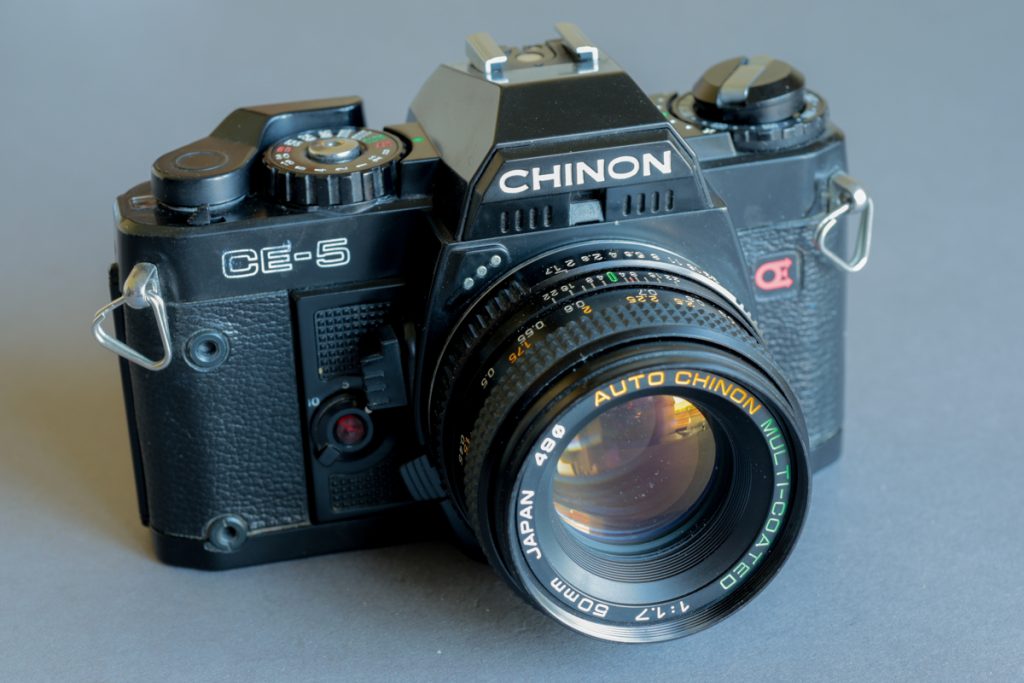
Here is a sweet SLR Film Camera from 1981.
The Chinon CE-5.
This camera was sold in a time when SLR Cameras were at their pinnacle of forward thinking with Canon, Nikon, Pentax and Olympus dominating the market with model after model of fantastic cameras for the consumer.
Back in 1981, the Chinon CE-5 could be seen in every Dixons Store in the UK, often boxed with a fancy bundle of a Lens, Flash, Power Winder and Camera Bag.
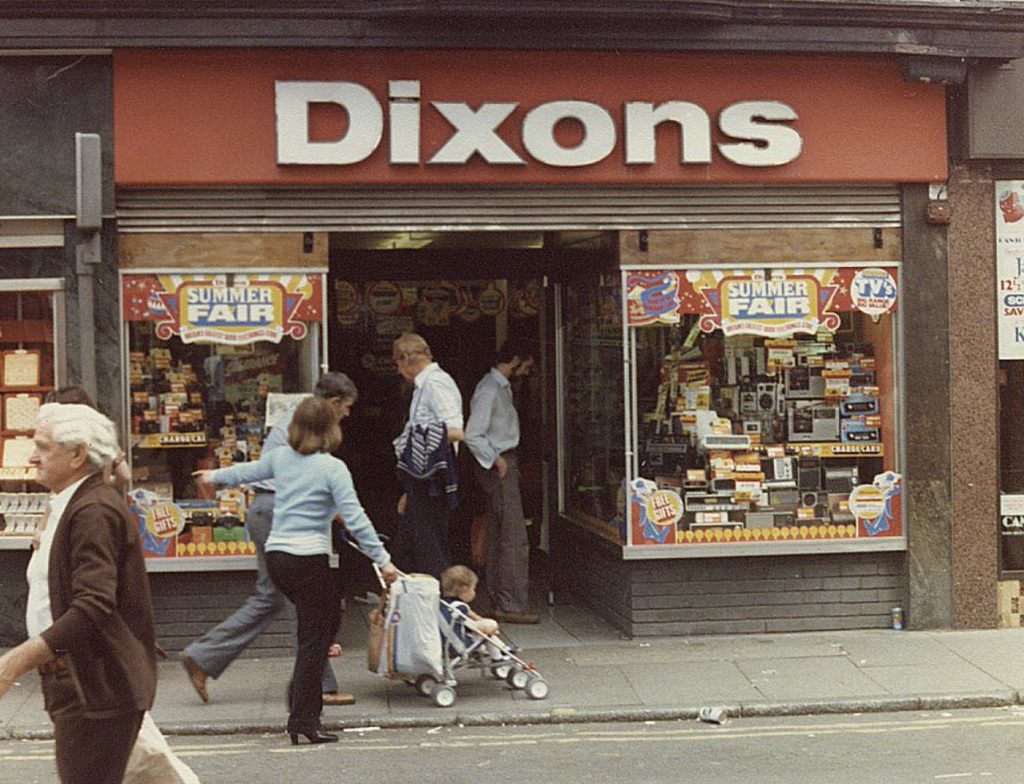
It was cheaper than the Nikon and Canon Cameras at the time but more expensive than the Olympus OM20 and Pentax ME Super, However, I can only imagine it was less popular. Maybe the bundles were attractive! Or the hobby photographer of the day wanted a more popular name.
I have the OM20 and the light meter is a bit fragile now. The Chinon CE-5 is still accurate after all these years!
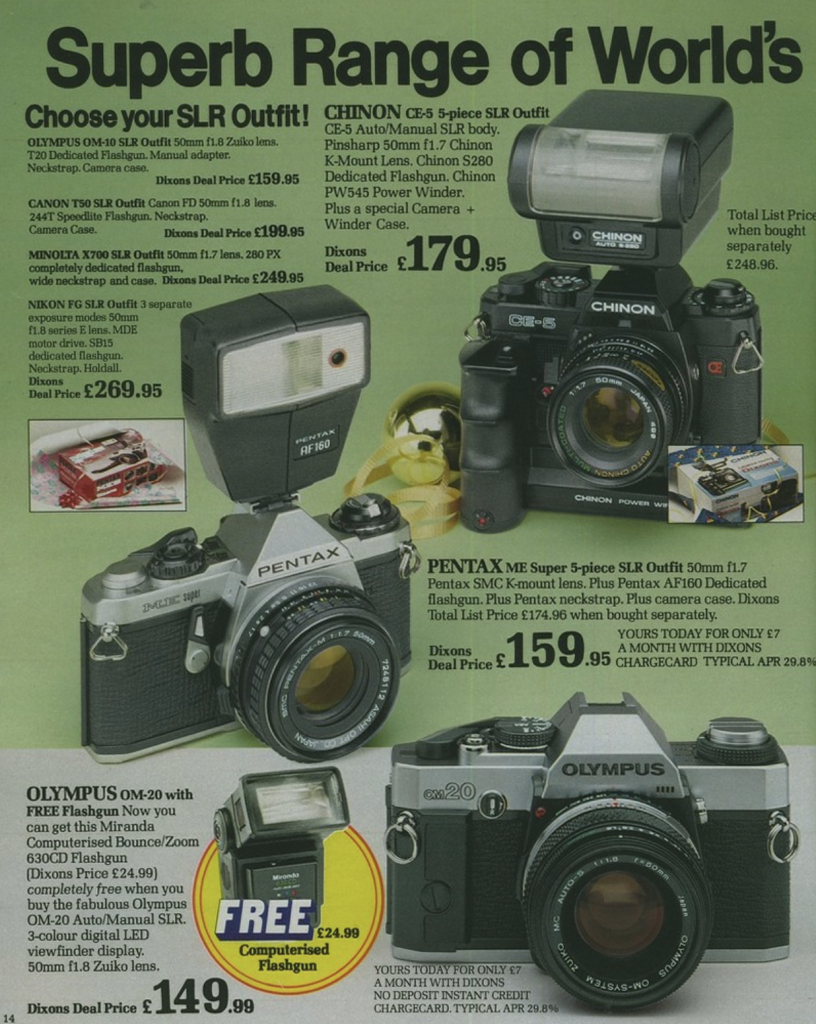
Bradford Timeline, Flickr
I got this Chinon CE-5 a few years ago for just £50. And after not using it for the past year or so as I thought the electronics were dead, even with new batteries, I recently gave it a good clean with Alcohol on it’s circuits and it jumped back to life and is as good as it was the day it was in the shop! Which was Dixons!
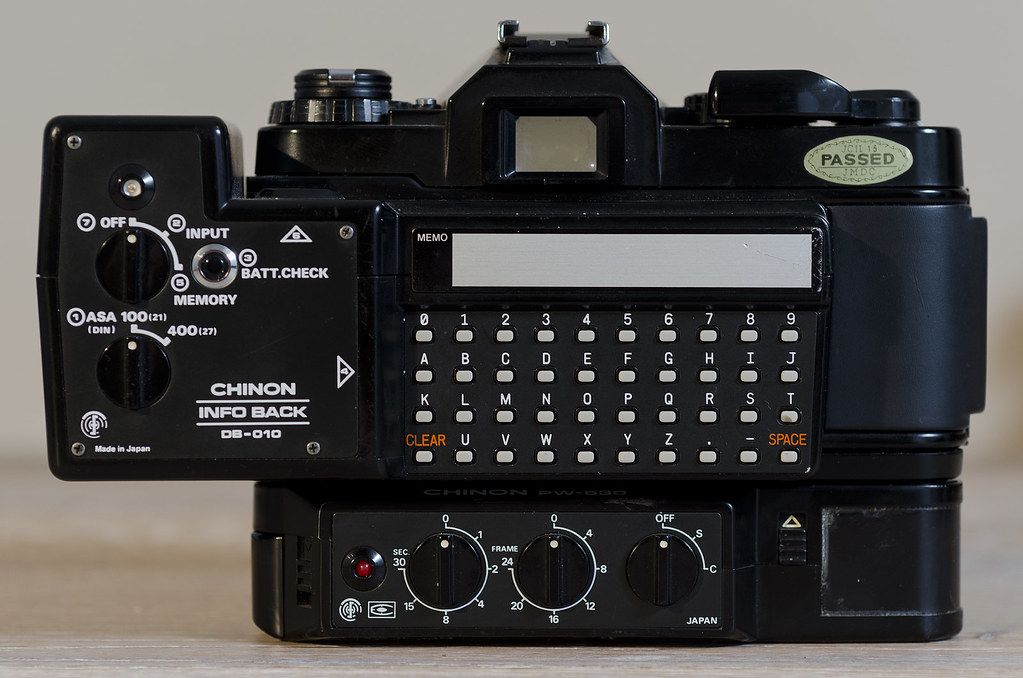
It doesn’t look or feel as quality as the other cameras of the day with its plastic exterior, drop it and it will crack, but it does have some neat functions and works a treat! And it has some really weird accessories. Like this data back for stamping memo’s or details on the negative!
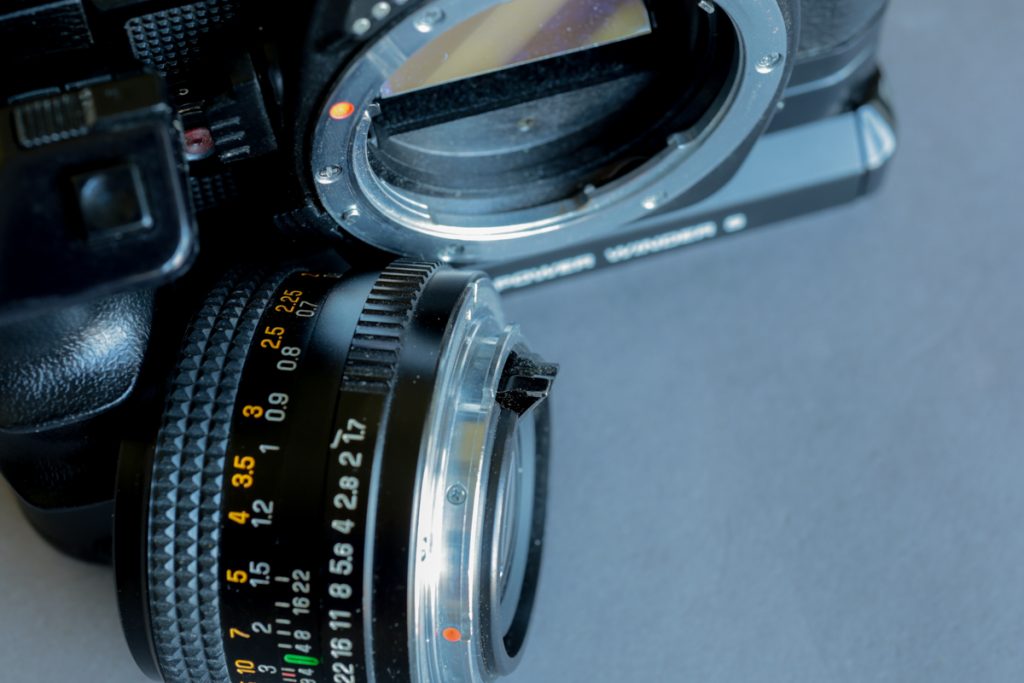
Prior to the CE-5 Chinon, in 1980, released the CE-4 for which they switched over to the Pentax K Mount system. Their cameras prior to the CE-4 were M42 Screw mount.
The camera has shutter speeds from Bulb, 2 Seconds to 1/2000th and ISO Range from 25-3200.
You can either shoot the camera in Aperture Priority mode or Fully Manual. However, the downside is it won’t function without two LR44 batteries!
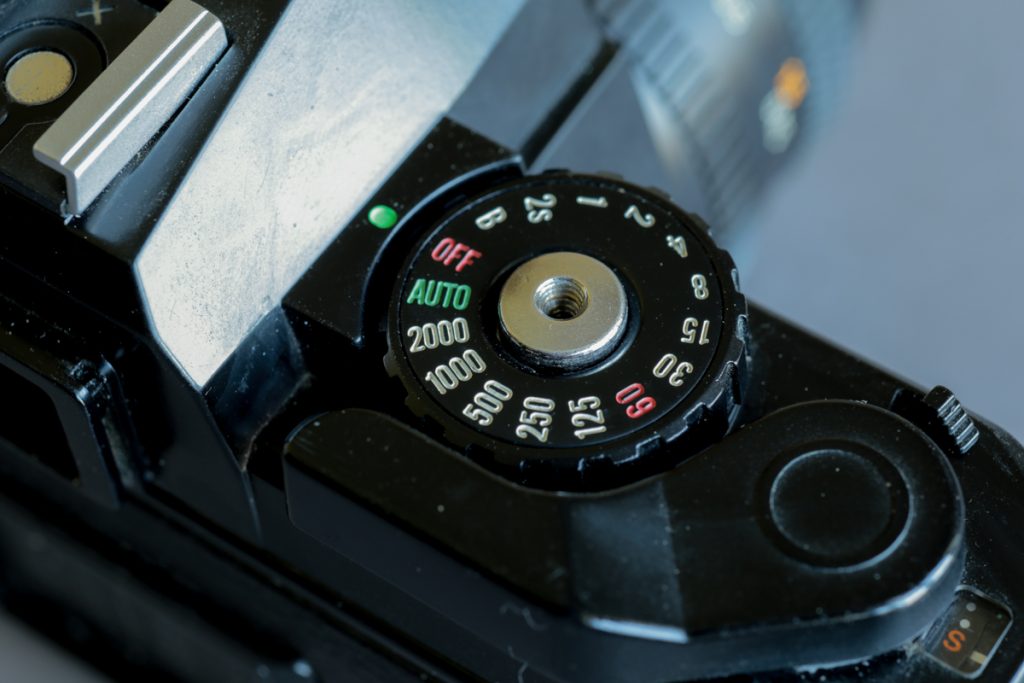
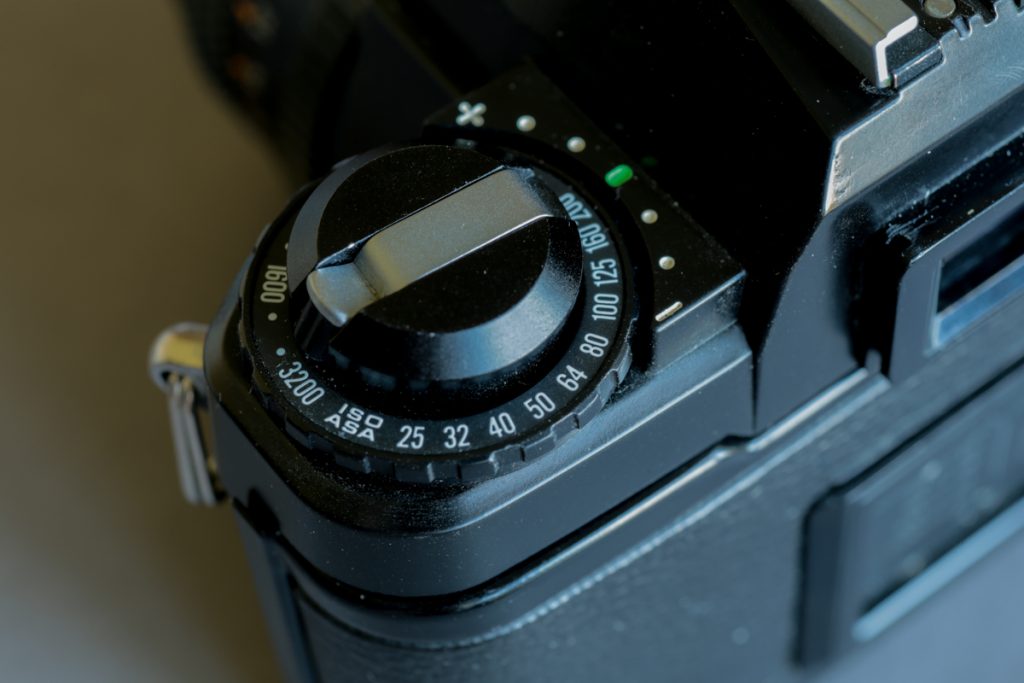
There is a Self Timer of 5 or 10 seconds, and a Depth of Field Preview.
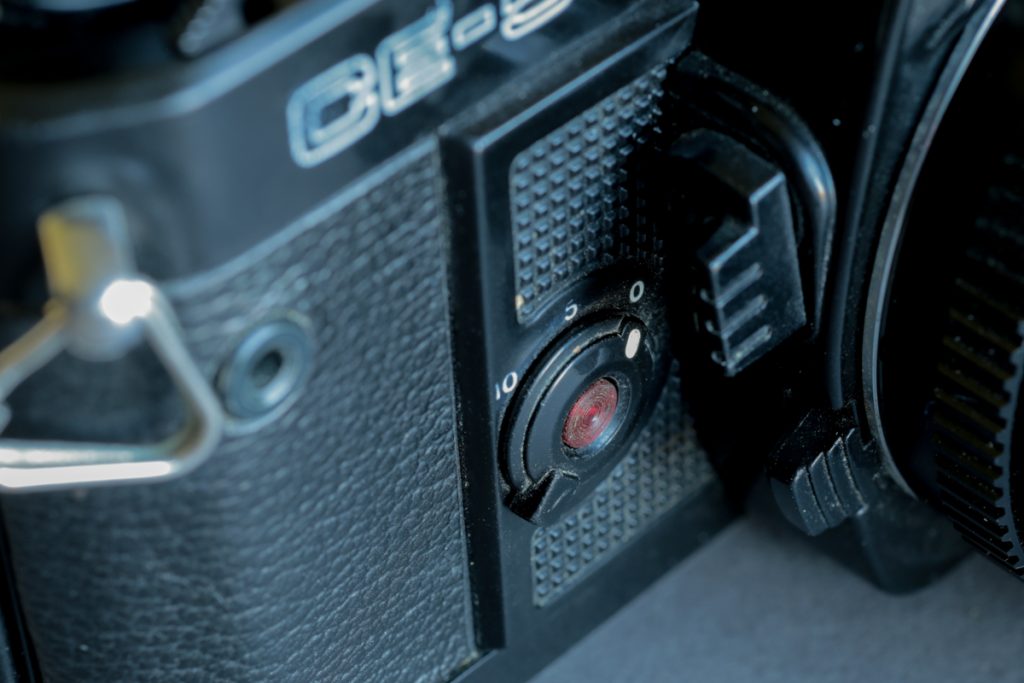
And also an Exposure Lock button, which Chinon call a Exposure Memory Button.
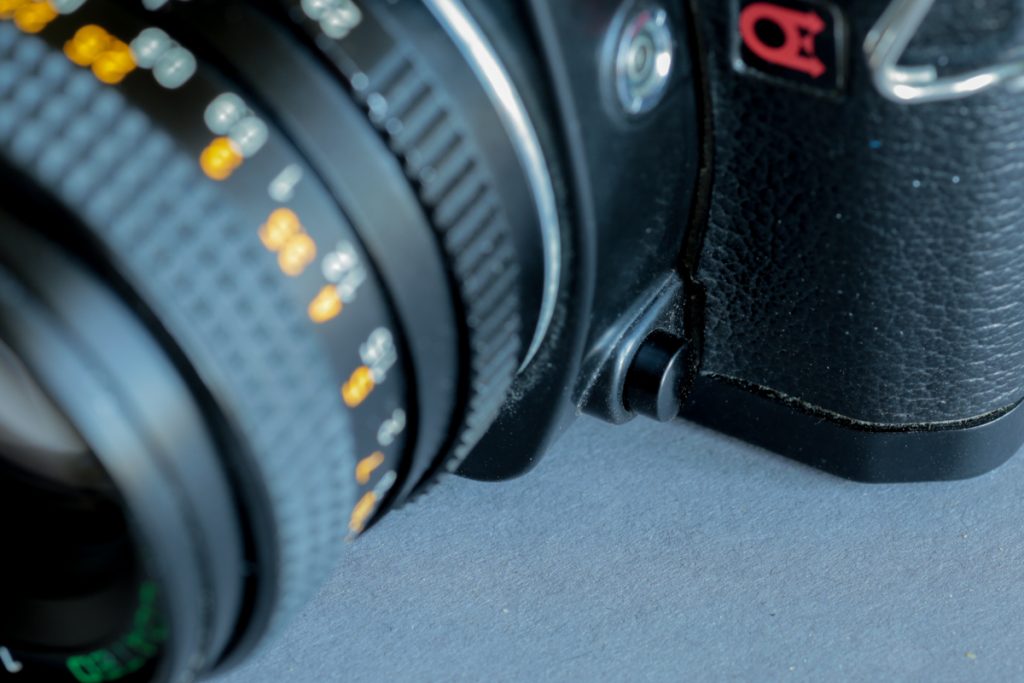
A Hot Shoe for your Flash and also a X Sync Port. And the Flash Sync Speed is 1/60th.
There is also three “Auto Focus Pins” on the front of the camera for AF Lenses, which there were only two made and look like a total after thought.
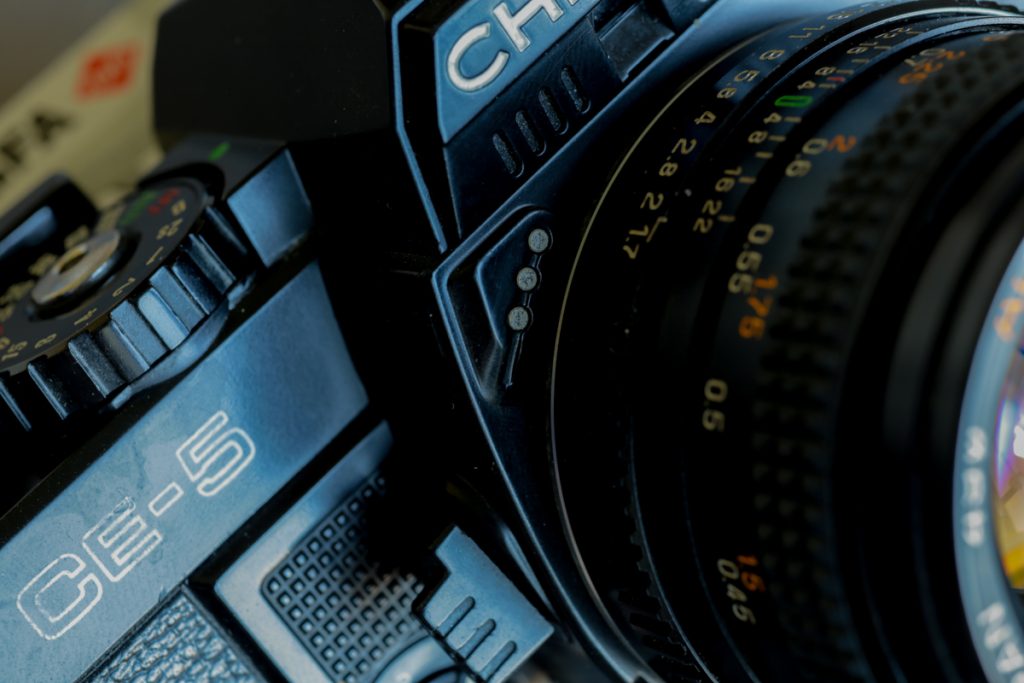
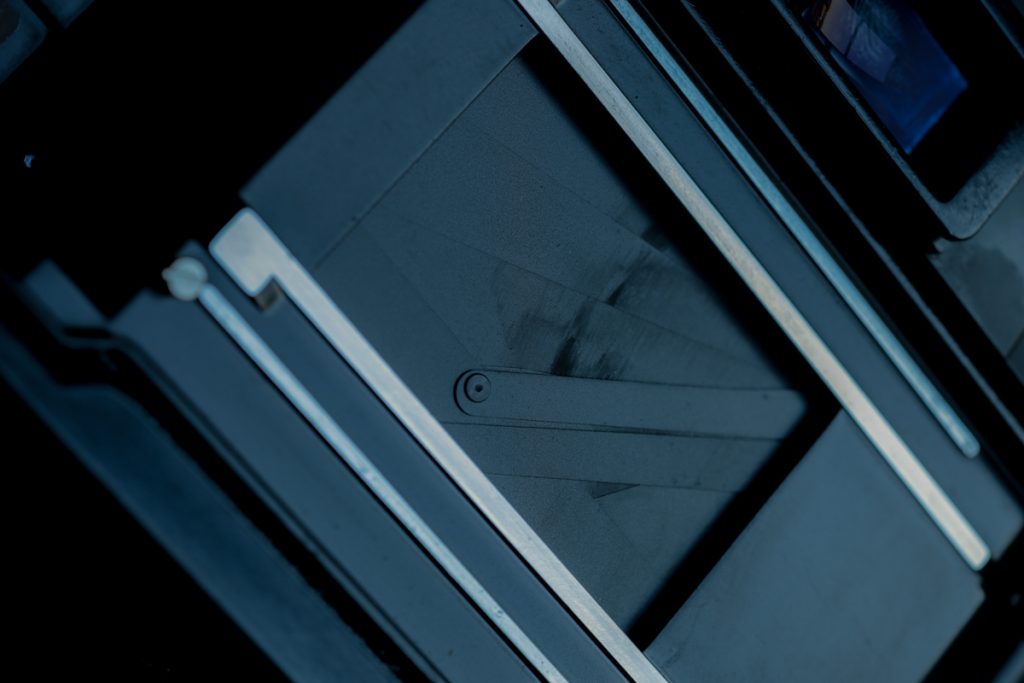
Instead of a fabric curtain Chinon added a Seiko electromagnetic metal focal plane shutter and the view finder has a split image range finder and a microprism collar to aid focusing.
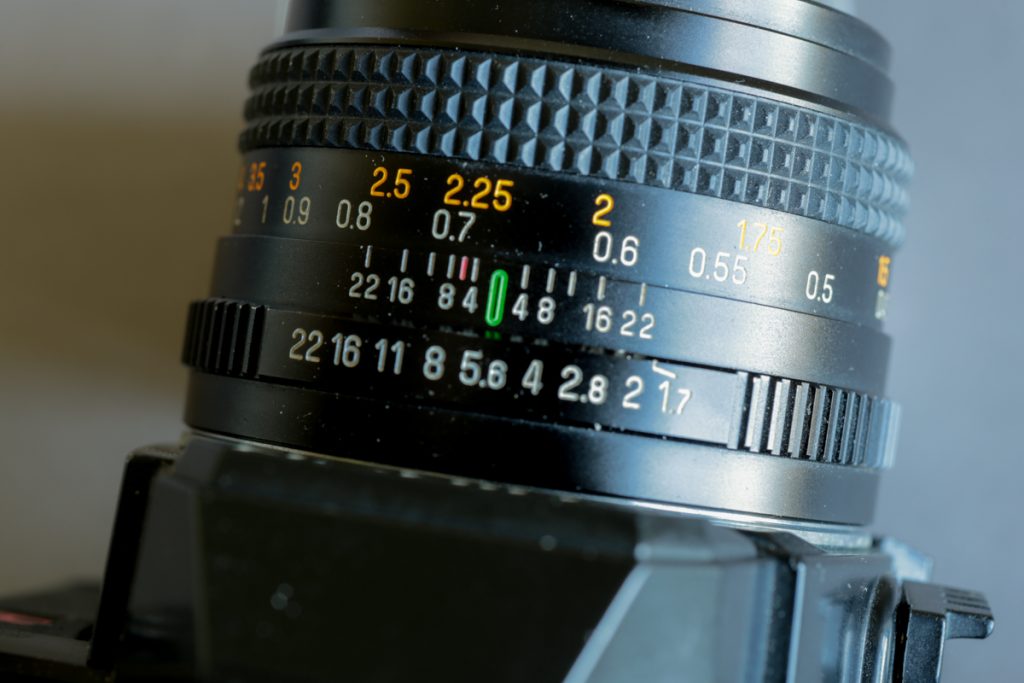
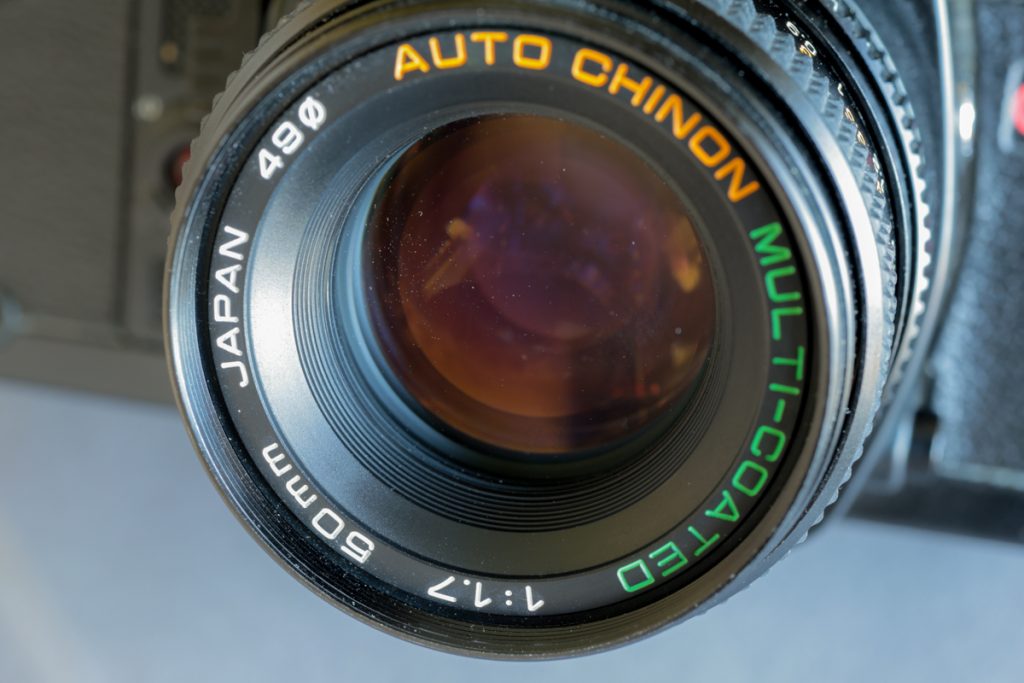
This camera came in a bundle with a 50mm f1.7 Multi-Coated Lens which is breathtakingly sharp! And the multicoating helps keep lens flare down. And for Filters it takes 49mm size.
Accessory wise, Chinon, came out with some crazy ideas! Like the back that you could print messages or notes directly onto the film.
And another back that enabled you to stamp the time and date onto the film.
Also crazy looking shutter release unit.

Mine came with this Auto Winder, which works really well and makes the camera feel better in the hands when shooting as it gives you something to grip.
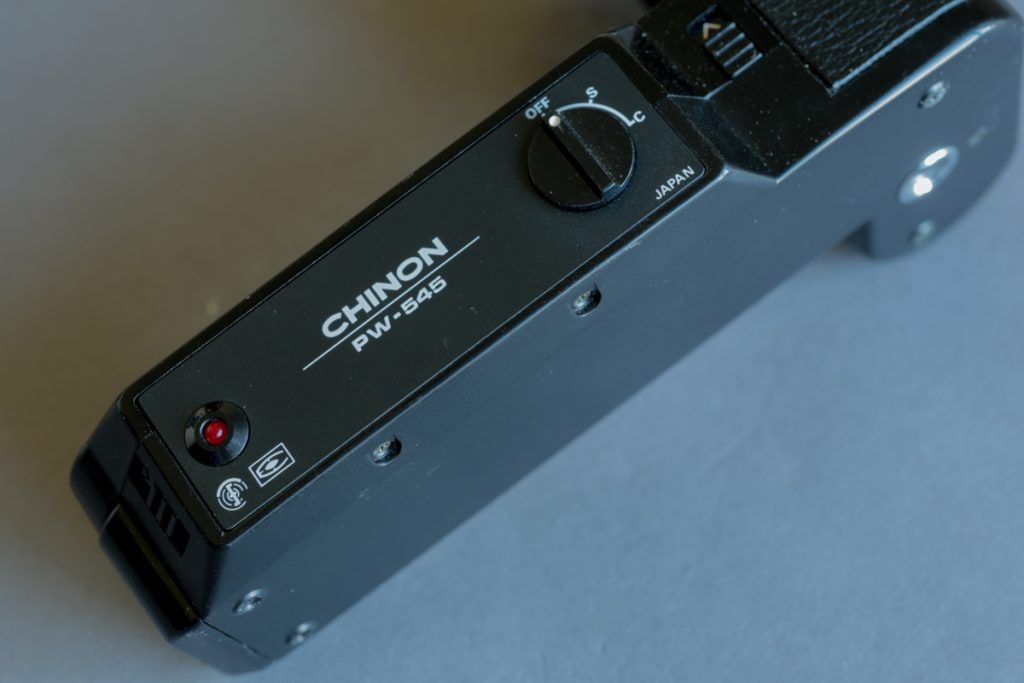
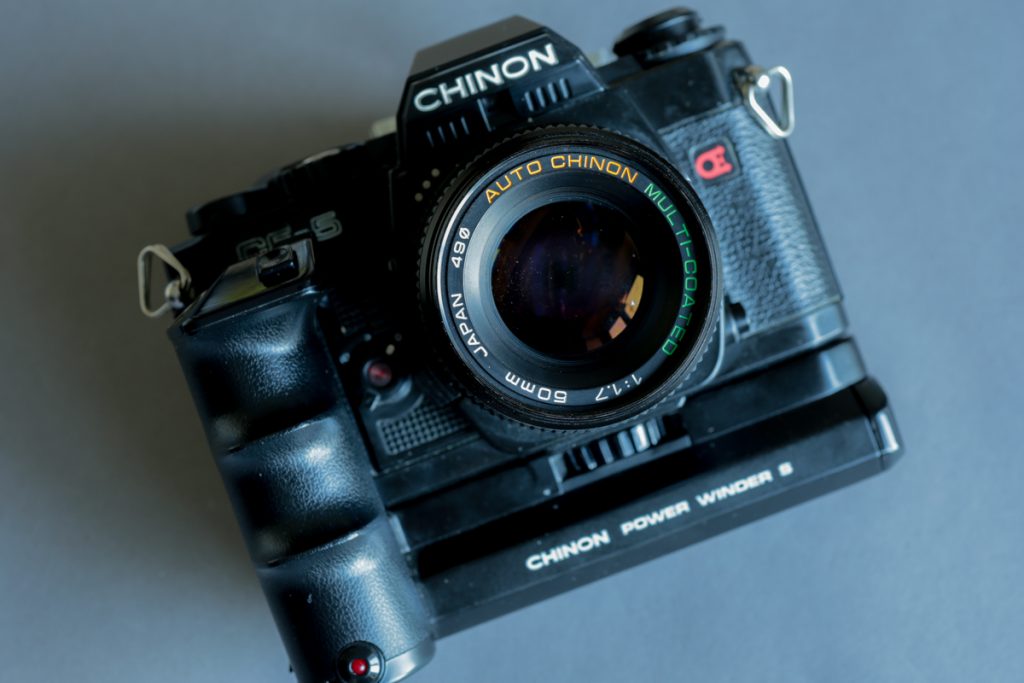
So if you are looking for a SLR Camera that just works and won’t cost a fortune have a look for one of these! Like I said the only downside is that it won’t work without batteries! So if the electrics fail, as mine did, try cleaning the electrical contacts. Luckily it was just dirty contacts. (I had to take off the bottom plate and clean the soldering parts). And make sure you pack spare batteries when you are out shooting!
Finally here are some images I got using this camera and lens.
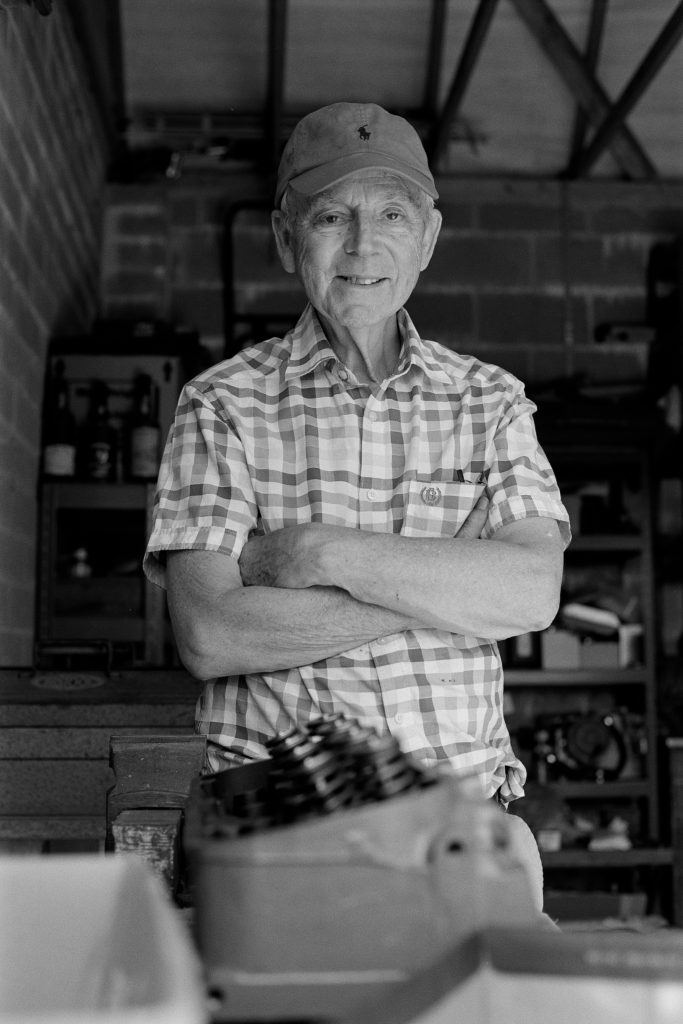
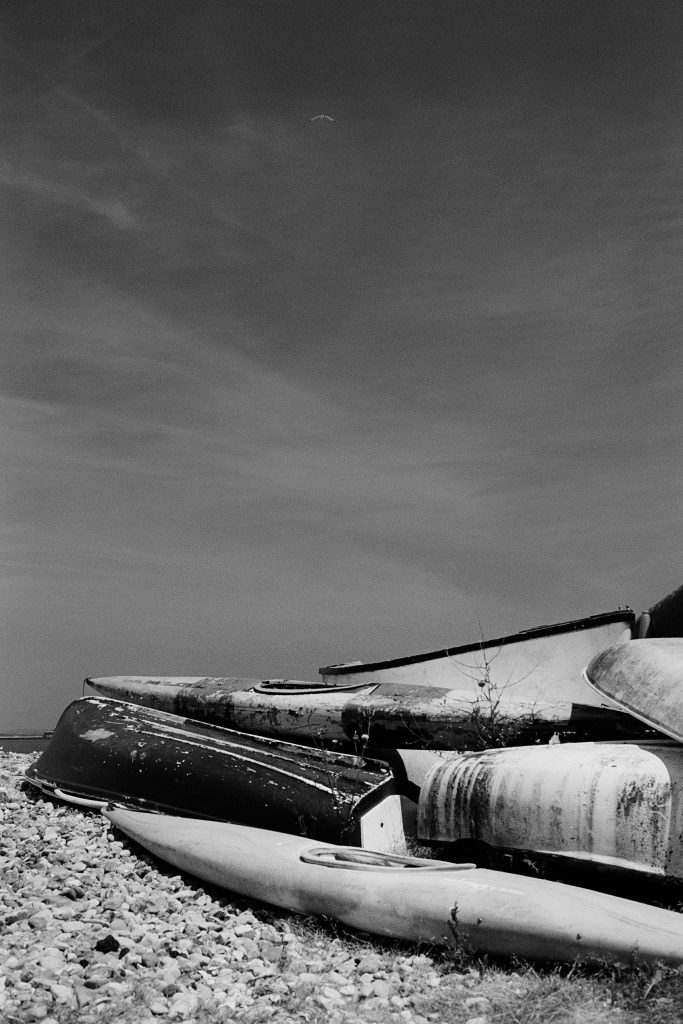
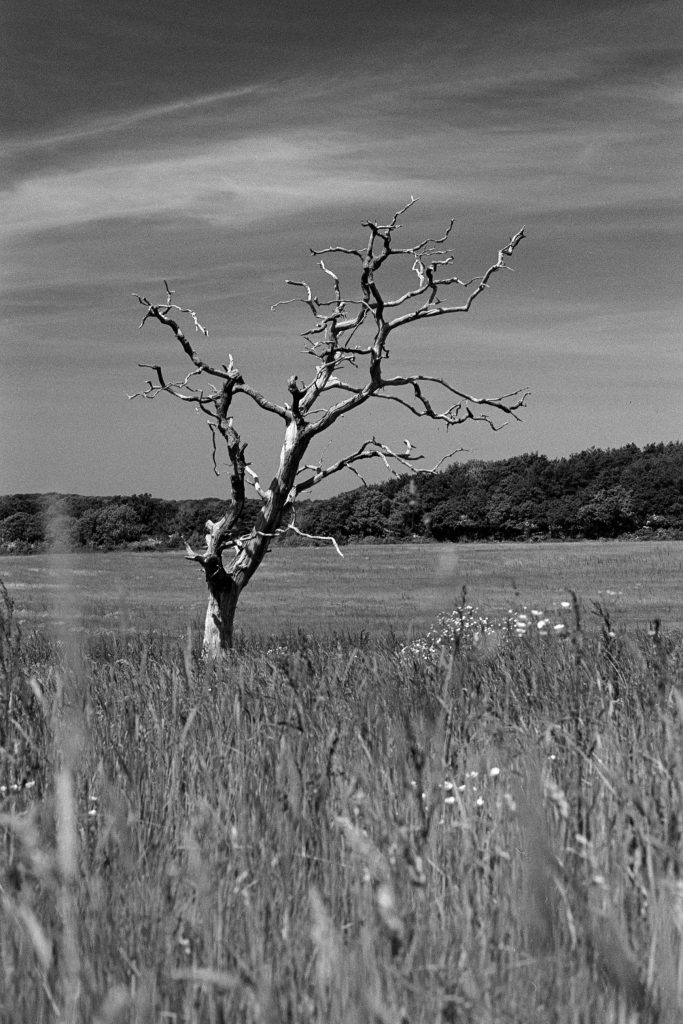
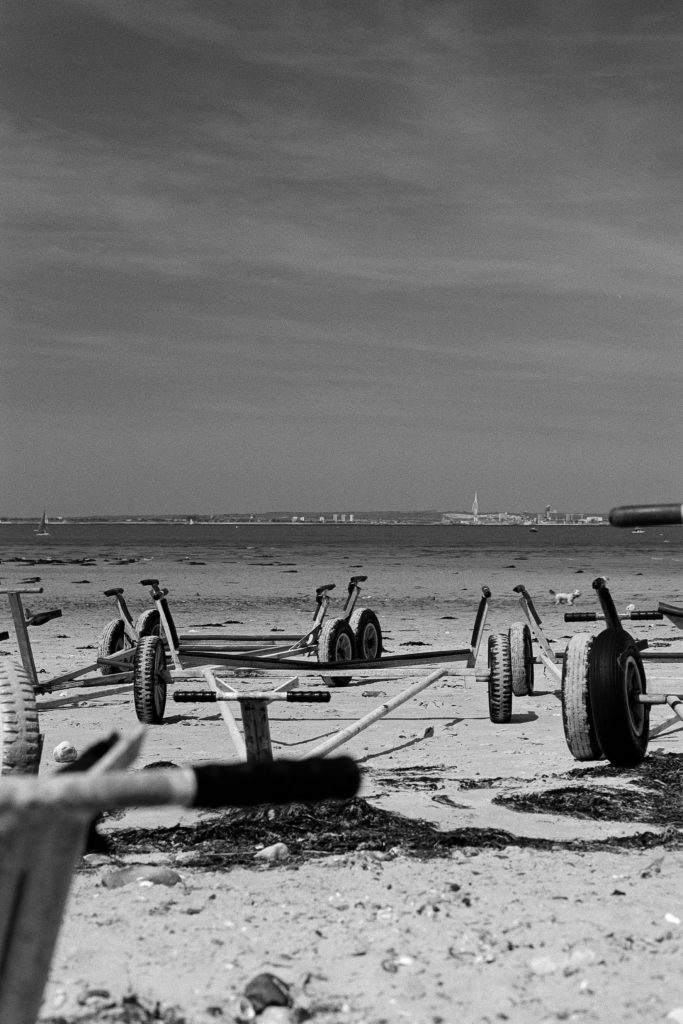
Rollei 35 LED 35mm Film Camera
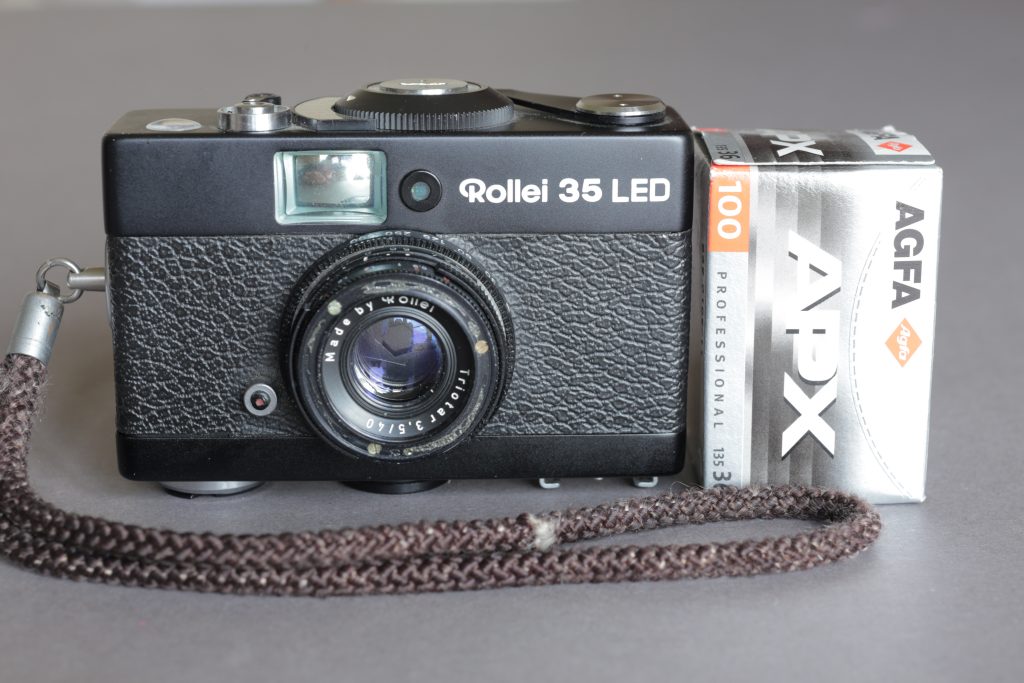
It is one of many Rollei 35’s that were first introduced by Rollei in Germany in 1966 and was the smallest 35mm camera. It was popular to selling around 2 million units.
Many models followed and this is the Rollei 35 LED from 1978.
This camera was donated to the SFLaB Channel by Neil Legg and is my first “compact” camera.
If you want to see my YouTube video on this camera here is the video…
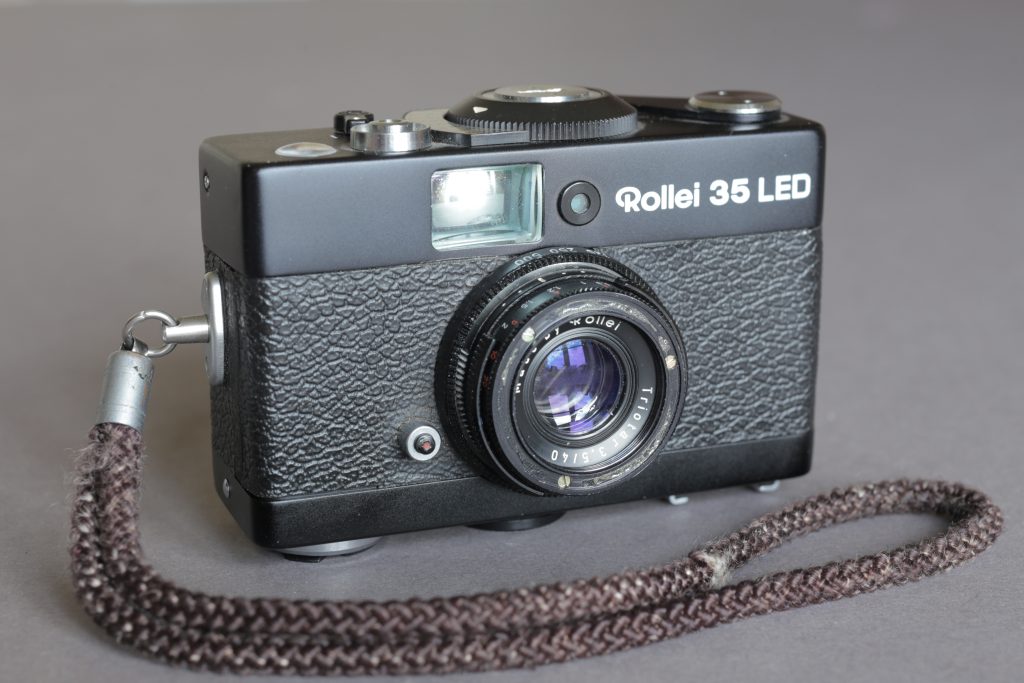
It is a very simple camera. Fully manual, no auto focus or rangefinder. There is a light meter inside which takes 4 LR43 batteries but this example the meter doesn’t work. Which is no problem. I can use my light meter or shoot the sunny 16.
The lens on the camera is a Rollei Triotar f3.5 40mm. I believe made by Zeiss. The apertures range from f3.4 to f22 and the shutter speeds are from 1/30th to 1/500th and also a Bulb mode too.
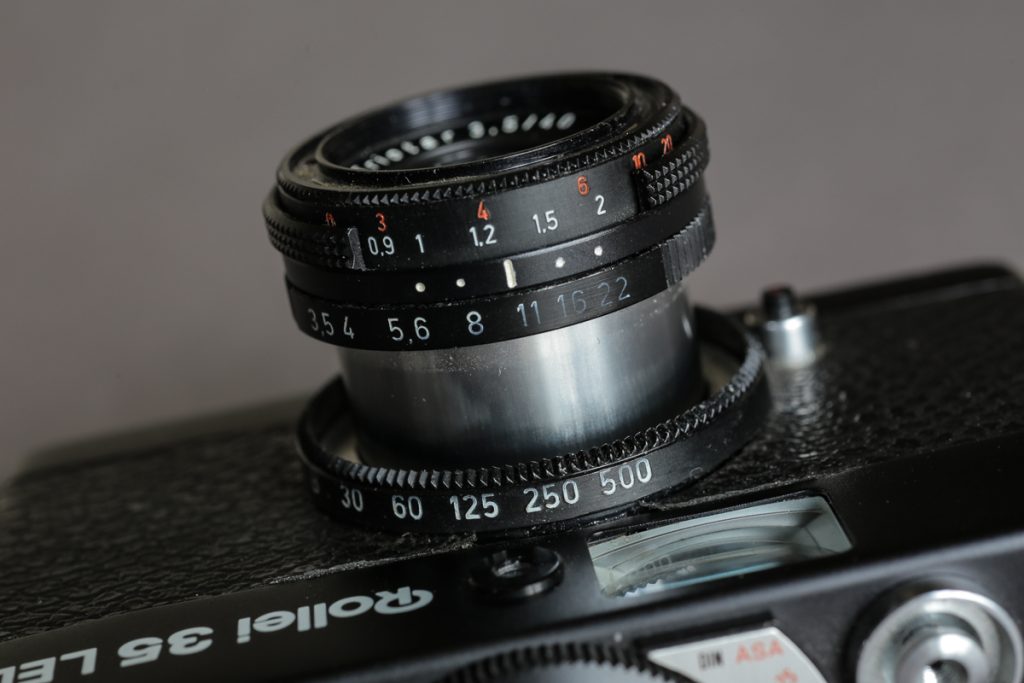
And you’ll notice the lens is protruding out of the camera. It’s needs to be in this position before you take a photo. The confusing part is when you have taken your photo and want to detract the lens. You won’t be able to unless you advance the camera. Only then you can twist anticlockwise and push back into the camera. There is a button next to the lens for this. This had me stumped for a while and I thought the lens was stuck. It’s a handy little feature as you can then pop the camera in your pocket.
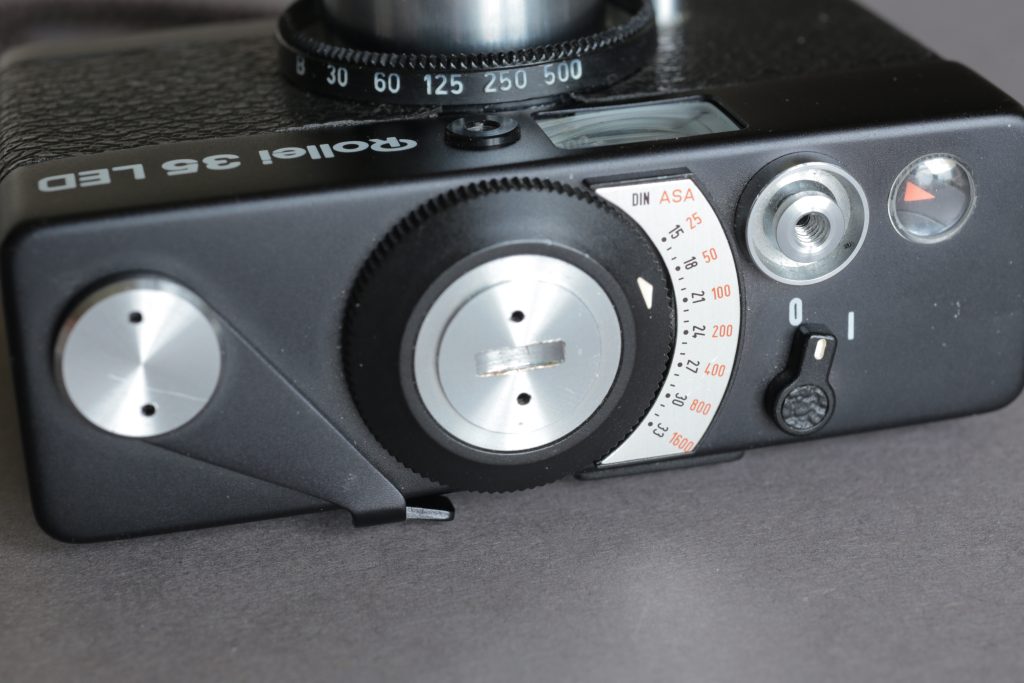
If you are lucky and the light meter works on the top plate is the power switch and film speed selector. Inside the viewfinder you are presented with three LED’s. Over and Under Exposure in red and in the middle is a green LED which illuminates when your exposure is correct. I can’t say much for this as mine does not work.
You can see where the batteries go, they’re in the middle, and the film advance lever is on the left of the camera. Easy to get used to.
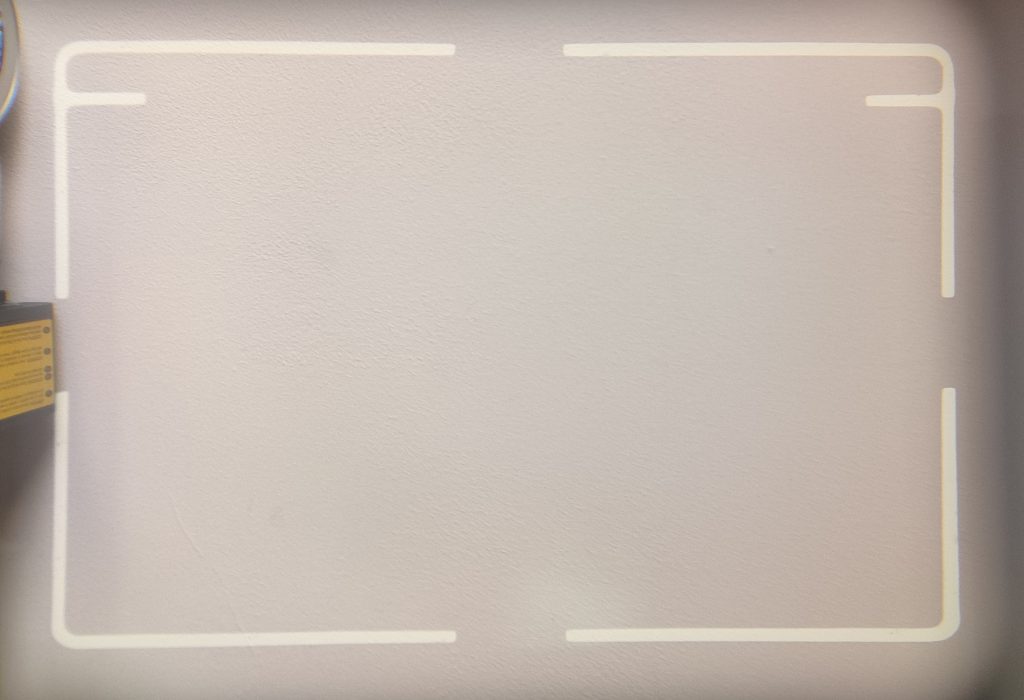
The view finder is very bright with a nice accurate guide inside.
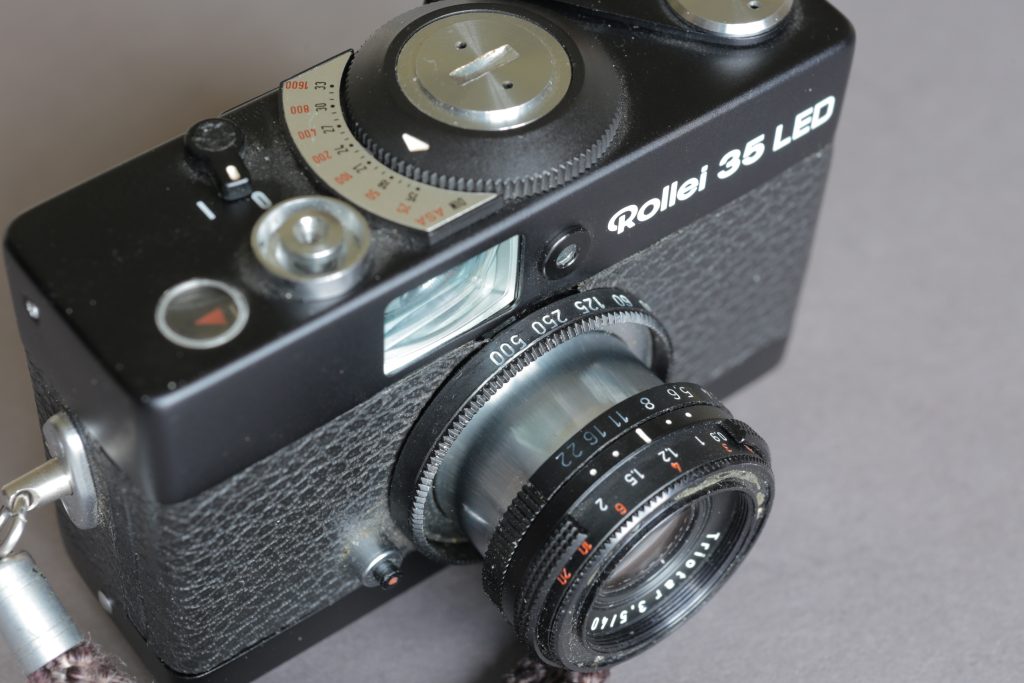
Focusing the camera you need to use the distance scale on the lens. The closest distance is 3 feet all the way to infinity. Or 0.9 Meters. Meters is shown in white on the lens.
There is no shoe mount on top of the camera for a rangefinder. That is on the bottom of the camera. So not ideal for a rangefinder but if you are familiar with Zone Focusing then you can shoot away happily at f8,11,16,22 and get sharp images.
I love the fact that the camera is fully manual meaning I can get sort of creative with it, however, I don’t feel this is a camera I would want to be creative with. I liken it more to shoot and run camera, as long as you have dialled in your exposure and focus zone. So ideal for street photography, photo reportage work, family events, holidays etc and it is so light and compact it has no feel of threat like a large DSLR.
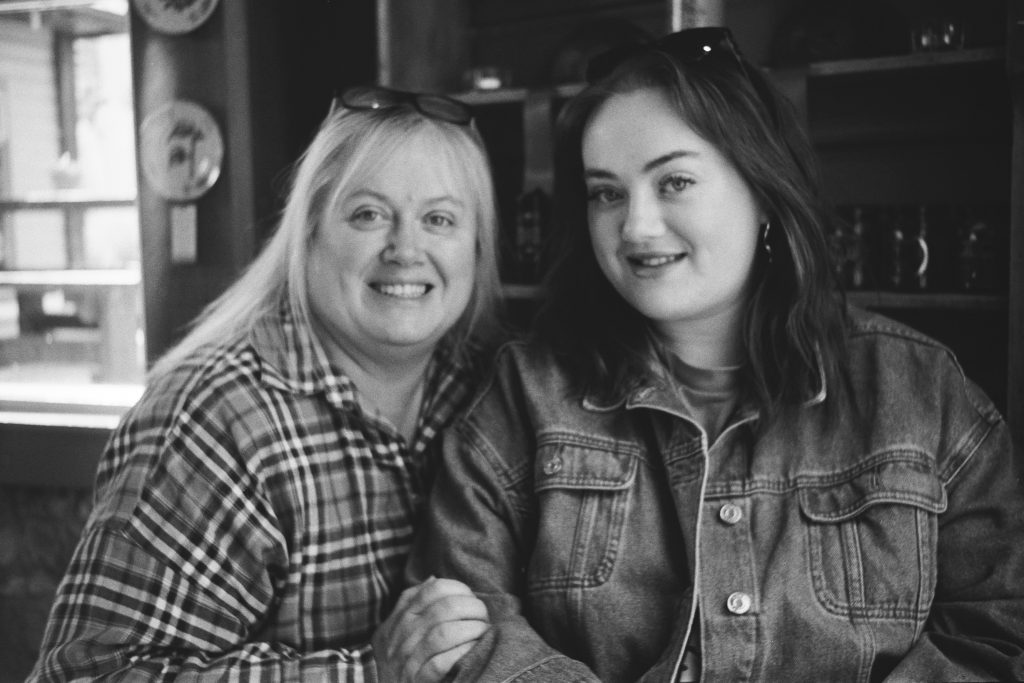
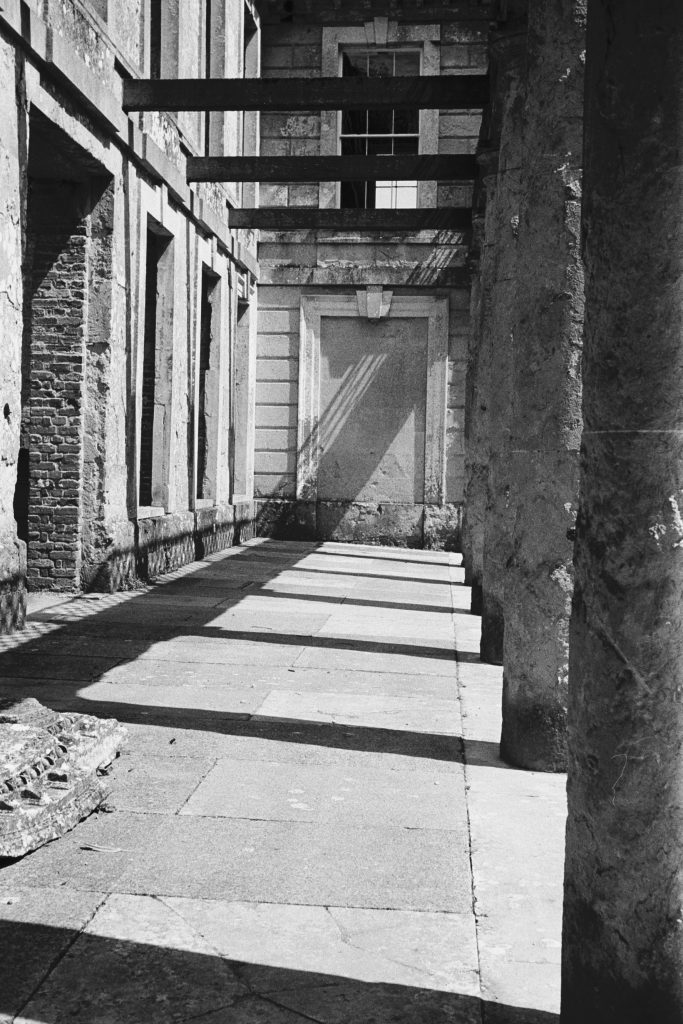
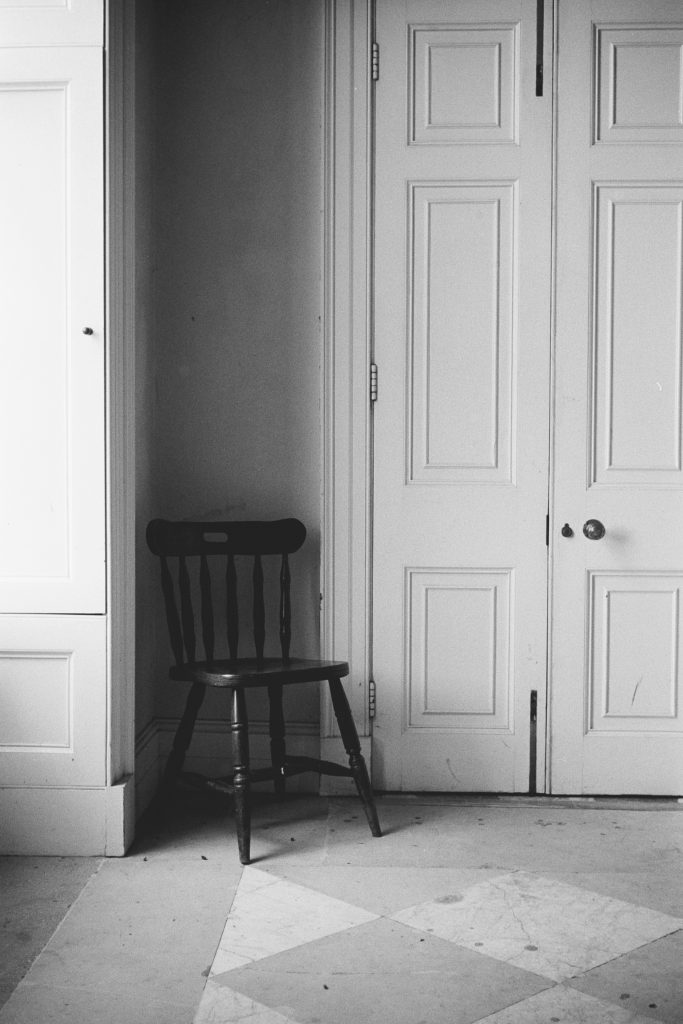
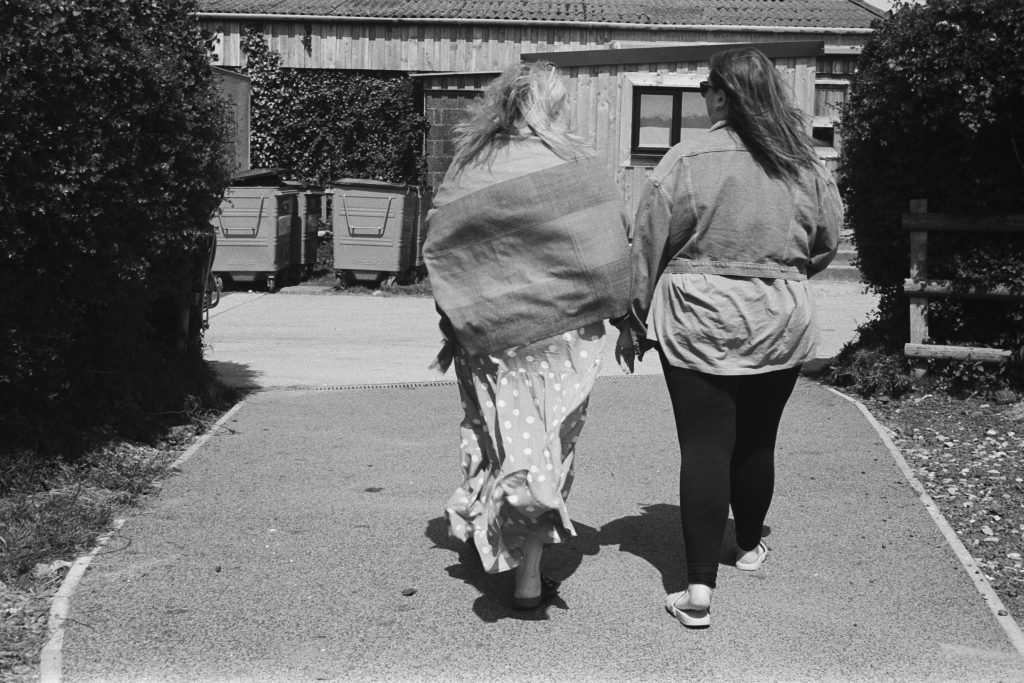
As for the lens I found it to be very sharp indeed and here are some results I have had so far.
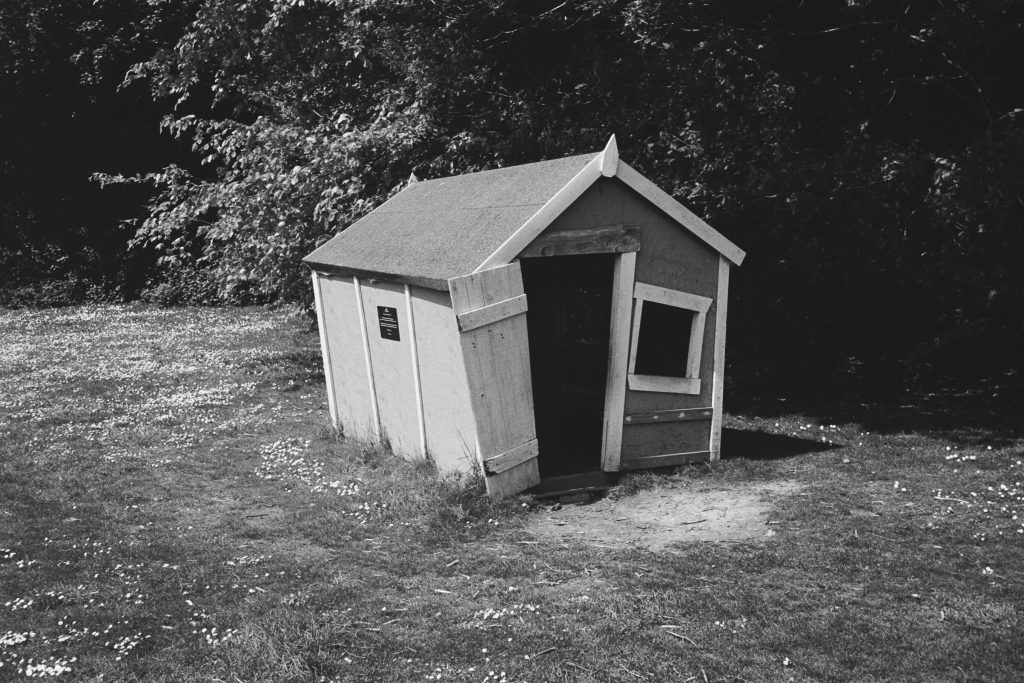
Kodak TX 400
Developed in D23 Developer.
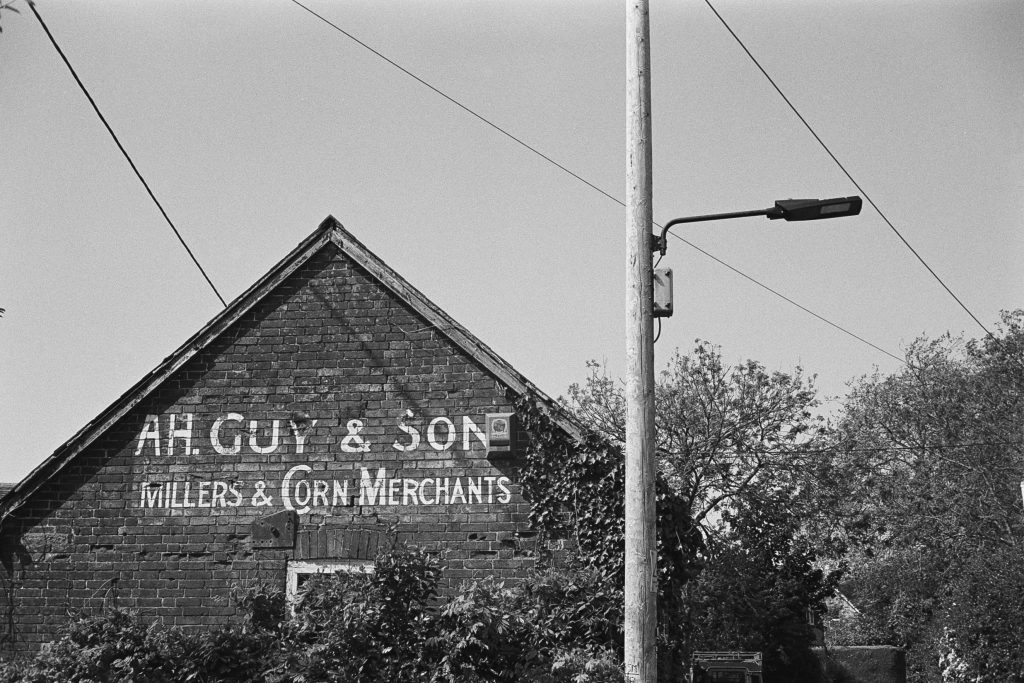
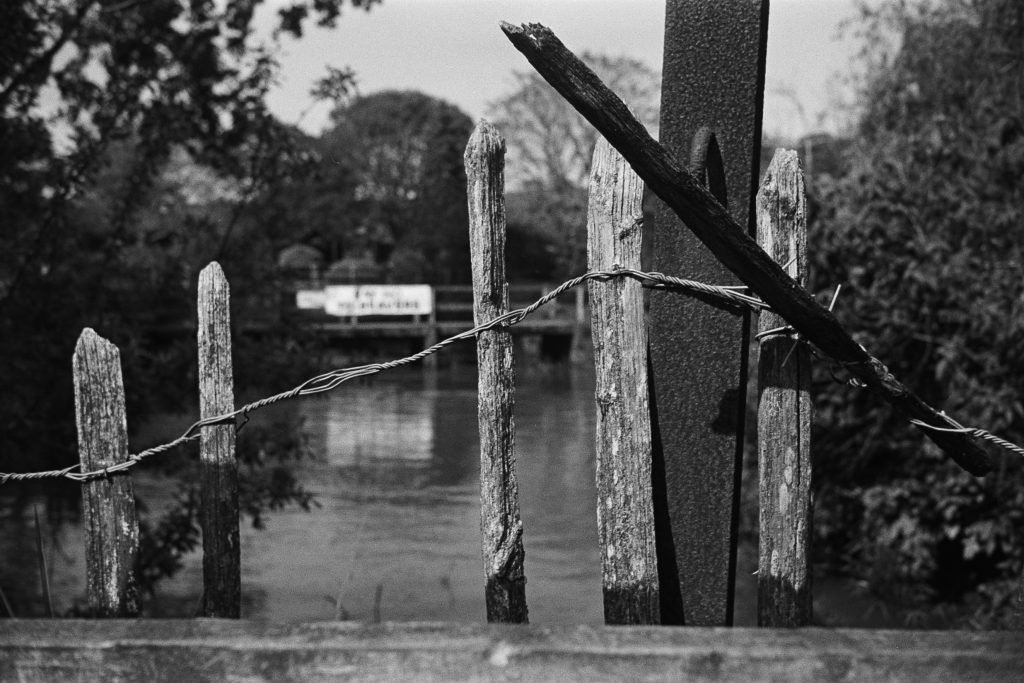
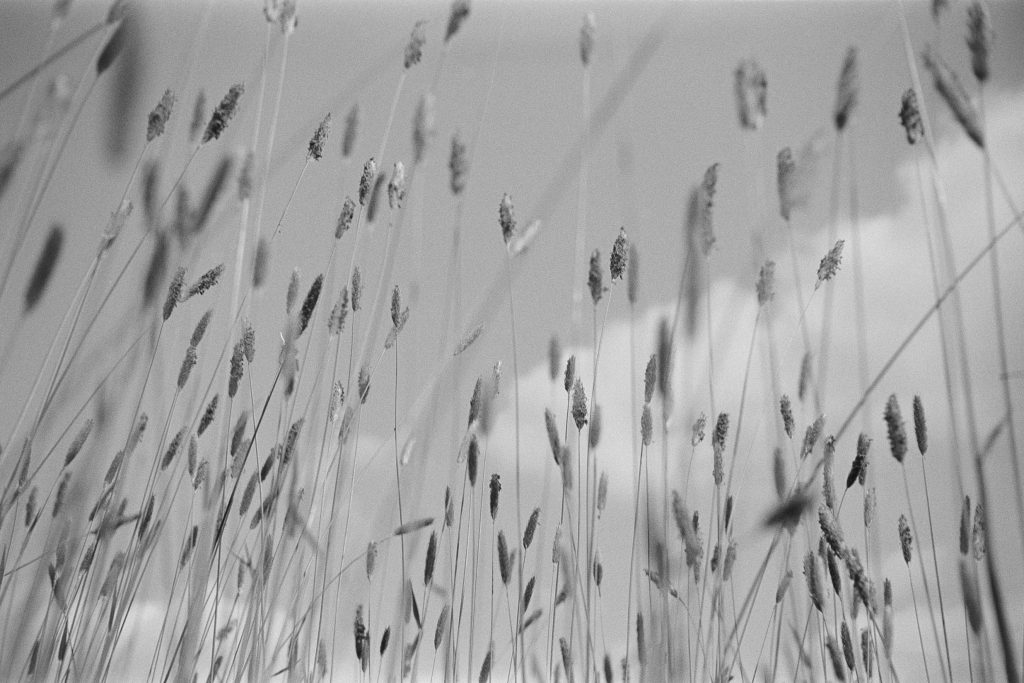
AGFA APX 100
Developed in Rodinal
Black & White Filters
To most of you starting out in Film Photography you will often come across the use of colour filters for black and white photography and it can be a little confusing without trying them out for yourself and even then you can still be left a bit miffed as to when to use them.
The only filters I use often are Orange and Red but only to enhance my sky. So in this post I use a Leica Q2 Monochrome Camera to show the filters in use. The Q2 is a pure black and white camera so the filters work perfect to show examples.
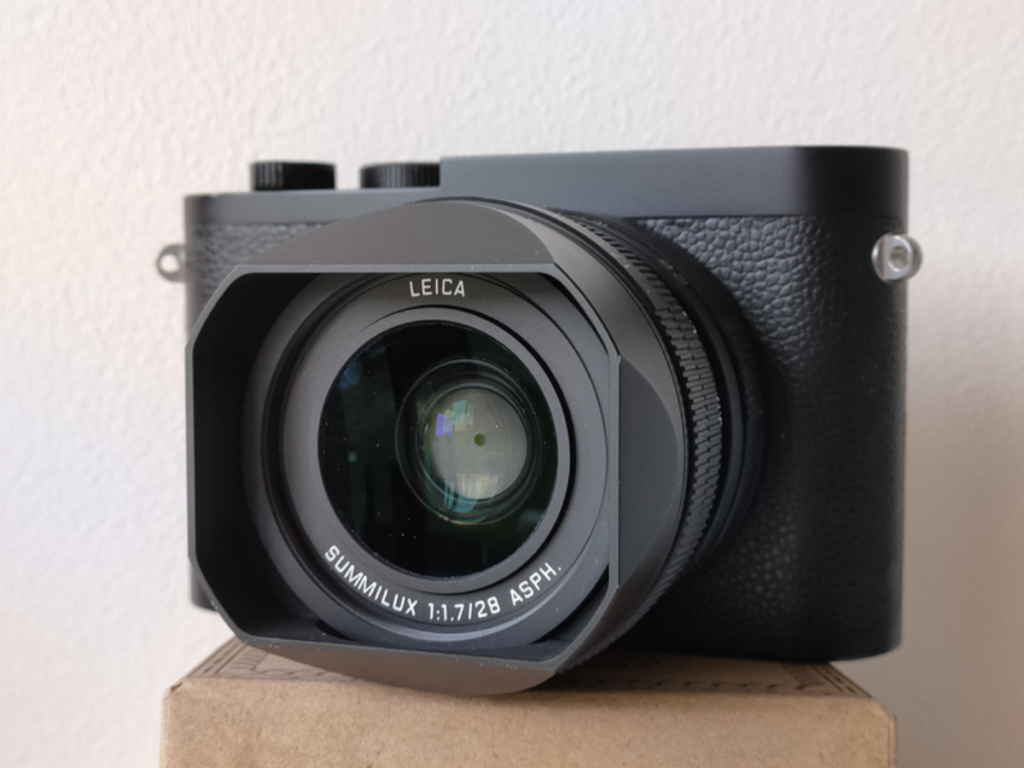
The only difference is that some films can vary on the spectral sensitivity chart and react differently to some filters. Such as an Orthochromatic film won’t be ideal for a Red or Orange Filter as those films are not sensitive towards the end of the spectral chart and sensitivity dips off around 550nm. Other than that I am quite free to use this camera for a comparison.

I use Cokin Filters that come in a set of 4. I also have the lens attachments for my cameras.
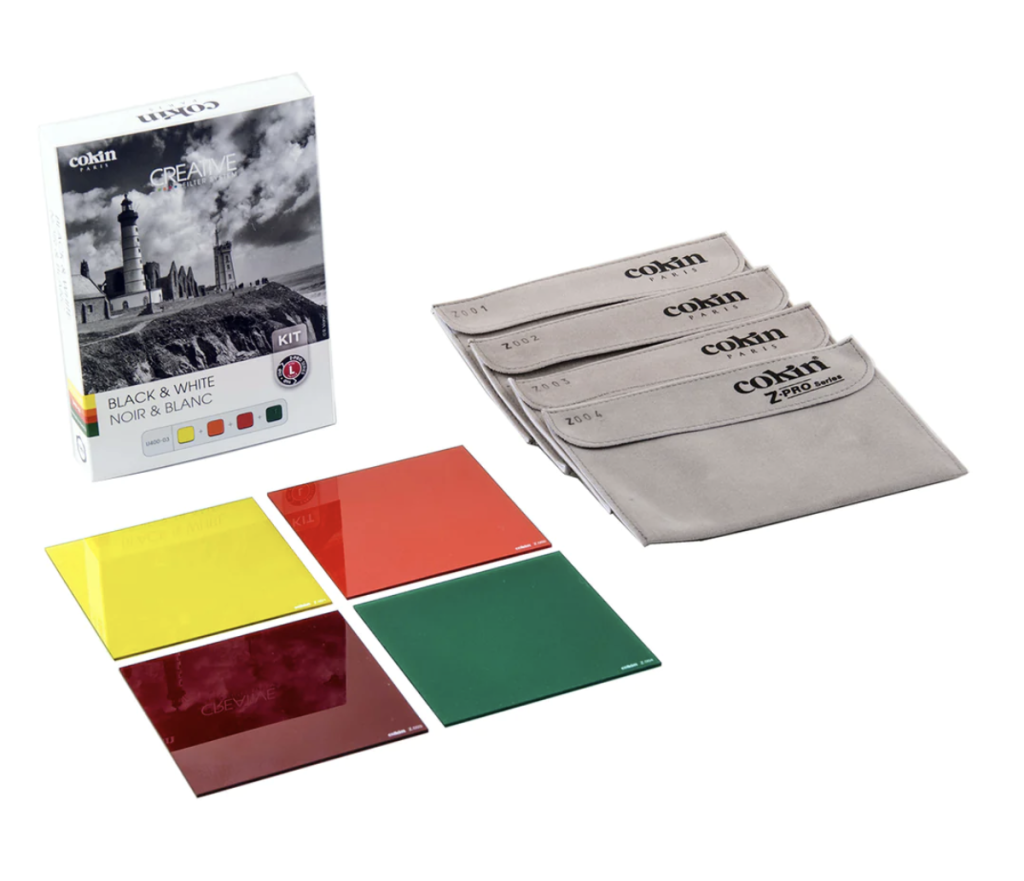
The most common filter is the Yellow Filter. If you want to read what these filters do I don’t need to ramble on you can read ILFORDS post here
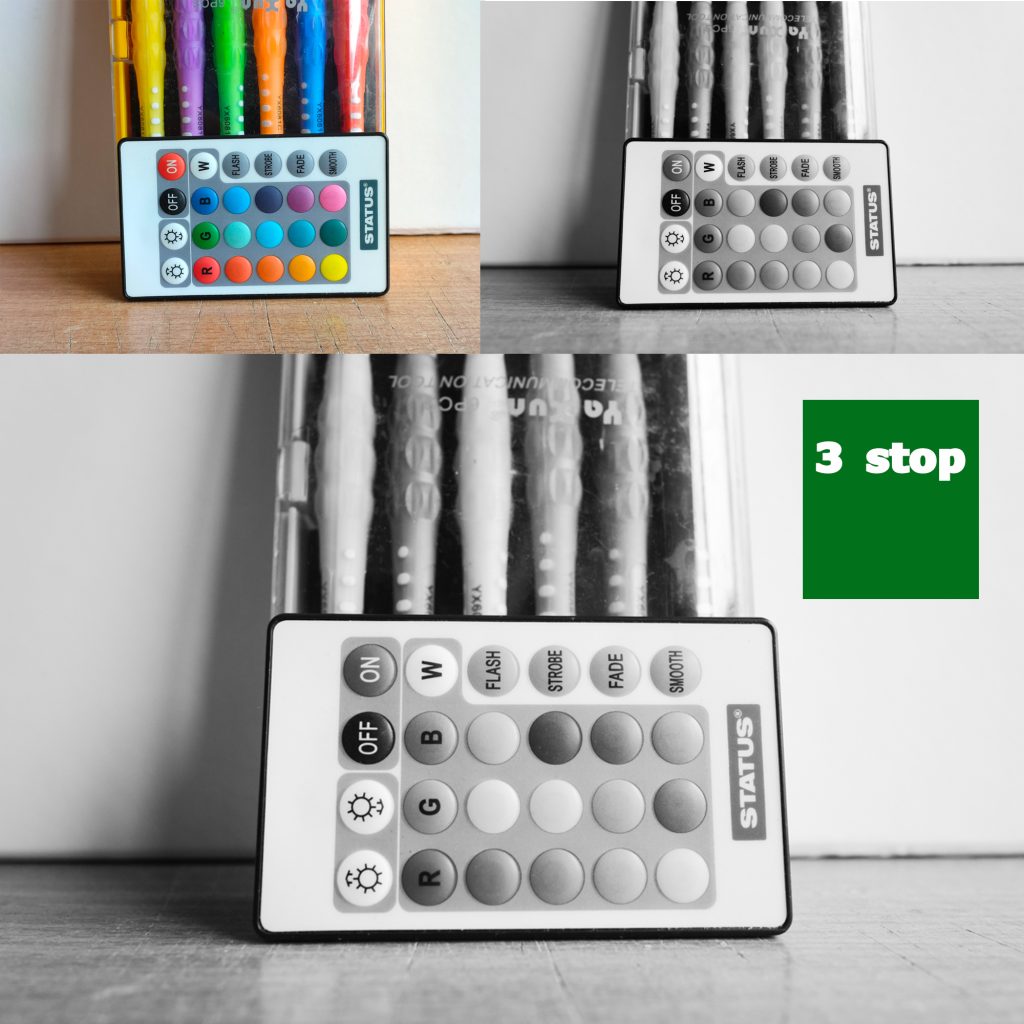
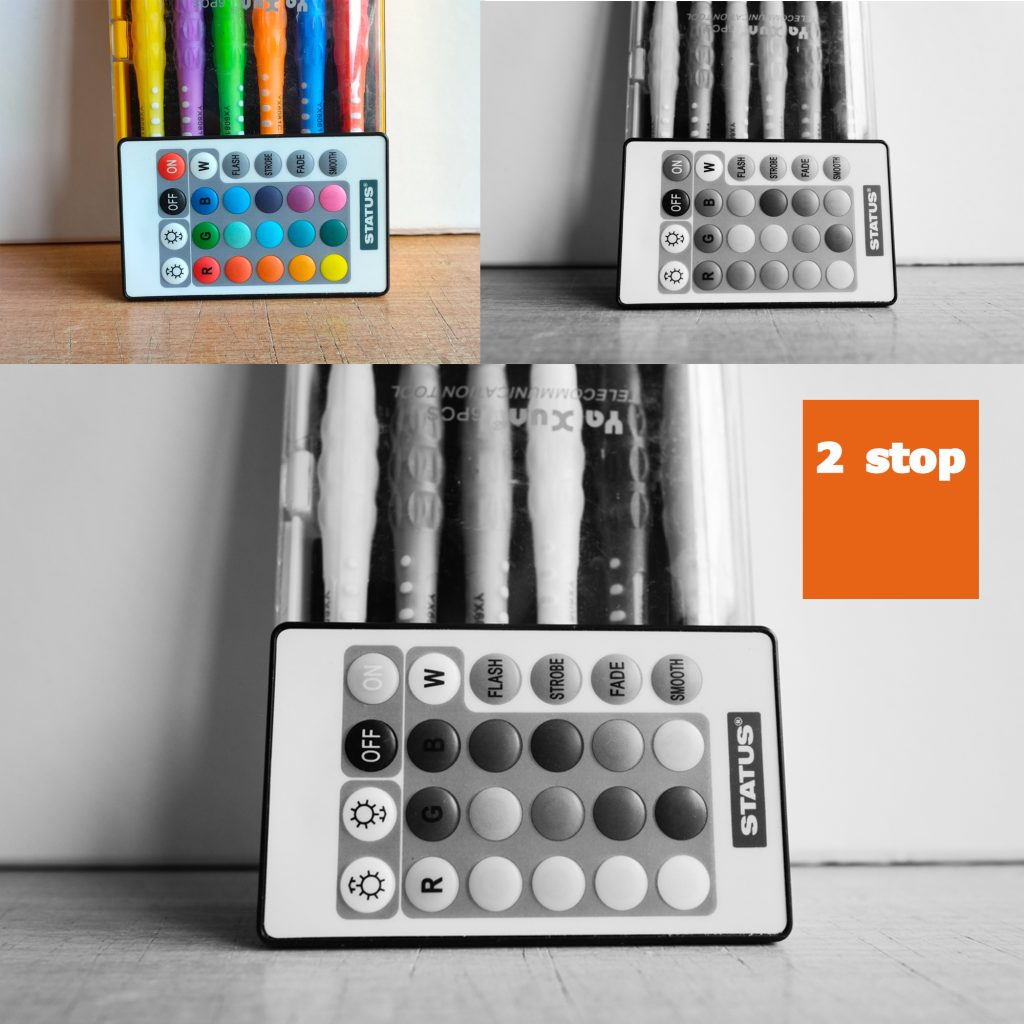
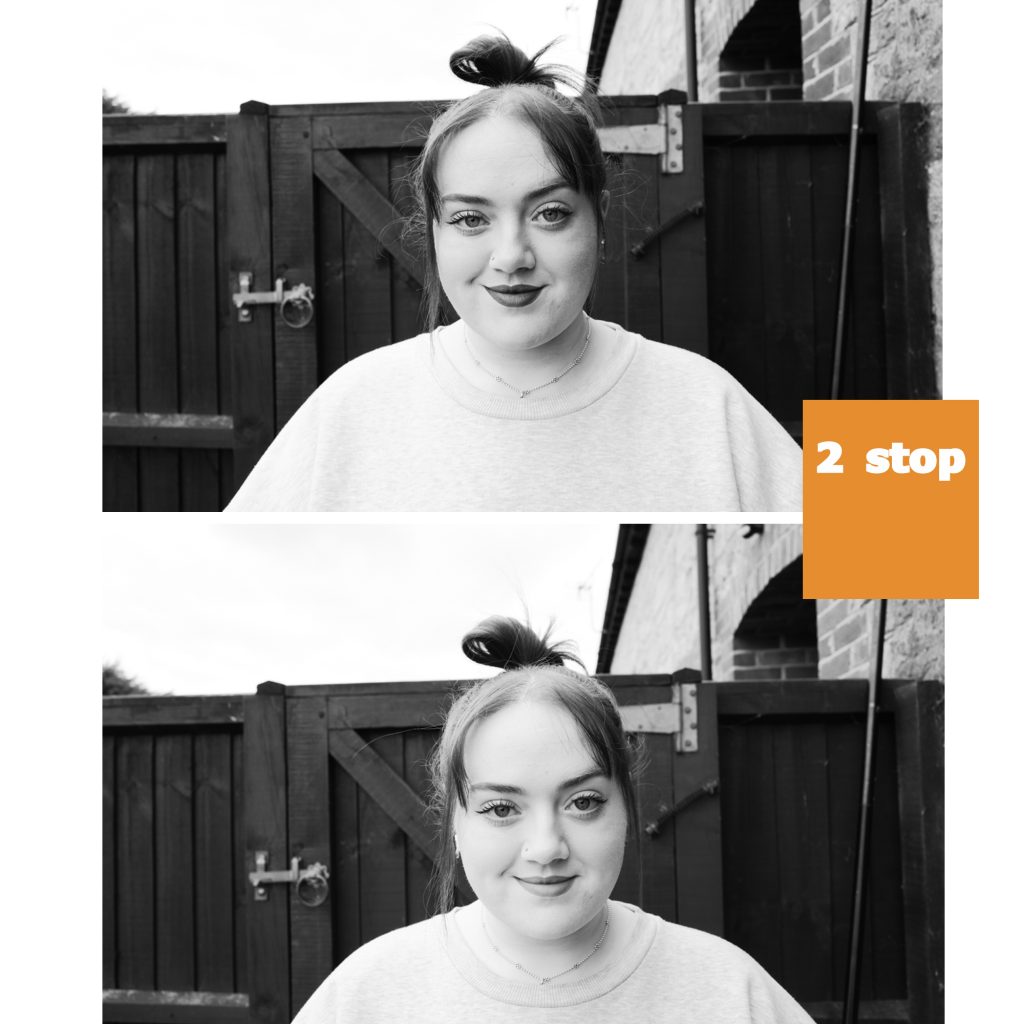
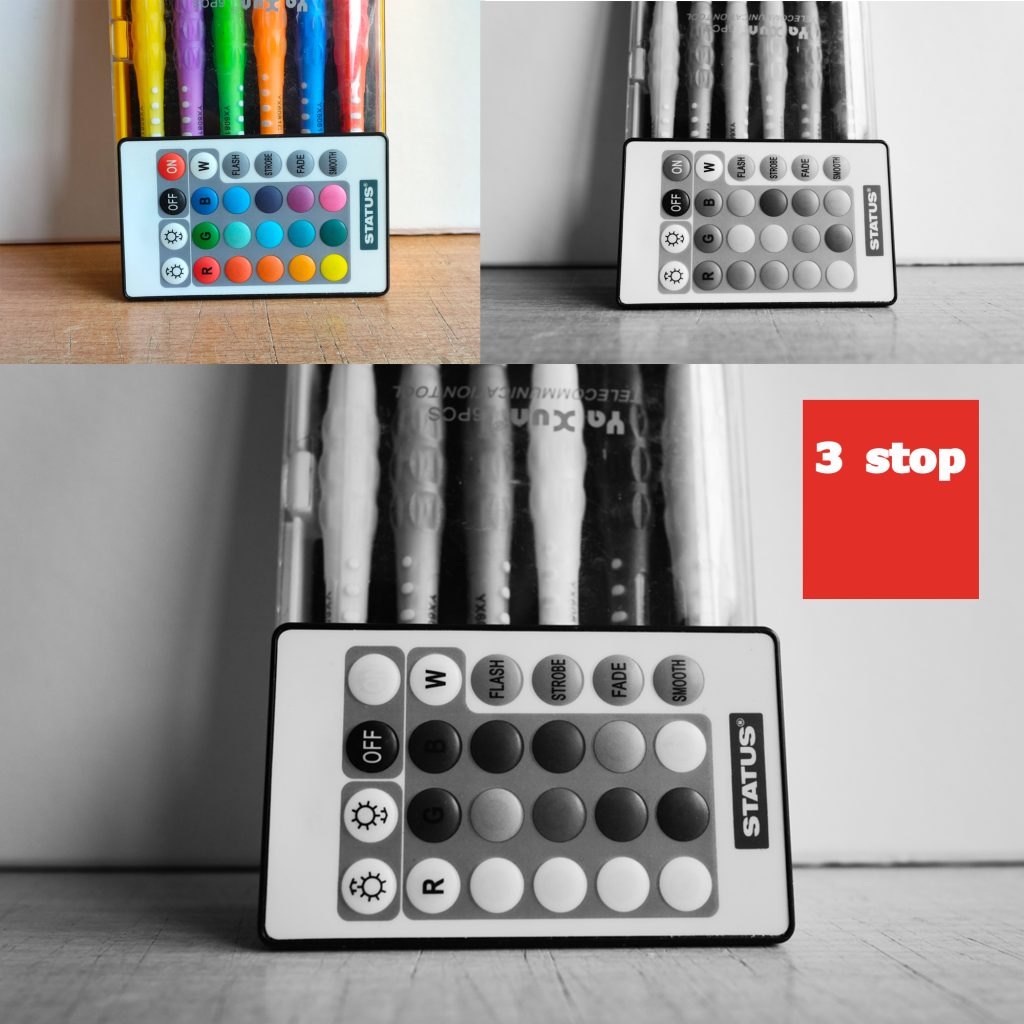
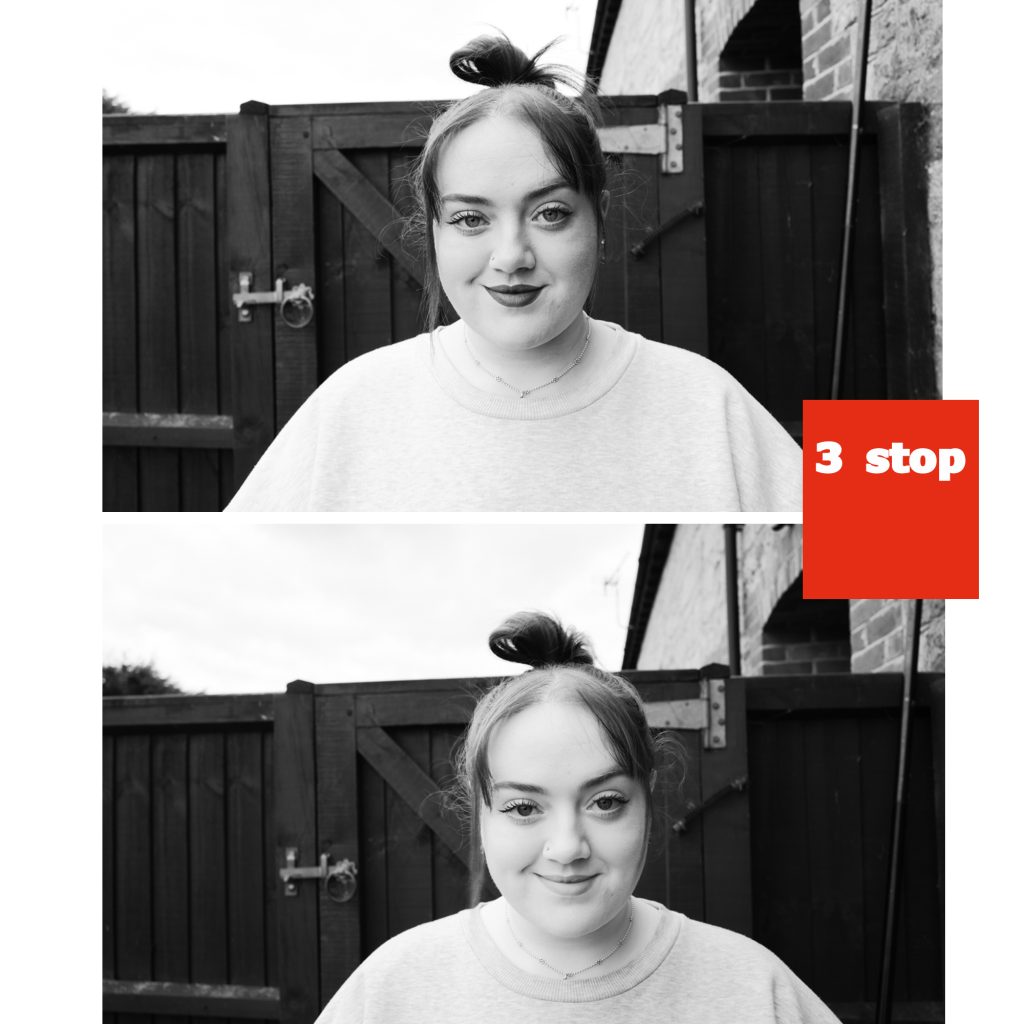
Here are my examples for you to see. Because of the density of each filter you need to over expose your images by a certain amount. You can see how many stops I over exposed to compensate for the filter in the images below.
Also it is worth noting that a colour filter will lighten its own colour. So a red rose using a red filter will appear a lot lighter. Green Grass with a Green Filter will lighten the grass. And so on.
GREEN FILTER
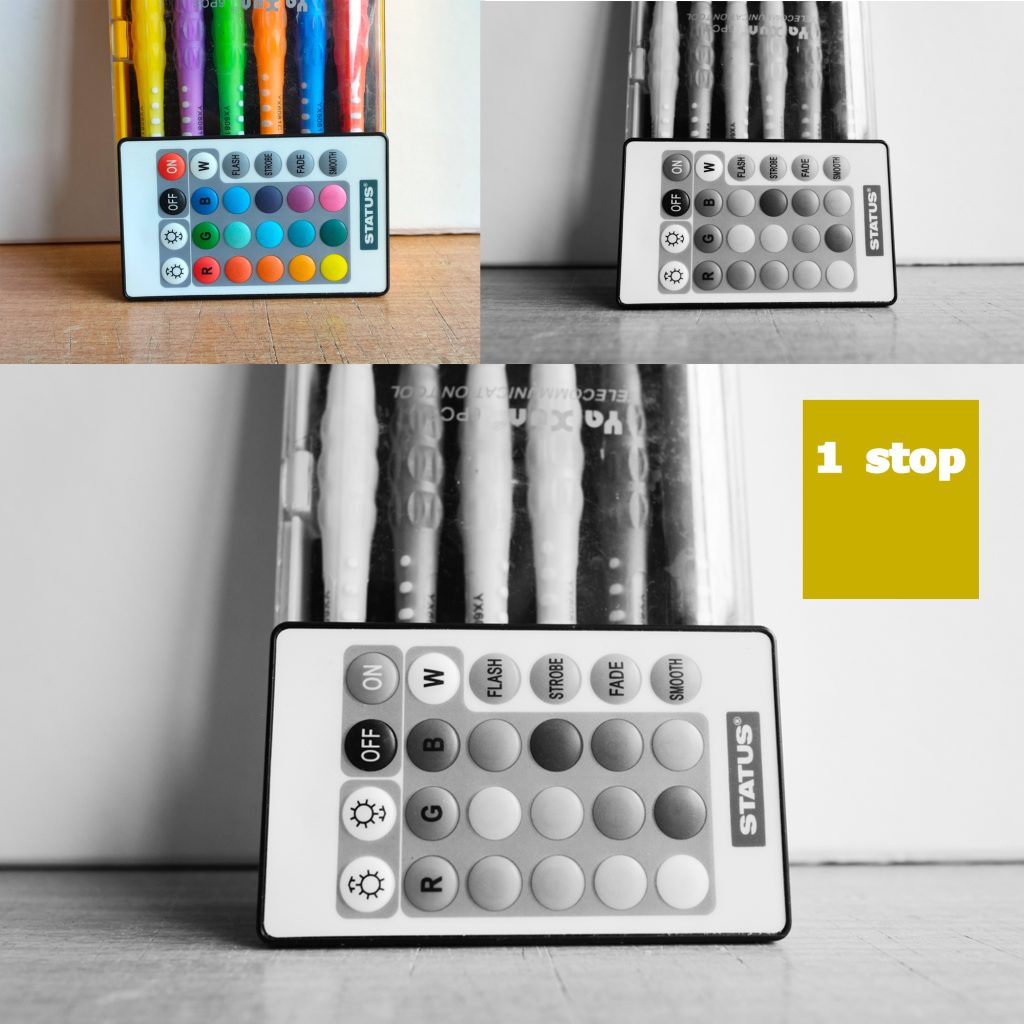
I don’t have a professional colour palette so I used my LED controller. Cheap I know but still shows colours. The top right image is with no filter.
You can see how the Greens are lighter. So is the Blue.
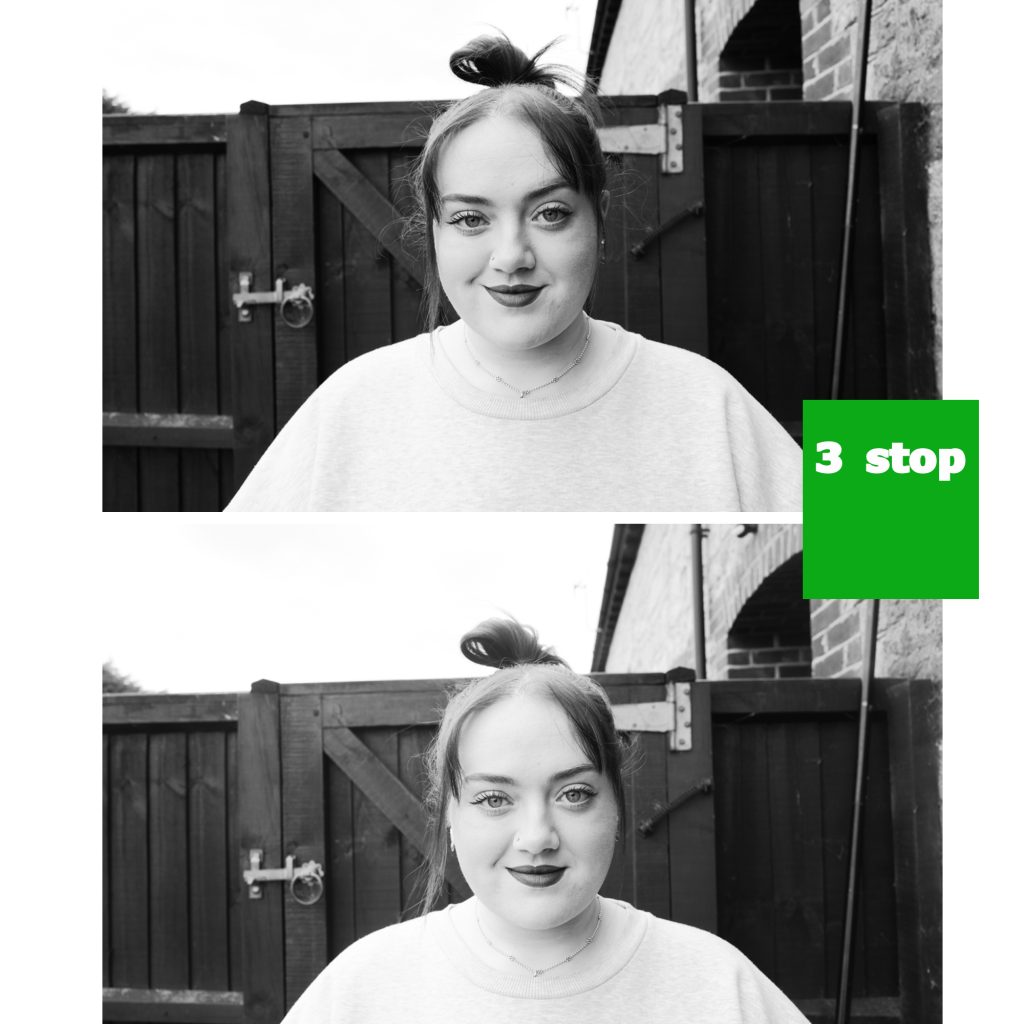
On the portrait you can see the differences. Green Filter appears to lighten the skin tones as well as lighten the blue eyes.
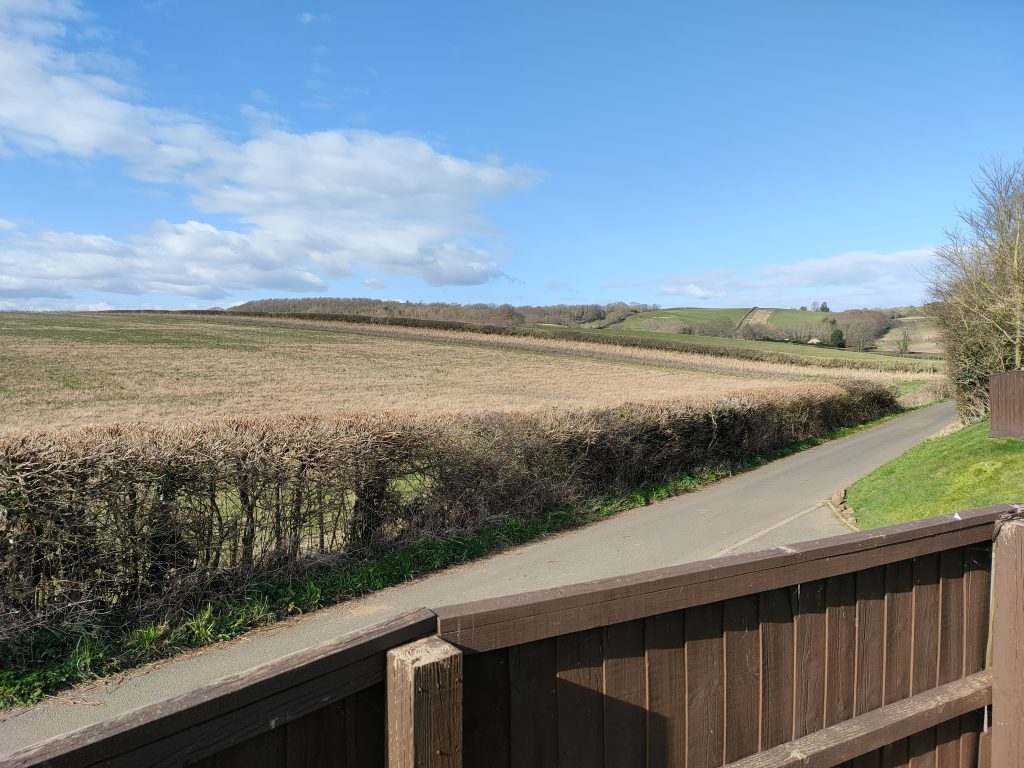
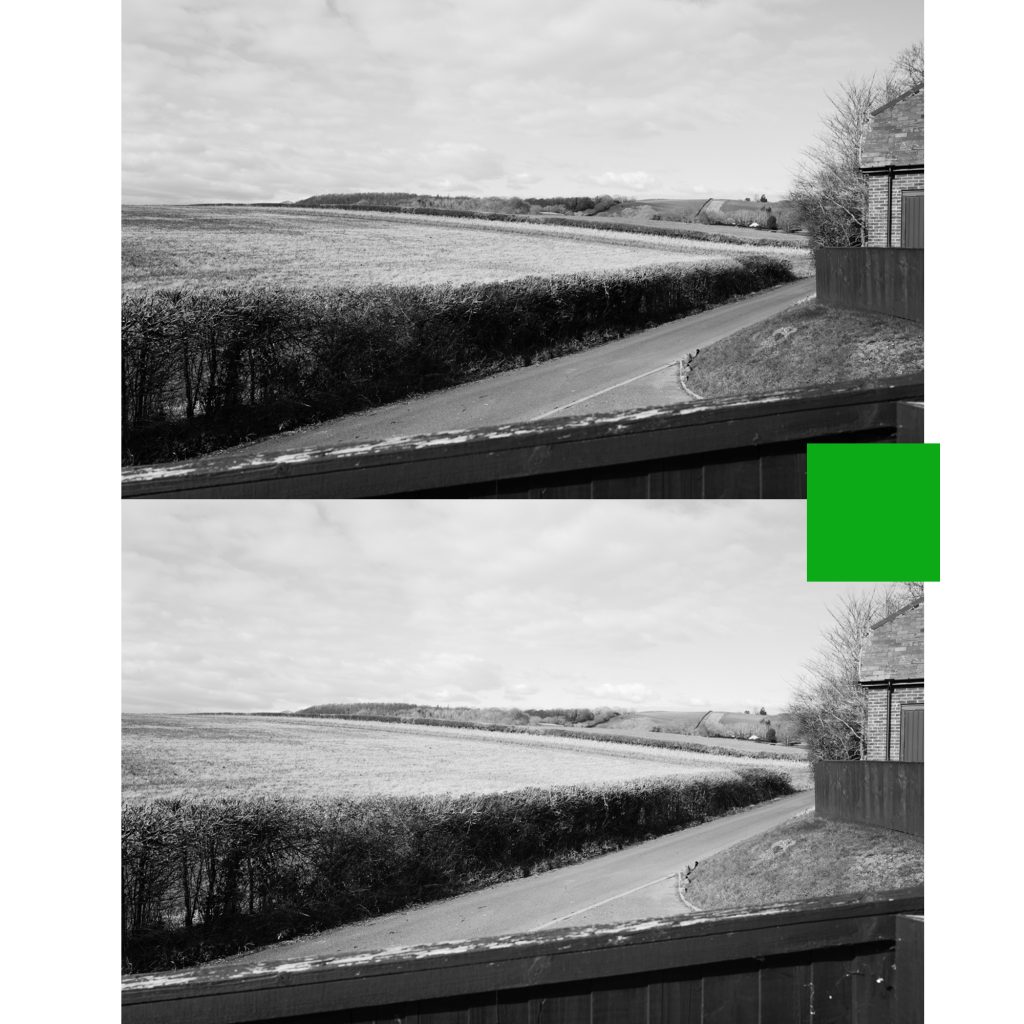
And here is a landscape. (Top being no filter) You can see how the greens are lighter.
YELLOW FILTER
Not a great deal of change. Just appear a bit lighter whilst deepening the Blues very slightly.
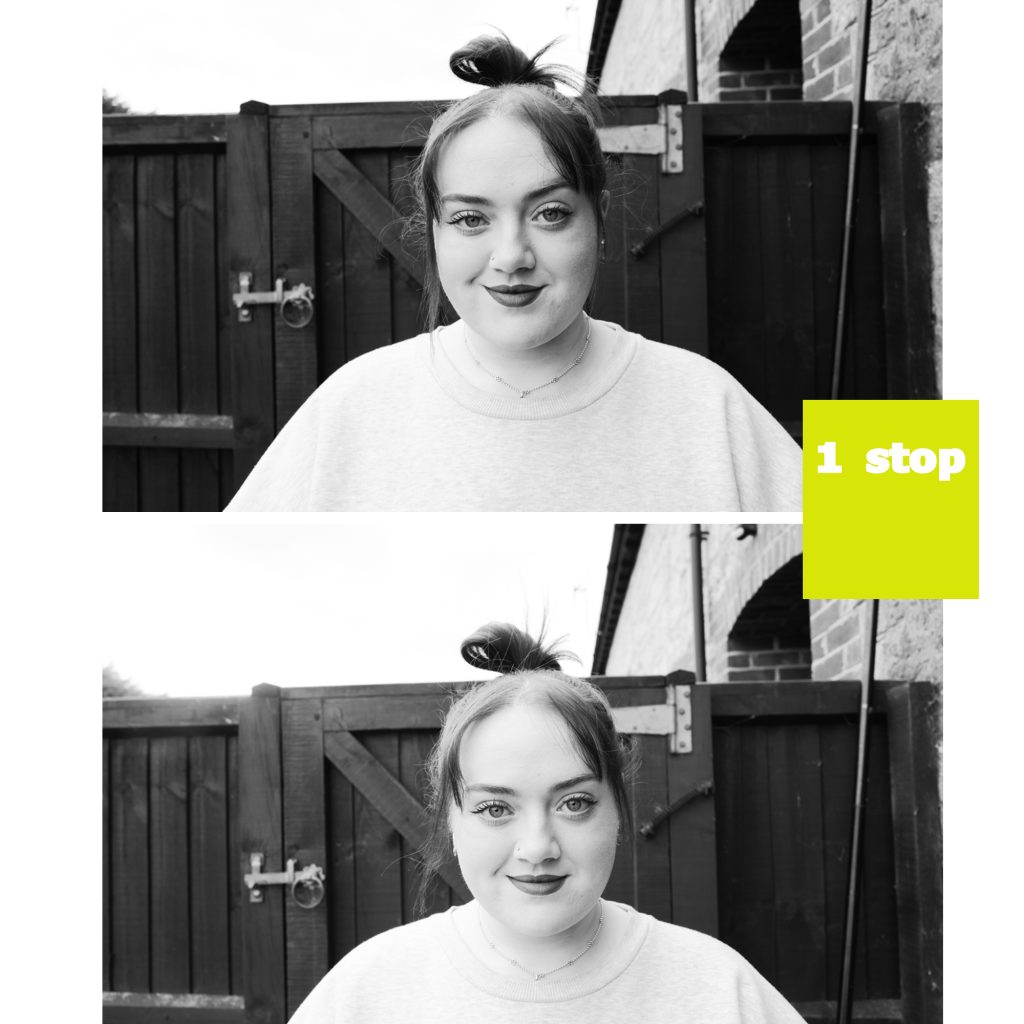
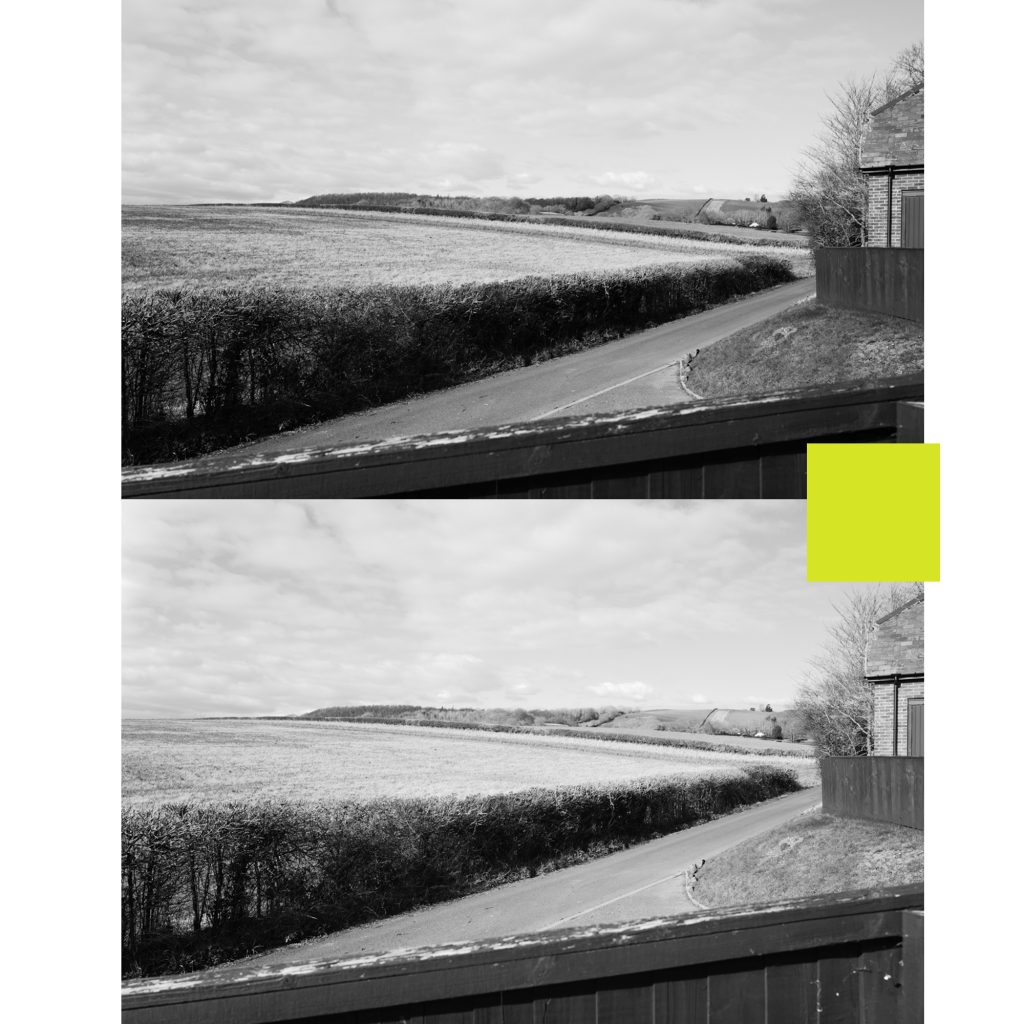
ORANGE FILTER
Notice how there is now a dramatic change in the Blues and Reds. The Blues are a lot darker.
Not so nice fir a portrait.
Check out the blue sky on the landscape. The clouds have popped where the filter has darkened the blue sky.
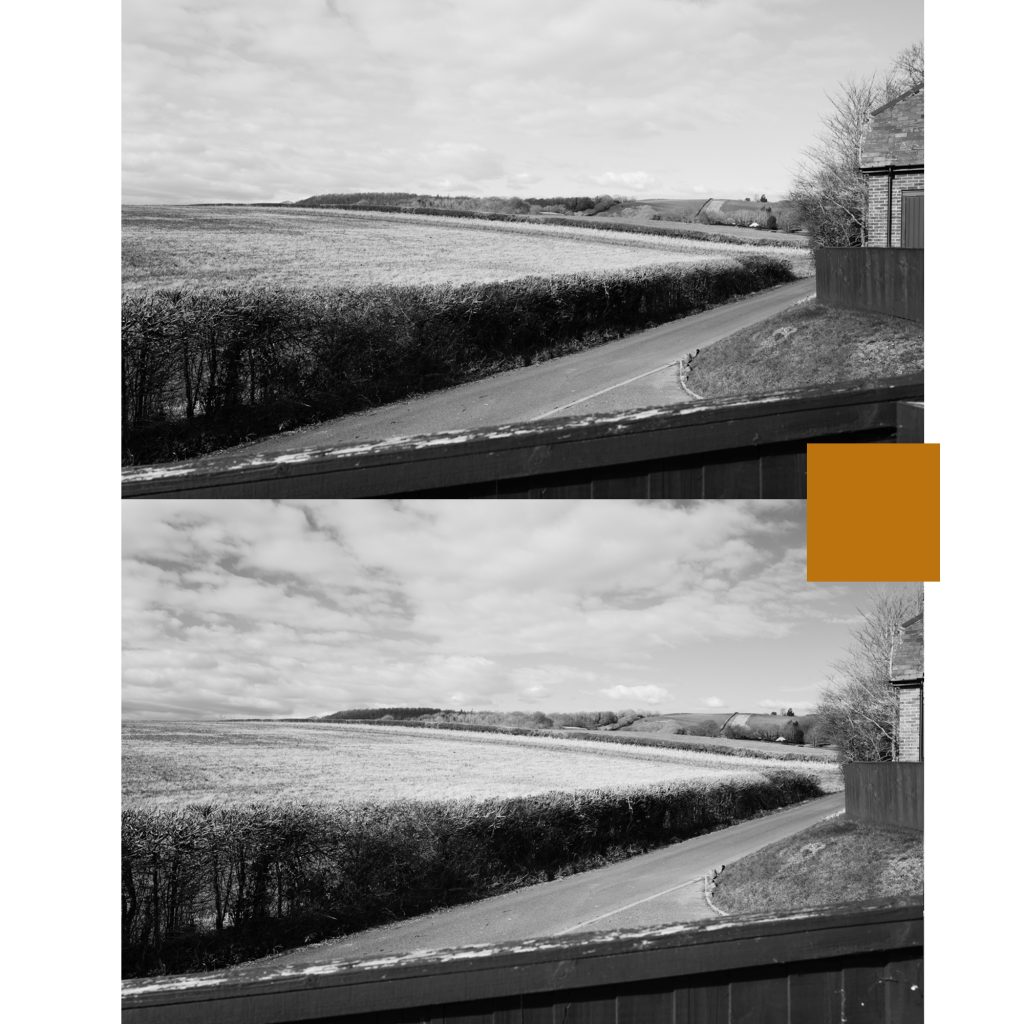
RED FILTER
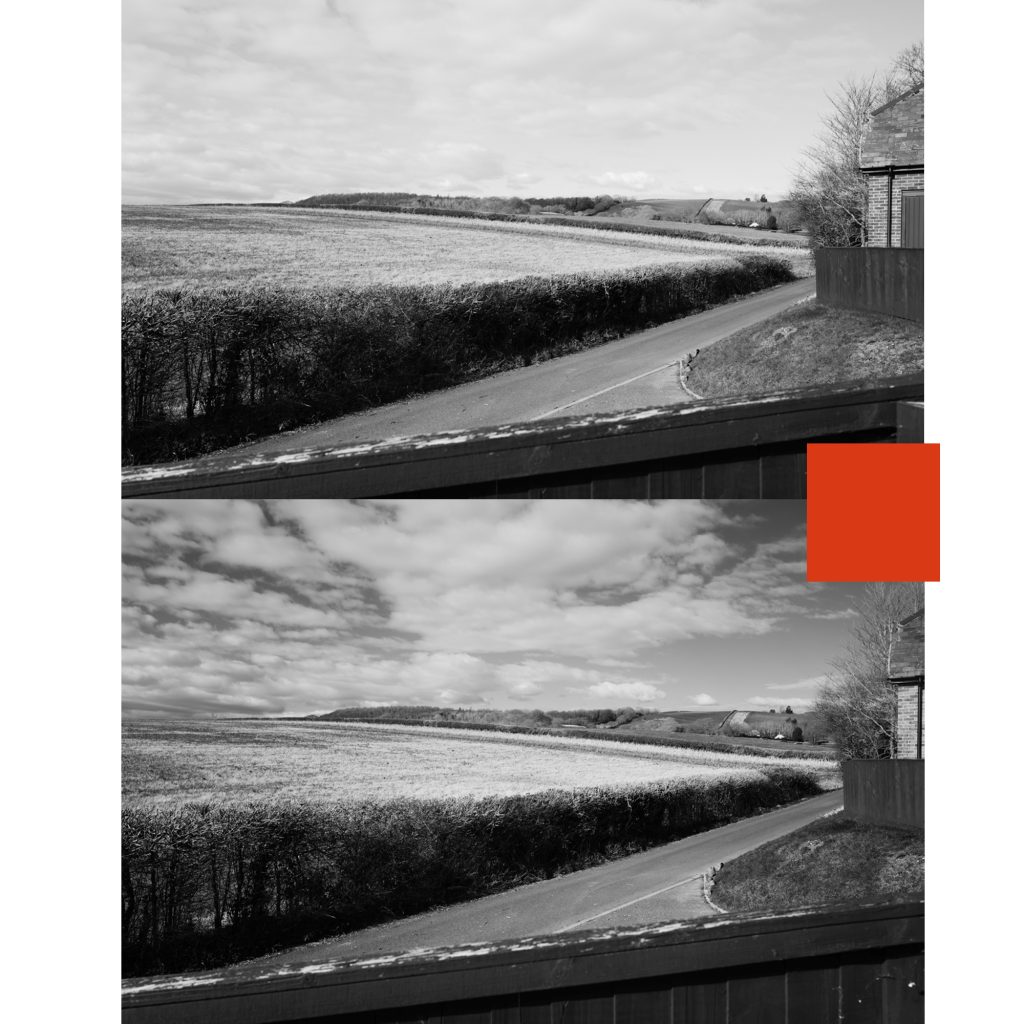
The Red filter gives a more dramatic change than the Orange.
The Portrait is really not nice at all with a Red Filter.
But the scape looks really dramatic.
I hope this has helped anyone with these examples but really the best way is to get some filters or one at a time and see what it does to your photography in different scenarios and lighting as well as using it with different films or your favourite films.
Explaining a few Photos from Bahrain
If you have not seen my recent trip to Bahrain then here is the video. And if you don’t know where Bahrain is it is a small country in the Arabian Gulf, next to Saudi Arabia. It is literally an island not much bigger than the Isle of Wight. In fact, it’s a Kingdom with its own Royal Family and a beautiful peaceful and friendly place to visit.
I was there for 12 days and in that time I took many photographs using the Leica MP with a 50mm lens and film stock Kodak TMAX 400 ad Kentmere 400. I also took two digital cameras, a Leica Q2 Monochrome ad a Canon 6D.
Street Kids
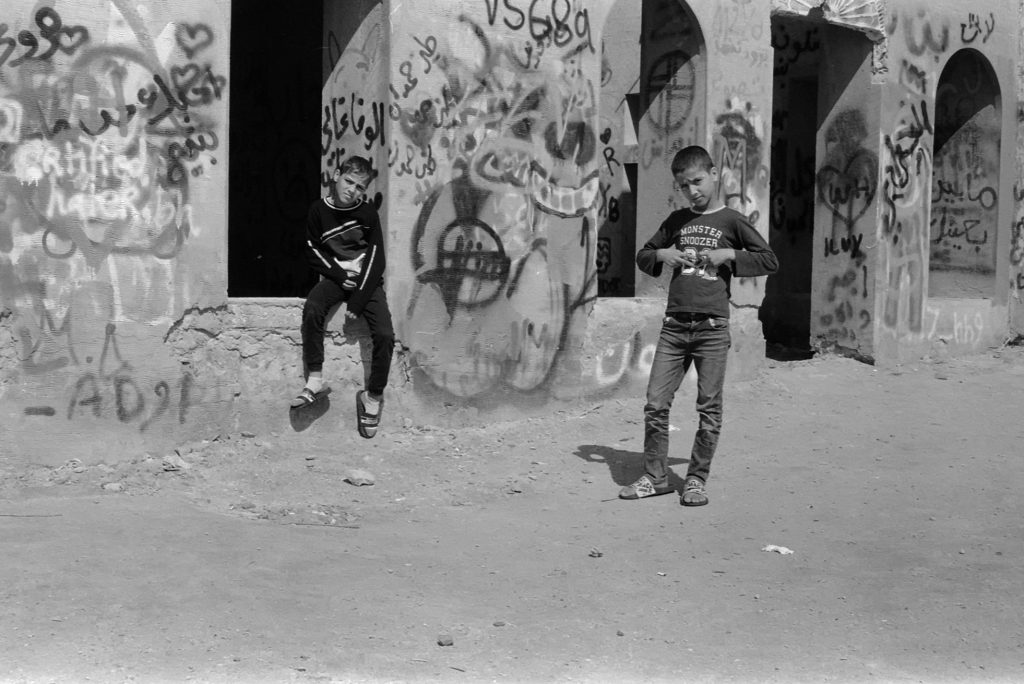
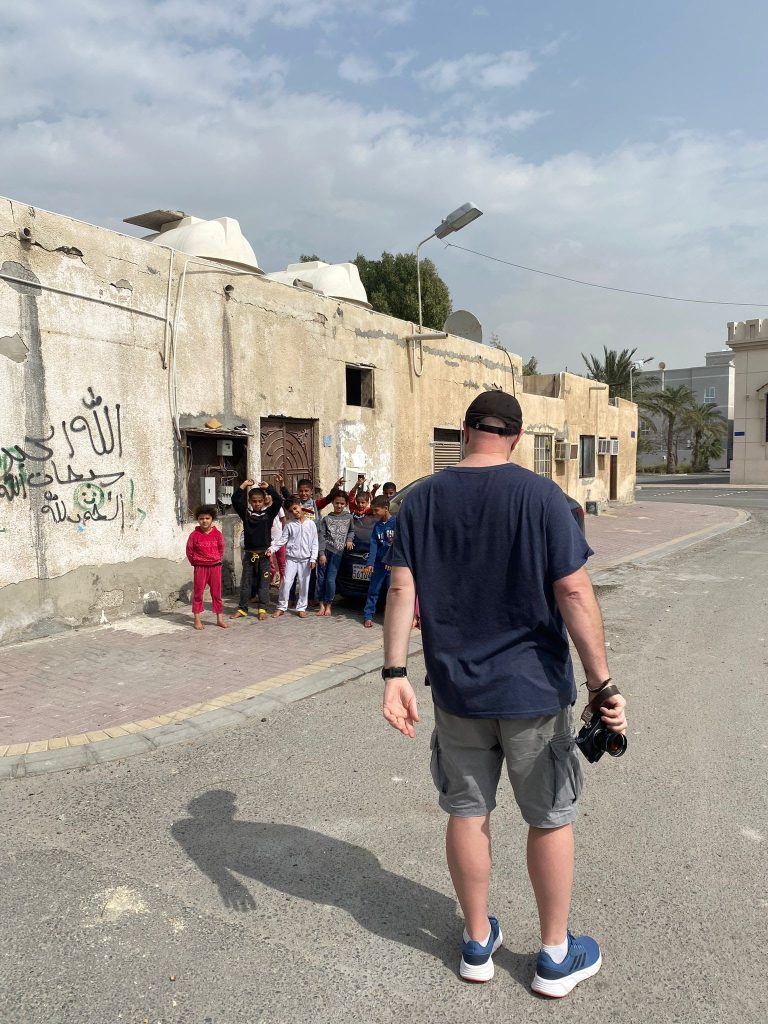
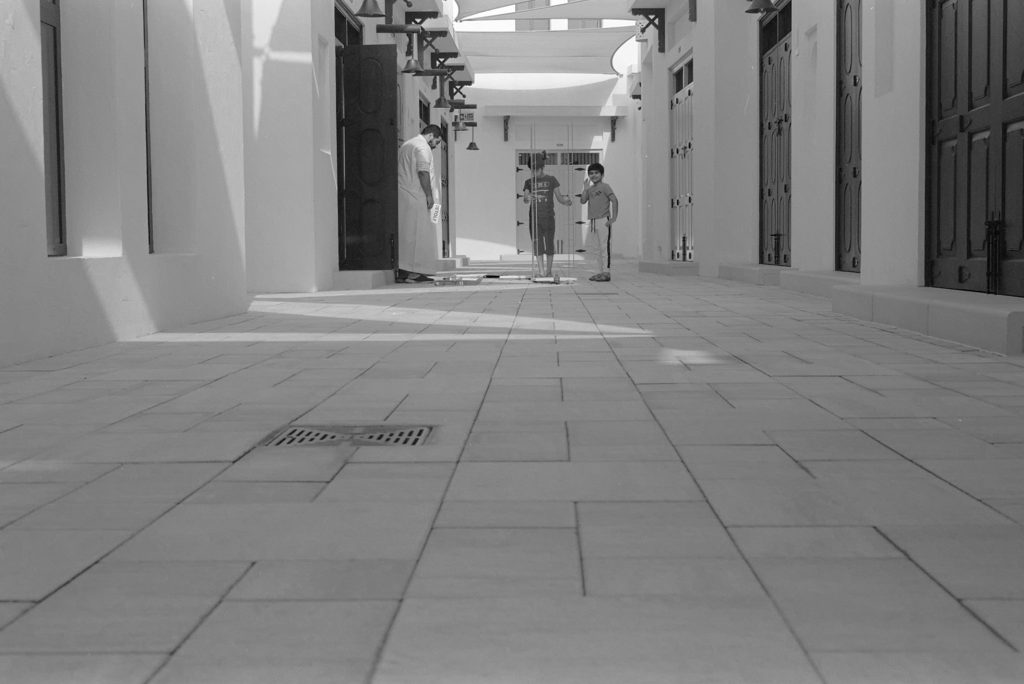
This photograph was in an area called Zallaq. It is a small town. One side has a beautifully developed shopping area with restaurants and coffee shops ad the other side is a small local shopping area mostly resided by the Indian community. Not too far is a fishing area ad this derelict building where kids hang out. I took a bag of sweets into the area for the kids. In no way to entice them for photos. I intended to photograph the building but once the word was out that I had sweets about 20 kids came out of nowhere.
I was vlogging and taking pictures and these two kept following me about. I then took this photo. It was on the Leica MP with Kentmere 400 film and a 50mm lens. I wish I had a 28mm lens so I could get closer and still get the graffiti in. But why were these kids following me. I thought they were interested in what I was doing. Nope. I had a bottle of Pepsi in my hand. They wanted it. Once I gave it to them they left.
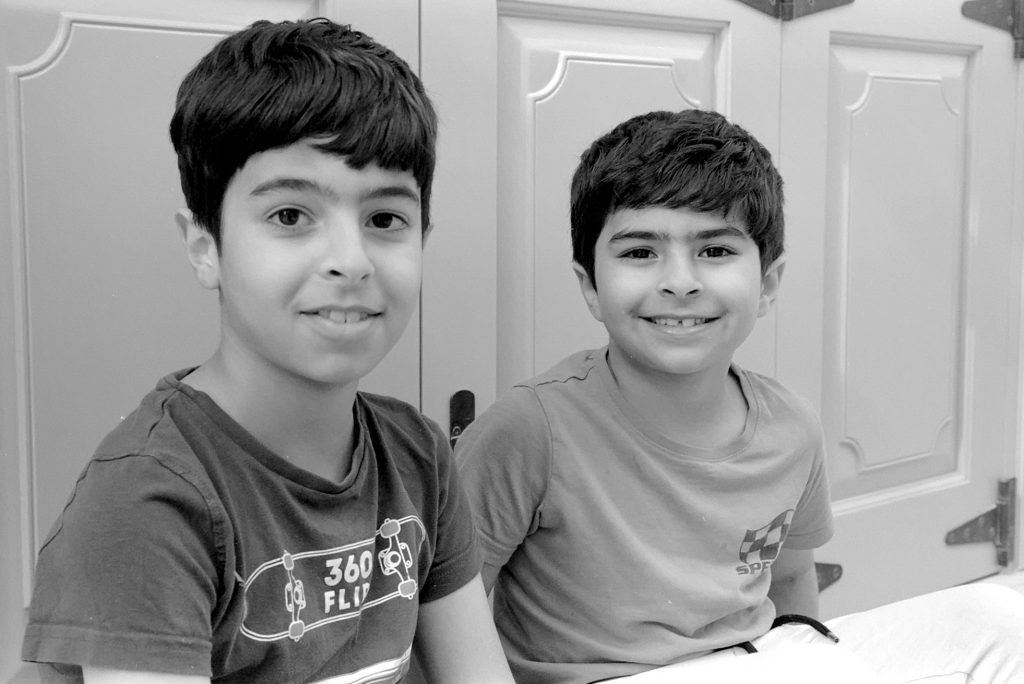
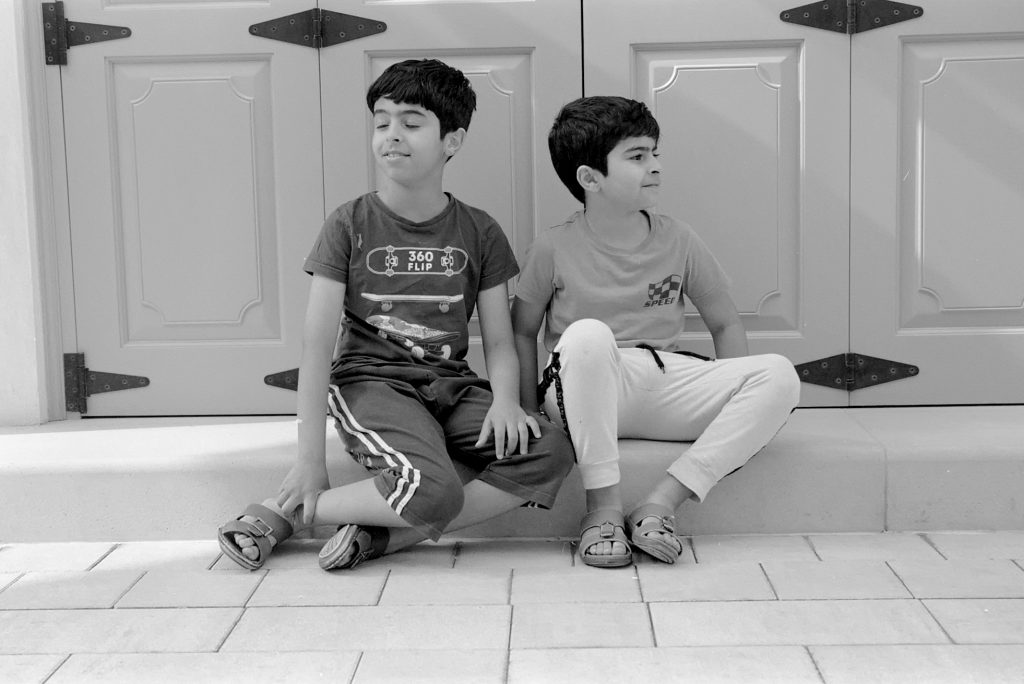
Bahraini Kids
The Iron
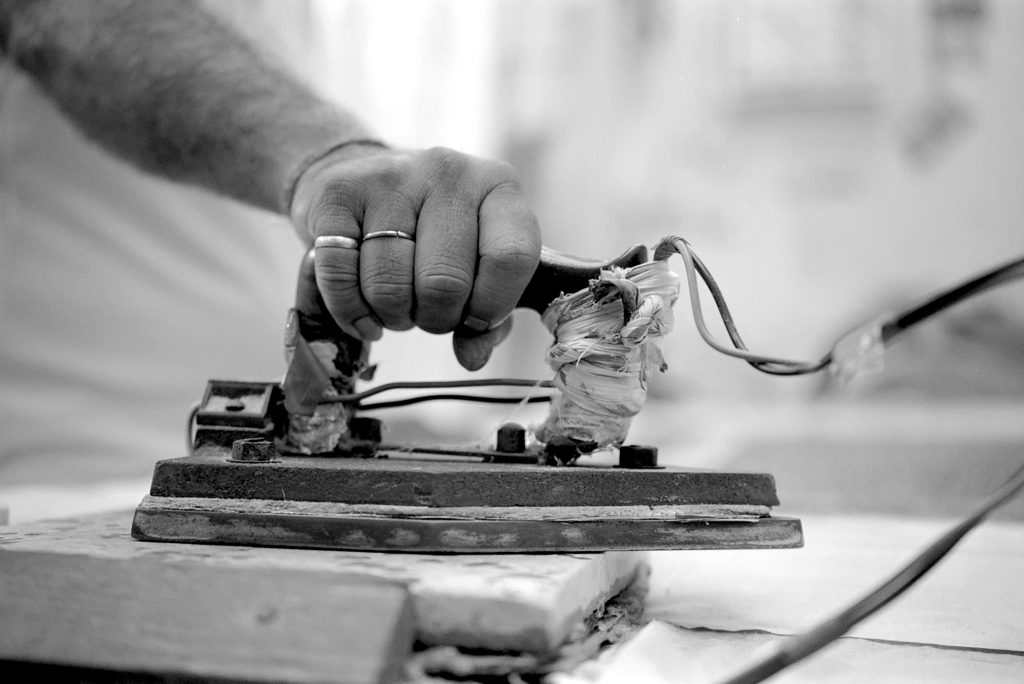
Striking whilst the iron is hot! This photograph was taken inside a small Laundry Shop in Zallaq. I was talking to this man who was ironing and I noticed the Iron he was using. Now this was a staged Photo. I asked the man to hold the Iron. I focused and took the shot. Leica MP 50mm lens. I was just amazed at the make shift wiring.
Kind Man
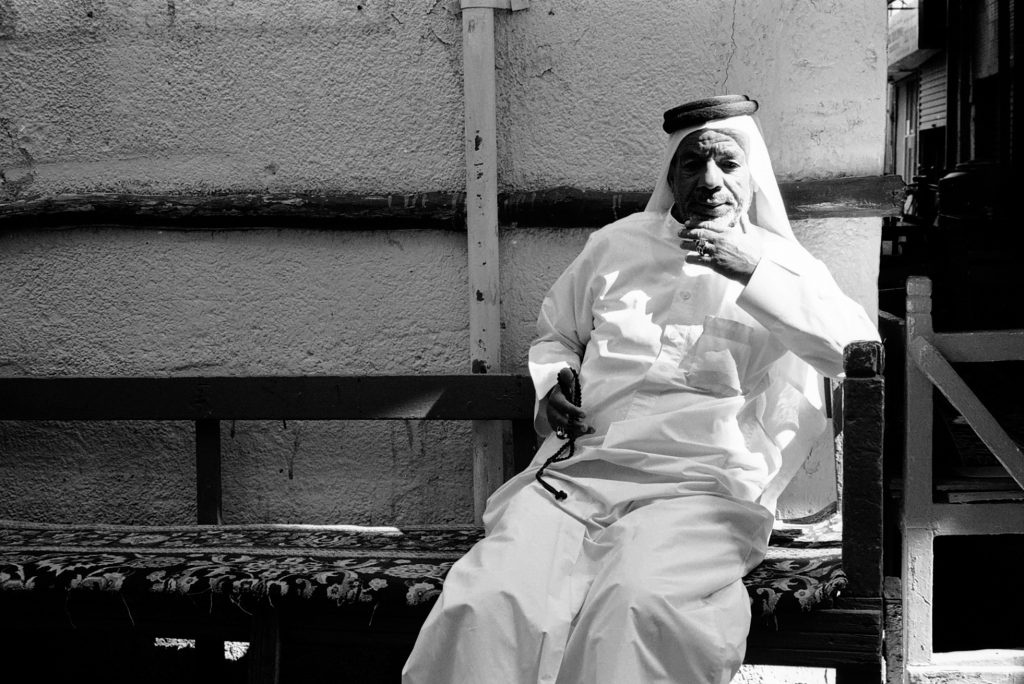
I was sitting down opposite this man changing film in a local Souke (Market Place) in Manama, which is the capital of Bahrain. I had been walking around for a couple of hours taking photos and must have looked tired as this man called over a guy from a coffee shop and offered me coffee. I accepted. Then they guy came over with a bottle of water. I went to pay and the guy pointed to this guy as if to say “He payed”. I thanked the man and took his Photograph. You will notice it is a bit punchy! It was taken with the Leica MP and a 50mm lens, however, I had the compensation set to two stops over exposed!! Thats why it looks heavy in the highlights. Still, these films can handle over exposure very well. I liked this one.
What a kind man!
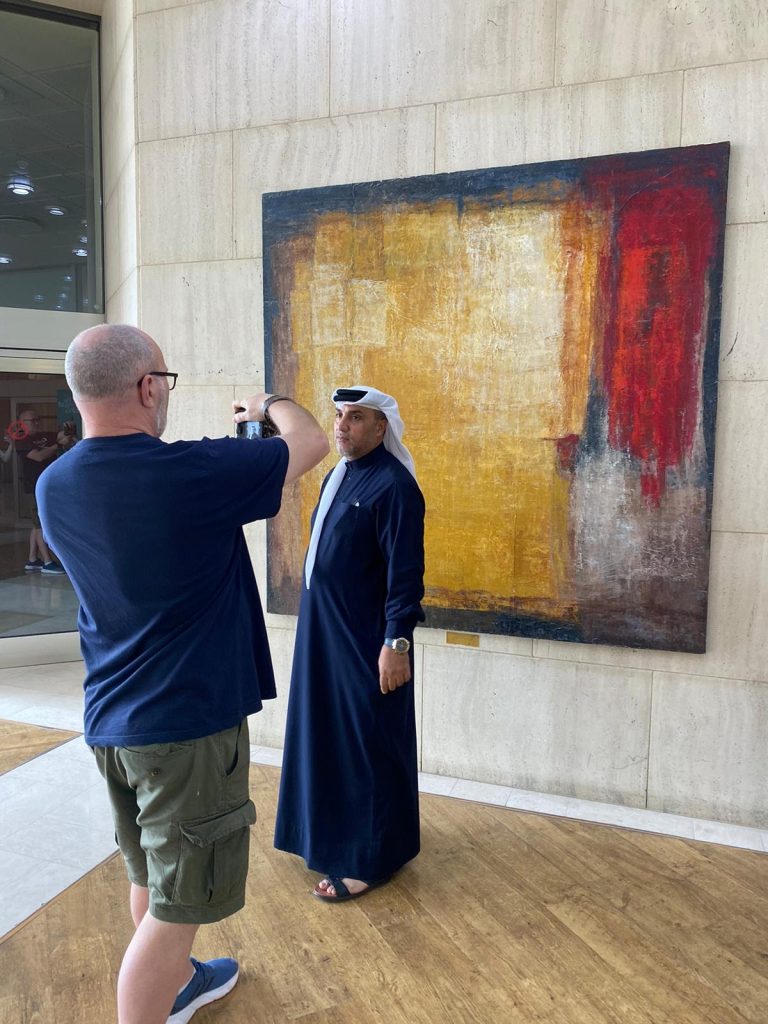
Ahmed, my friend

This is Ahmed. He is my friend and was with my most of the time in Bahrain. This portrait of Ahmed was taken when I visited the Bahrain National Museum. It was taken on the Leica Q2 Monochrome with a 28mm lens. I saw this background with window light coming through so beautiful and with Ahmed dressed so smart in a Blue Thobe and White Gutra I took this Photo of him.
Birds
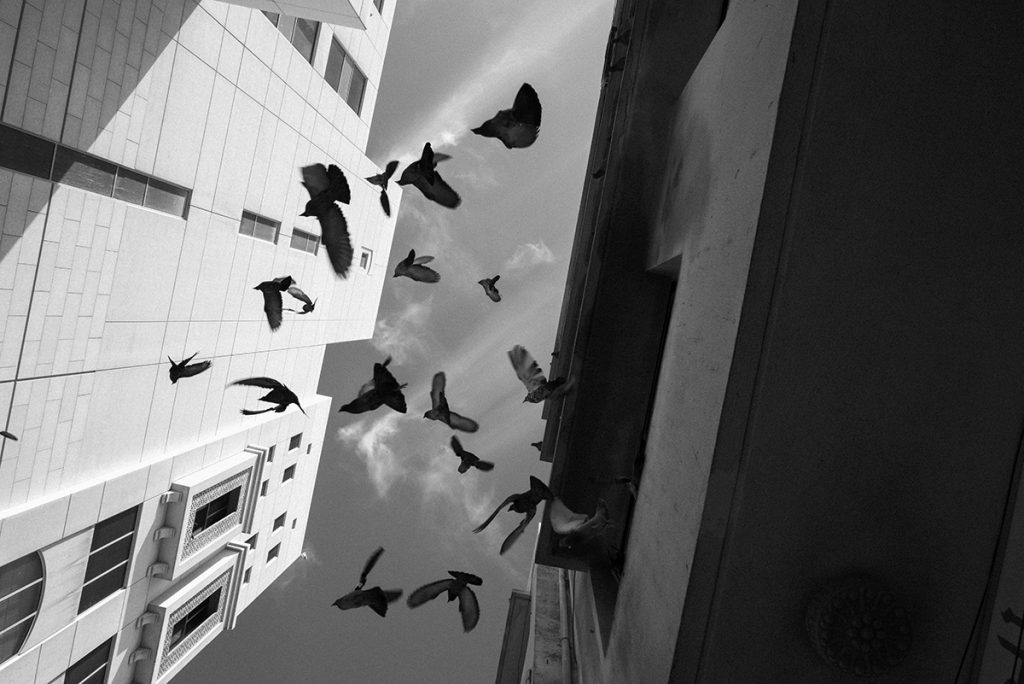
Another photograph from the Q2. This camera is amazing! Light, Portable and mirrorless. Not to get into gear and all but it does pull out some lovely tones. Pure Black & White.
I was walking the city of Manama and looking up I noticed a load of pigeons on a window ledge. It had looked like someone had put food out on the ledge. I knew I would get a good shot between the buildings if only I could get the birds to fly! Next to me was a small roof tile. I used that to throw at the ground to make a loud noise whilst holding the Q2 in one hand ready to snap the shot. I did get some odd looks from the locals but I got the shot I wanted.
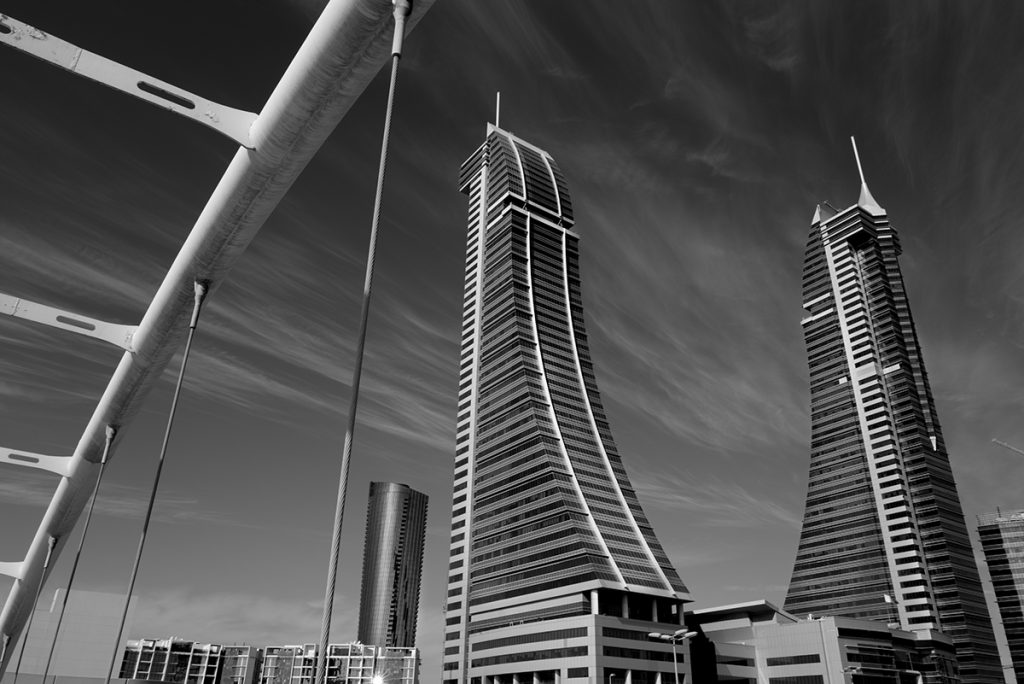
Saudi Arabia

Leica MP and 50mm Lens. TMAX 400. We drove over the Bridge to visit Saudi Arabia where we had lunch and visited a Heritage Museum. This man gave us a tour around the museum and I asked if I could take his portrait. Another window light shot. Nice guy.
Derelict Street
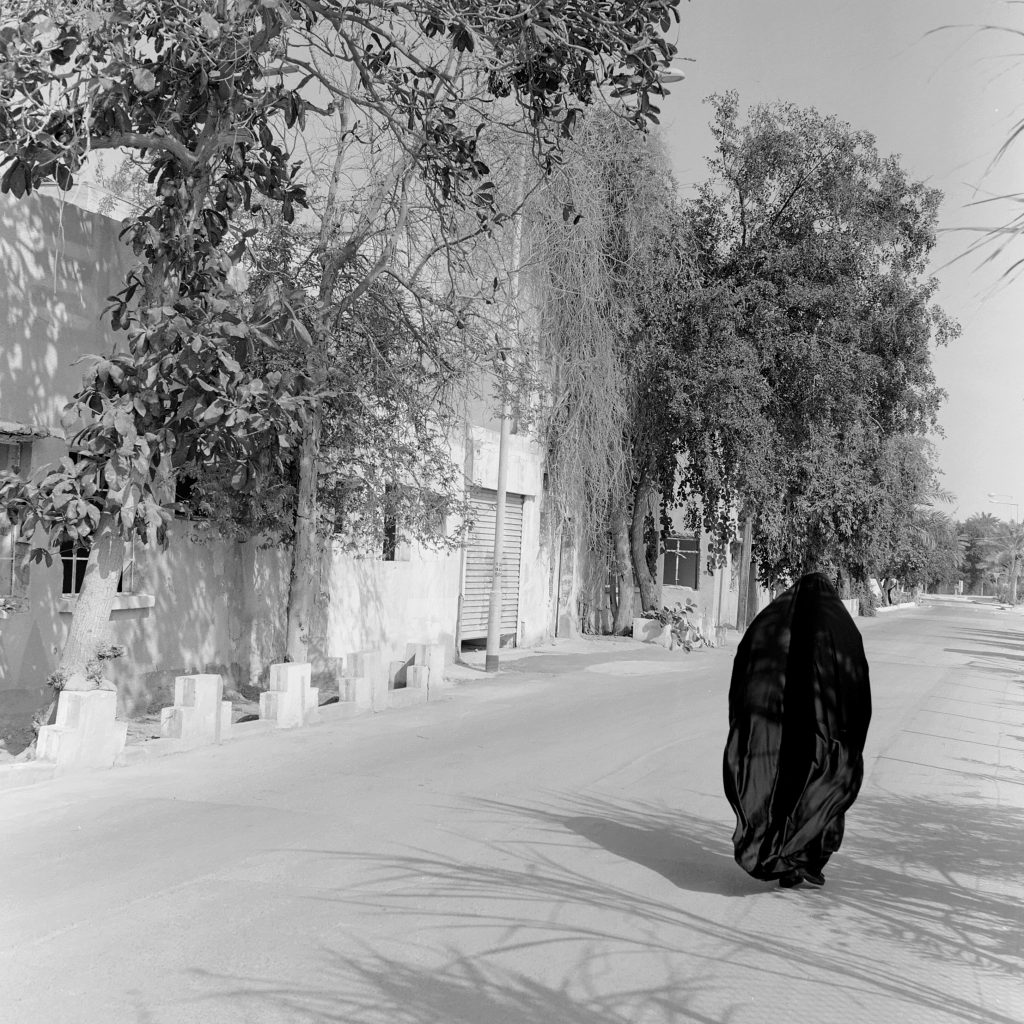
Hasselblad 6×6. Kodak Tri-x 400.
I went to this derelict town to photograph the old houses and I noticed this lady approaching. I didn’t make a point of taking a photo of her. The wind was blowing a breeze through this street. I positioned the camera, which was on a tripod, and waited for her to walk past. She was well aware of me and the camera and would definitely not have wanted a photograph of her face. I hit the shutter as she walked into my frame.
Stray Cat
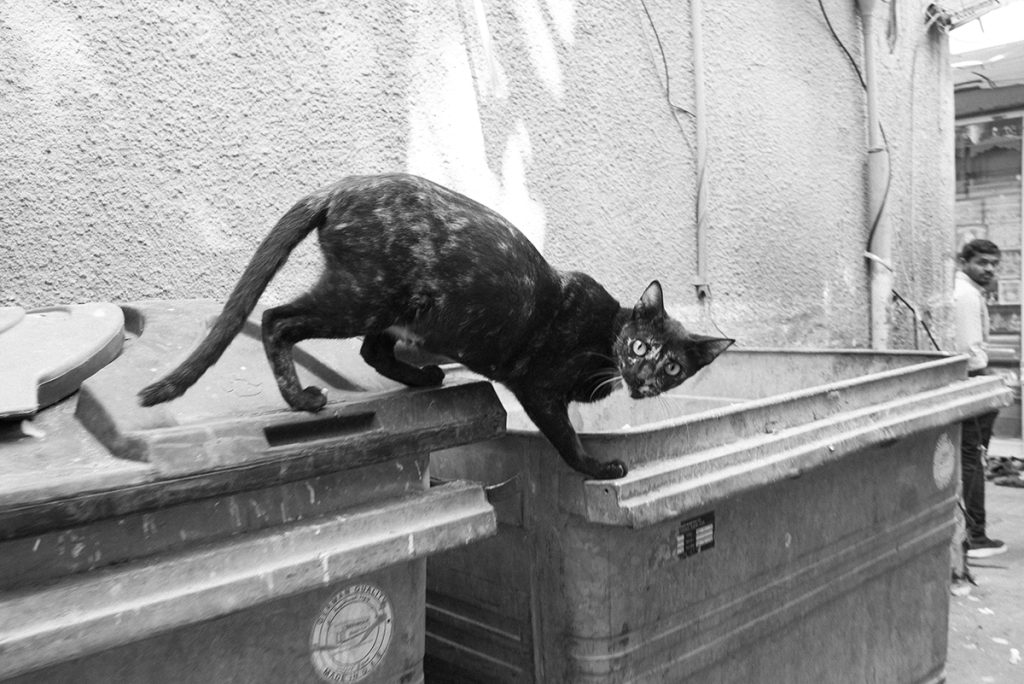
Around the Soukes there are plenty of Stray Cats. I followed a few around and caught this one. The cat was just about to jump off but I managed to capture it’s wariness and also the guy in the background. This was on the Leica Q2 with a 28mm lens.
Prayer Time
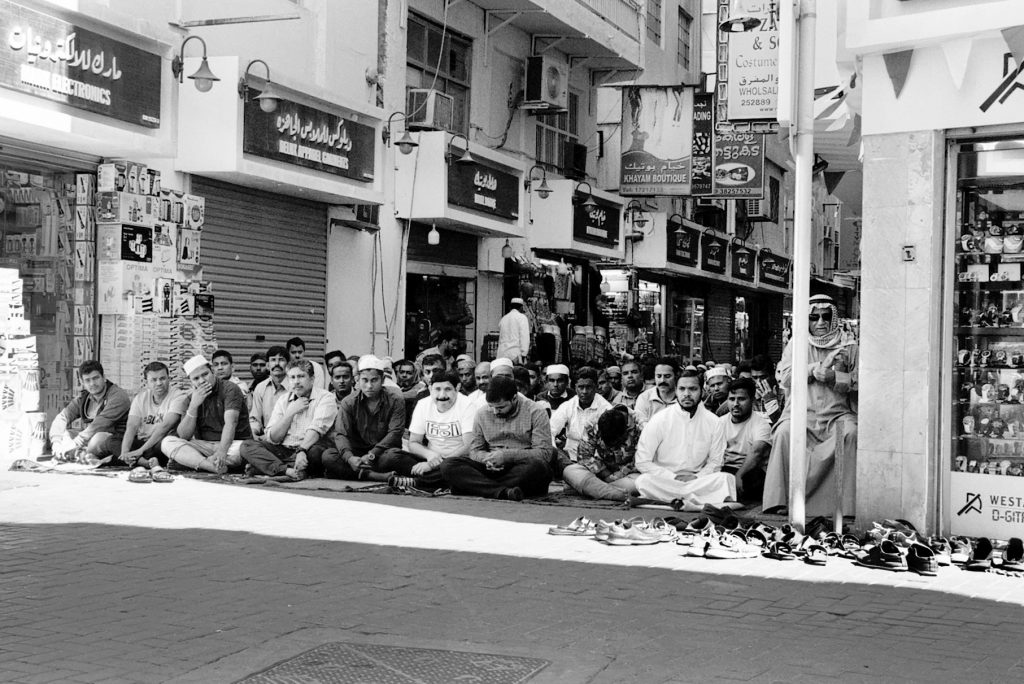
It’s Friday and the call to prayer came from the local mosques. Most of the shops closed and the keepers went to pray. The market went eerily quiet. I wasn’t sure if I was being disrespectful by taking a few photographs but I thought someone may tap me on the shoulder if I was. This scene you see the strong sunlight casting across the shoes. I took the shot and walked on to another scene.
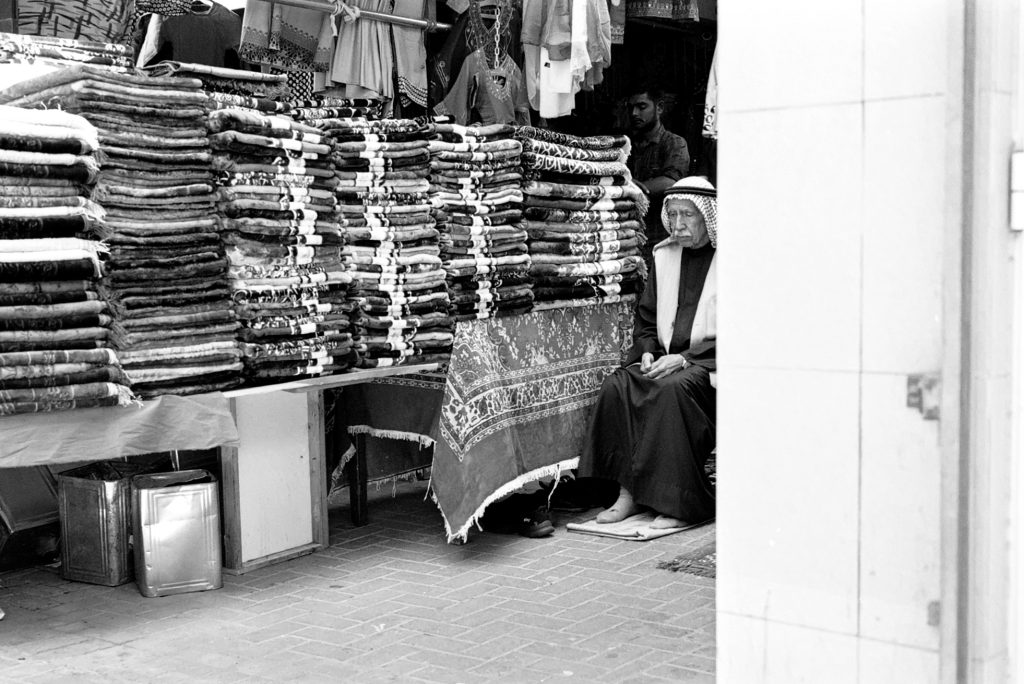
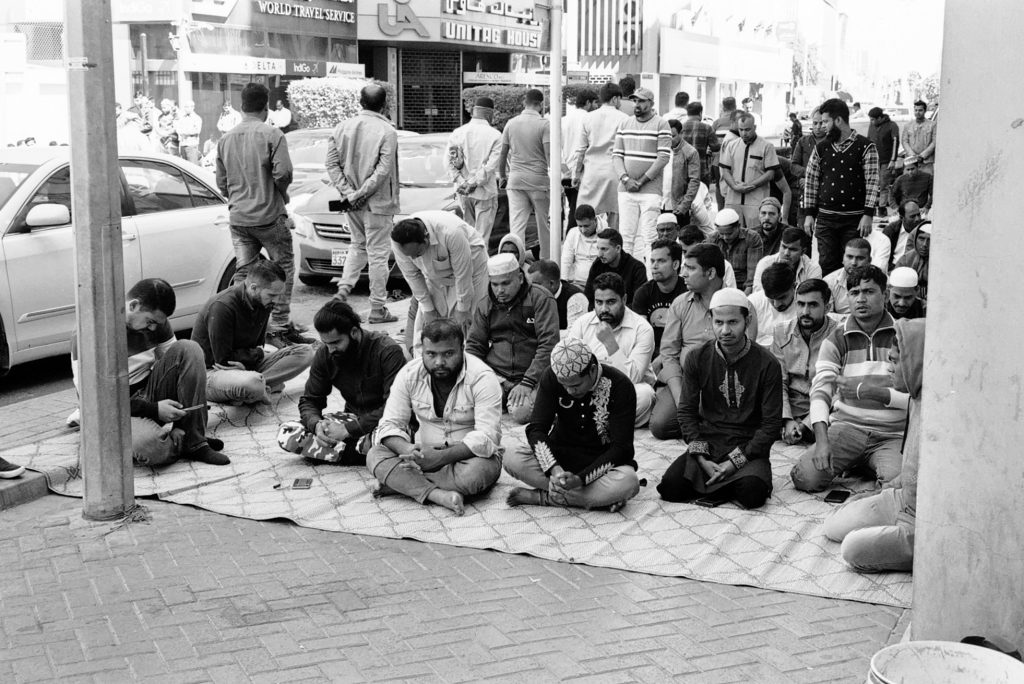
If you have never been to the Middle East, or maybe you live in an area where there is a mosque, the call to prayer is quite beautiful to hear. Peaceful.
I love Bahrain. This was my second trip there and I found the people very humble, friendly and kind.
Hopefully, inshallah, (God Willing), I will return again.
Broken Kodak Retinette 22
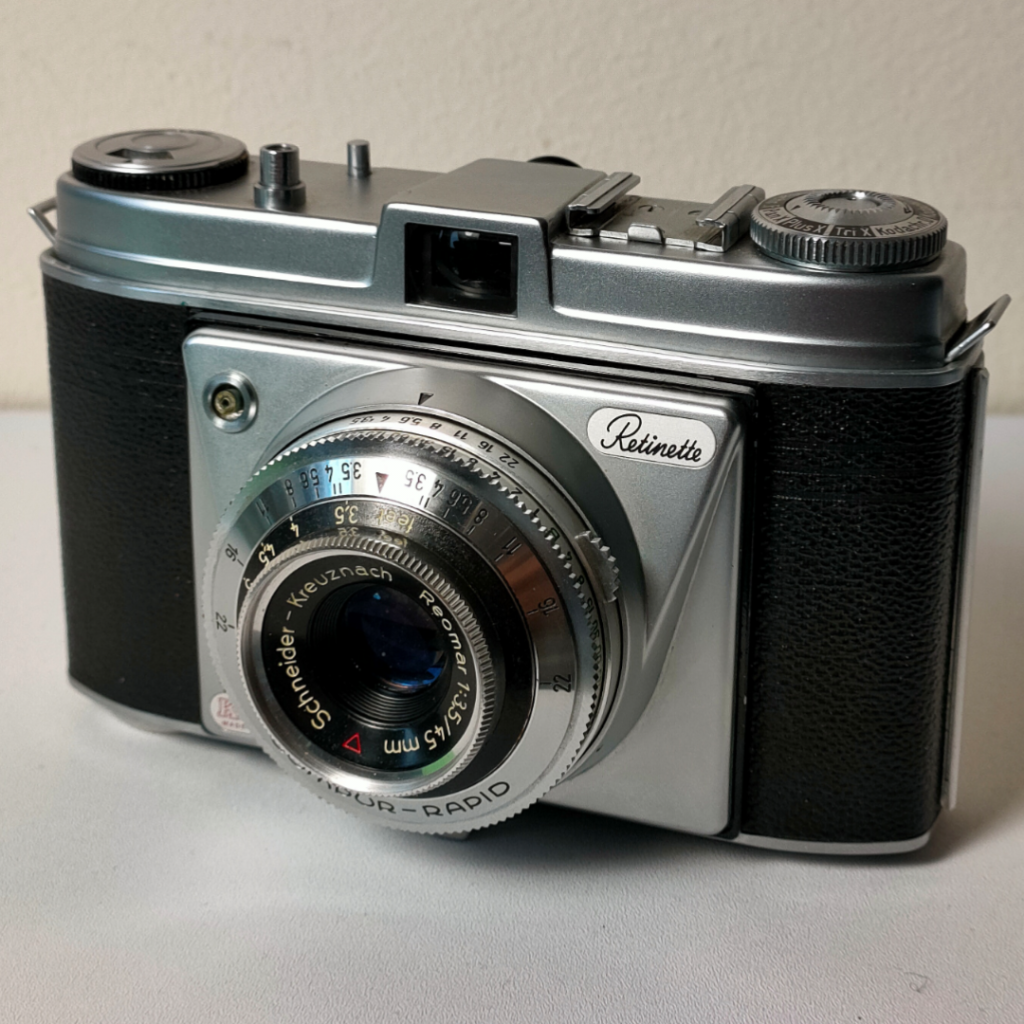
This 1954 Kodak Retinette Type 22 Camera I have had for a number of years and it has given me much joy taking photographs along the way but recently on a shoot it failed and I had missing frames!
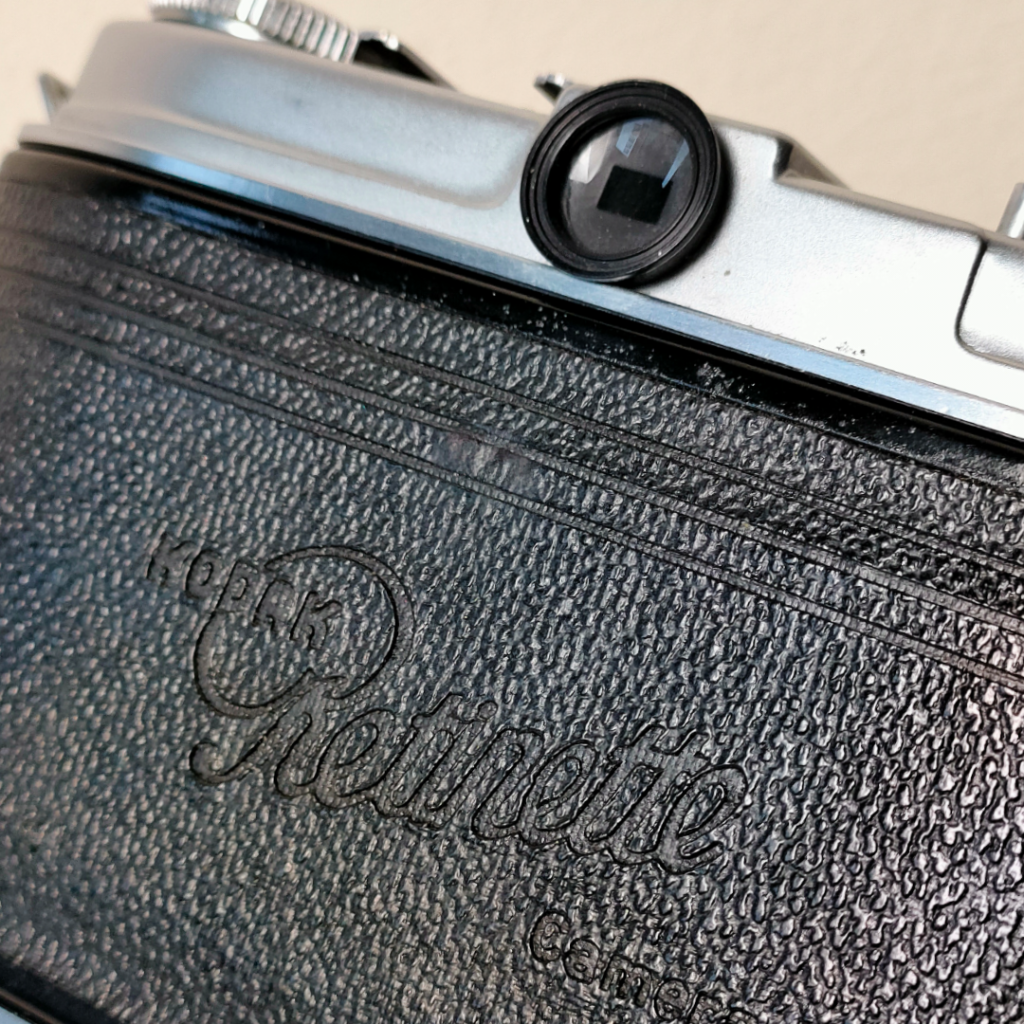
The Kodak Retinette was a popular camera throughout the 1950s and a number of models were produced.
I recently uploaded a video on the camera on the SFLaB YouTube Channel.
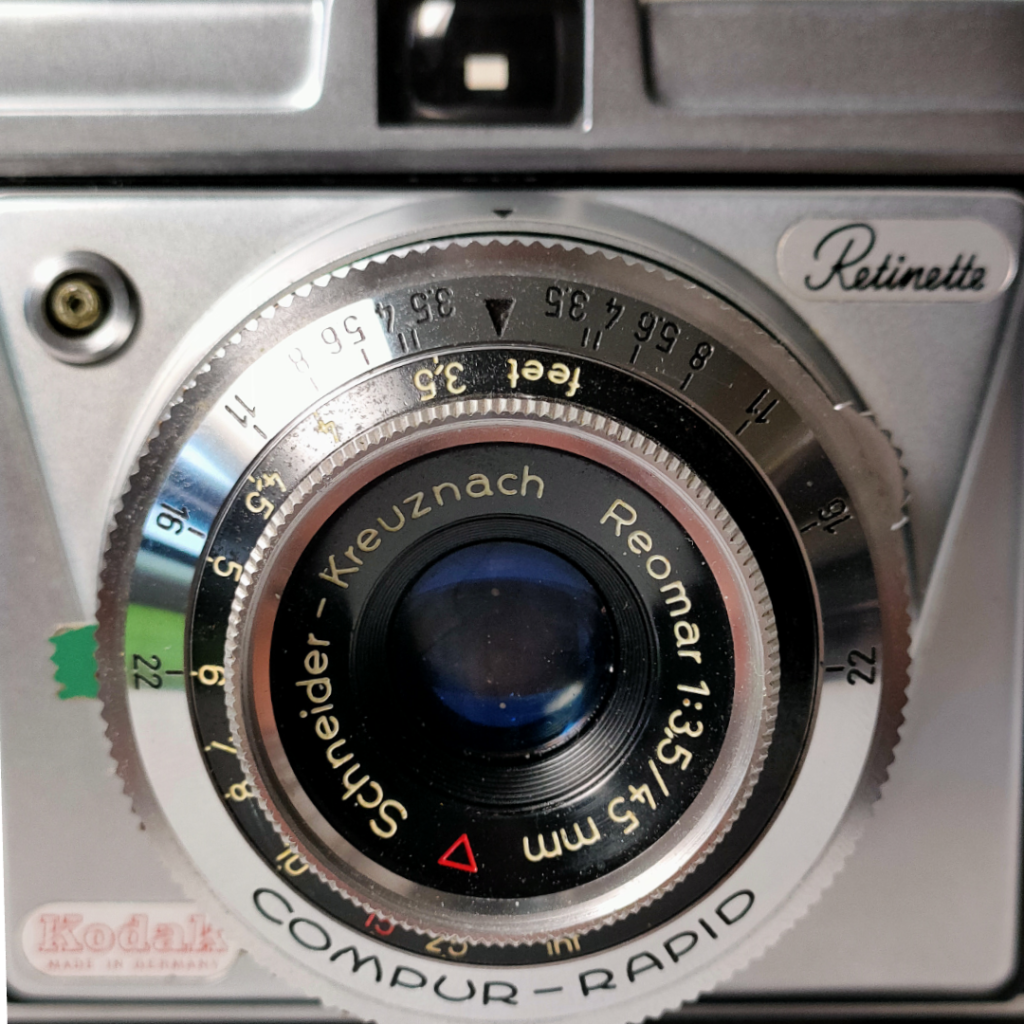
This particular Retinette was in production by Kodak Germany from 1954 until 1958. Kodak used the Compur-Rapid Shutter which has speeds of 1s to 1/500th of a second as well as a Bulb Mode.
And the Lens is a good ole Schneider-Kreuznach 45mm and has apertures from f/3.5 to f/22.
The Shutter Speed and Aperture are coupled for correct exposures and also has a RED EV scale which was popular back in the 50s.
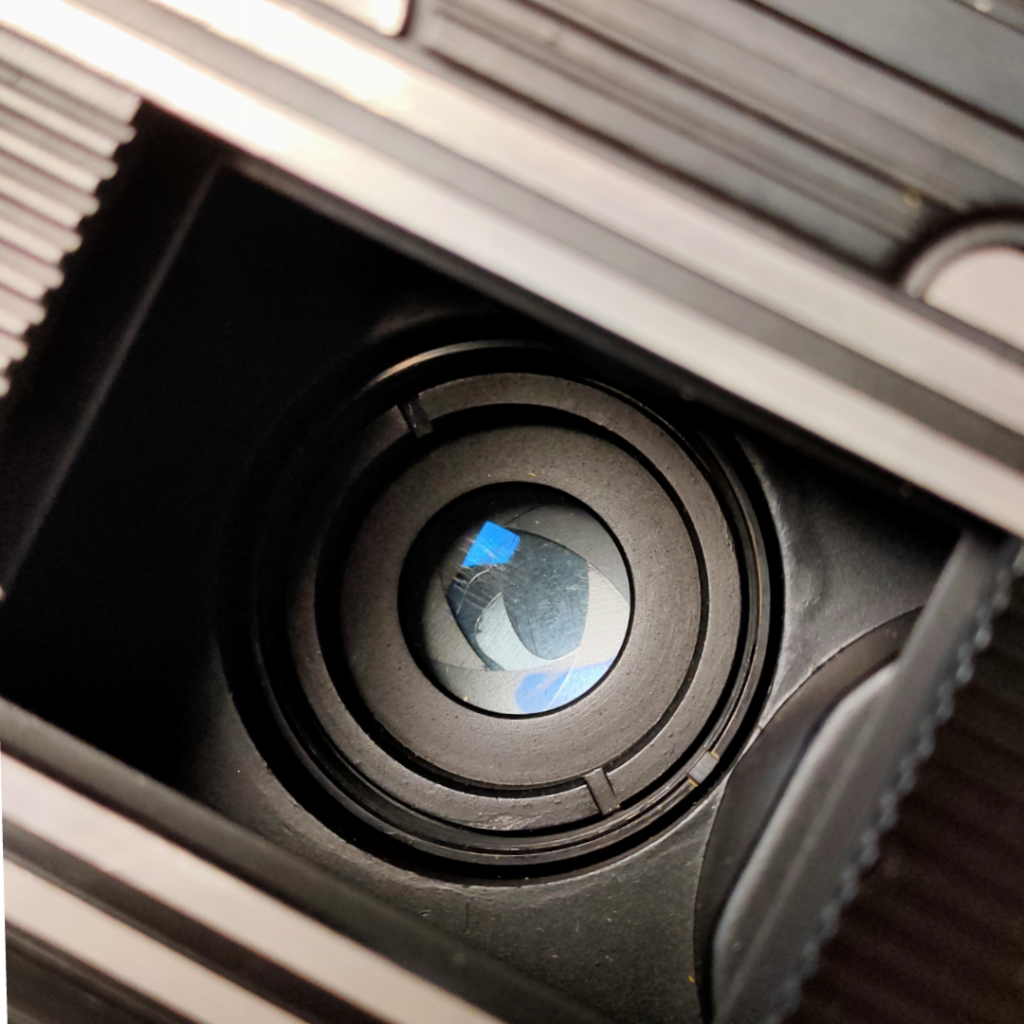
But this one has an issue. Intermittently the leaf shutter won’t operate leaving me with blank frames during a roll. I can still use the camera without getting black frames now I know there is an issue and every time I take a picture I just have to listen carefully if the shutter has opened and closed! But I would still like to get it fixed as it is in great condition and after all these years has only started playing up.
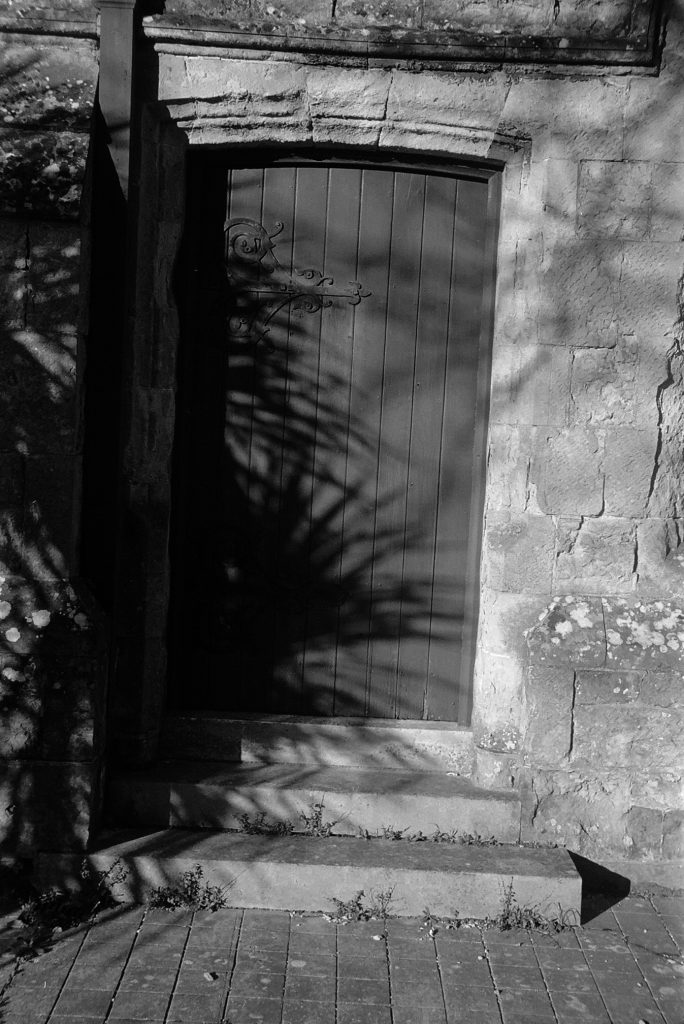
So from a 36 exposure roll of Kentmere 400 Film I got a few photos which as you can see the lens on this camera is pretty good! You will notice the wonky one of the Church Door… This was part of my shutter sound confused state where I took a few shots and this was the one that clicked!
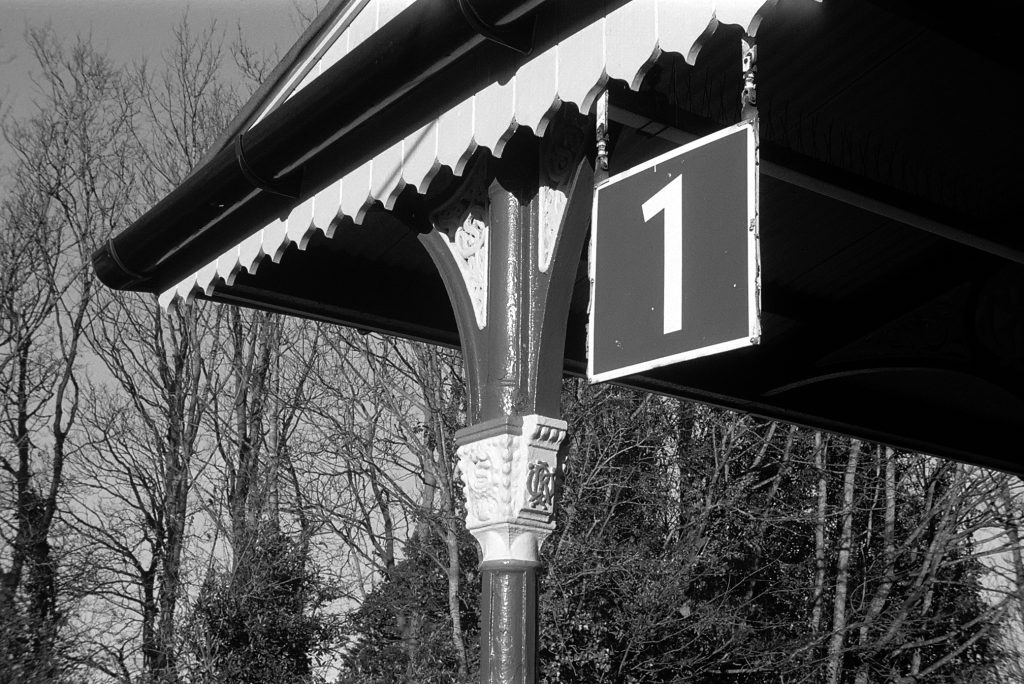
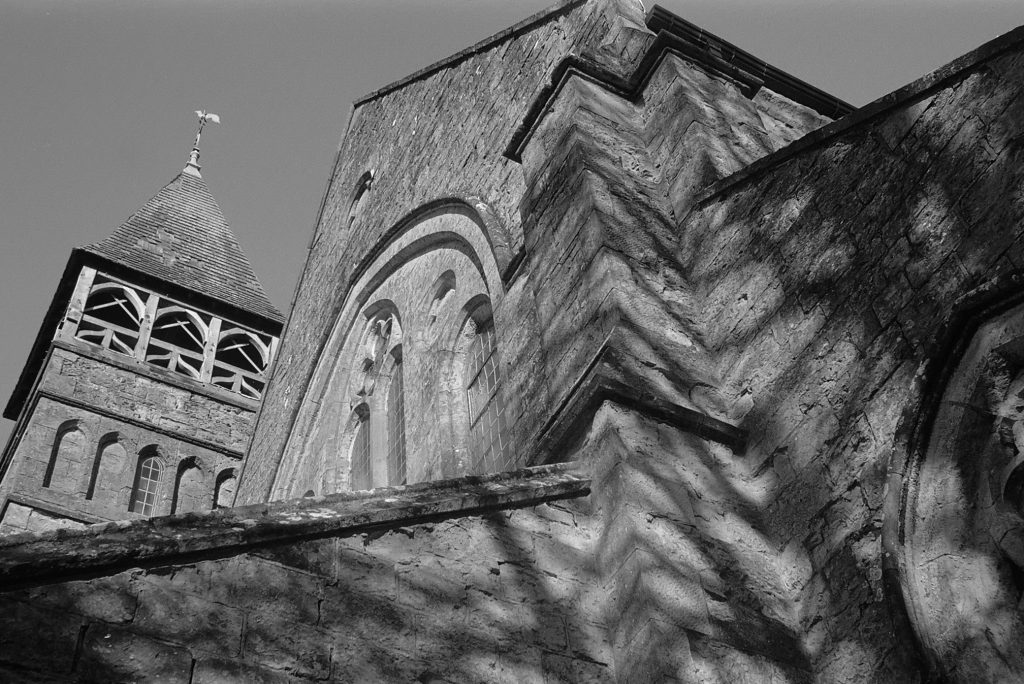
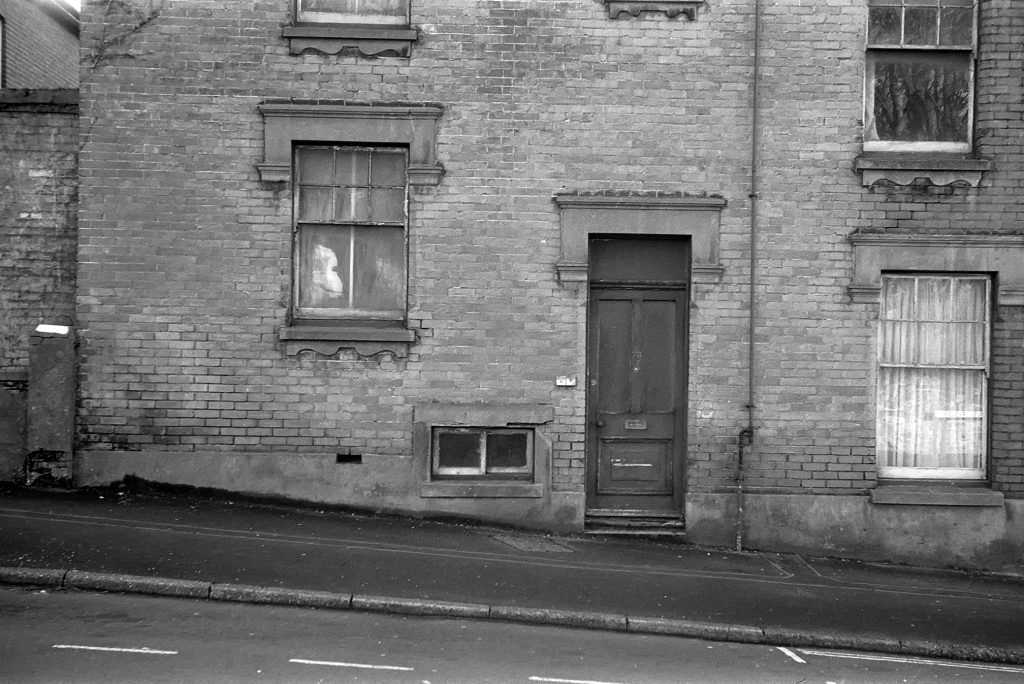
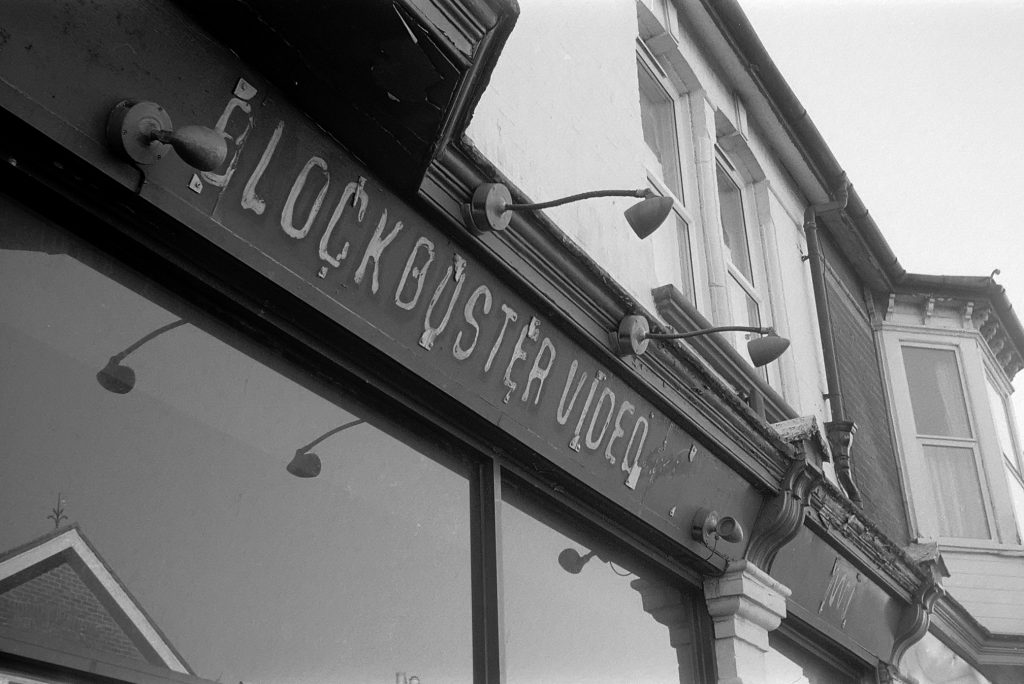
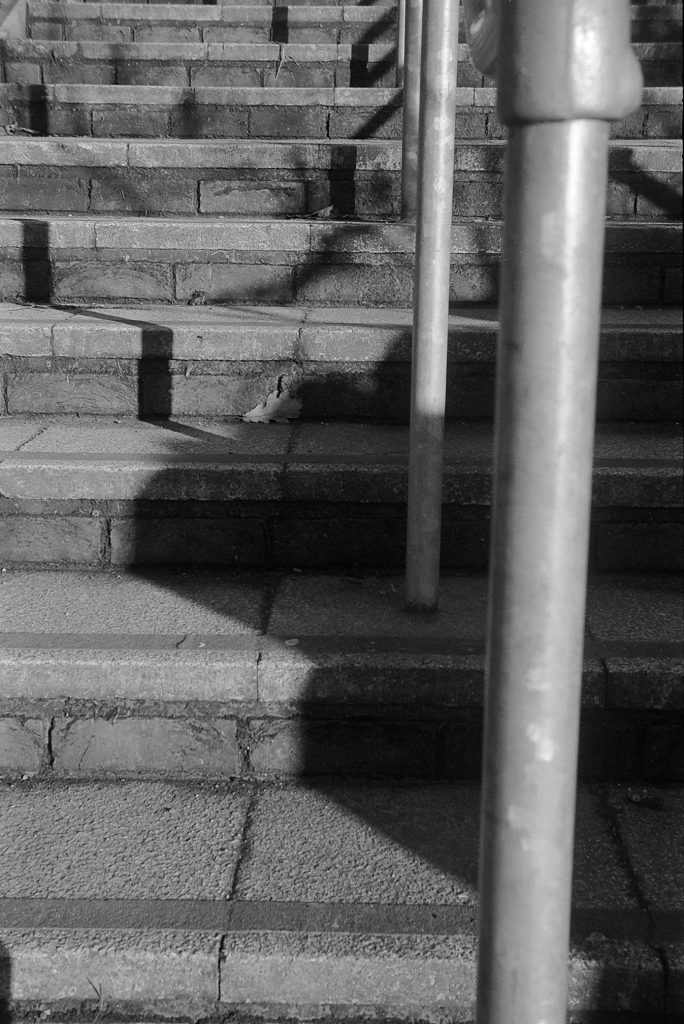
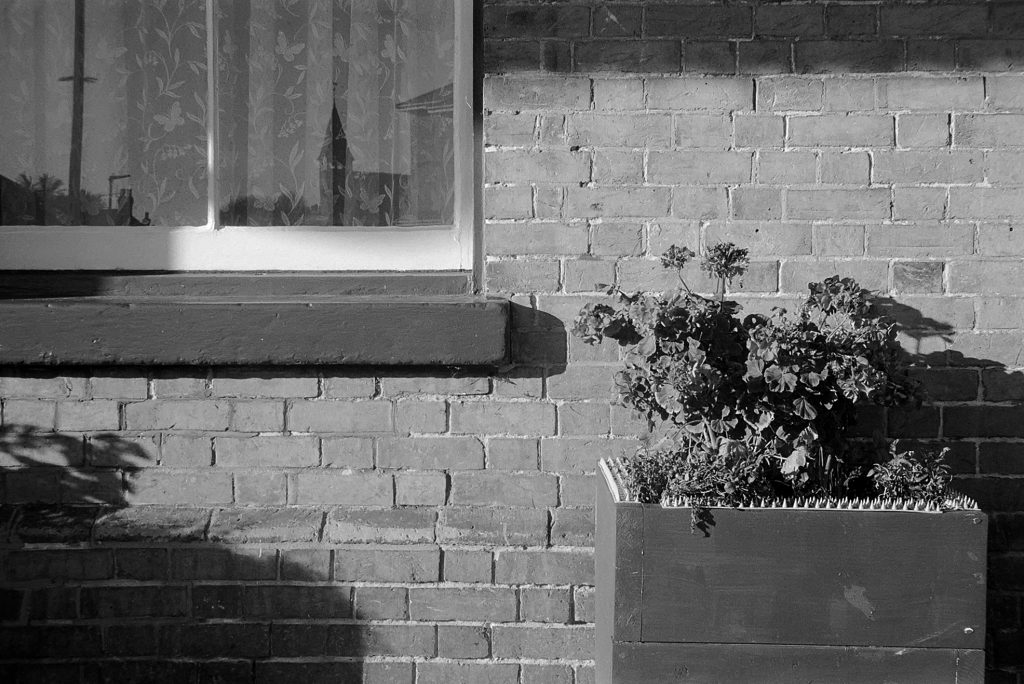
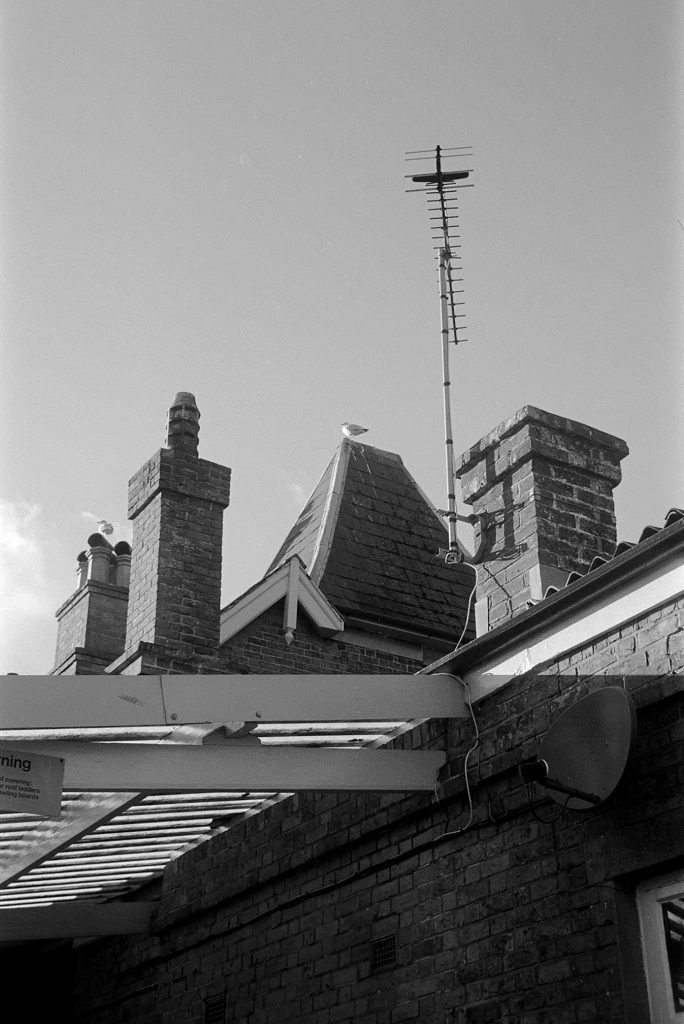
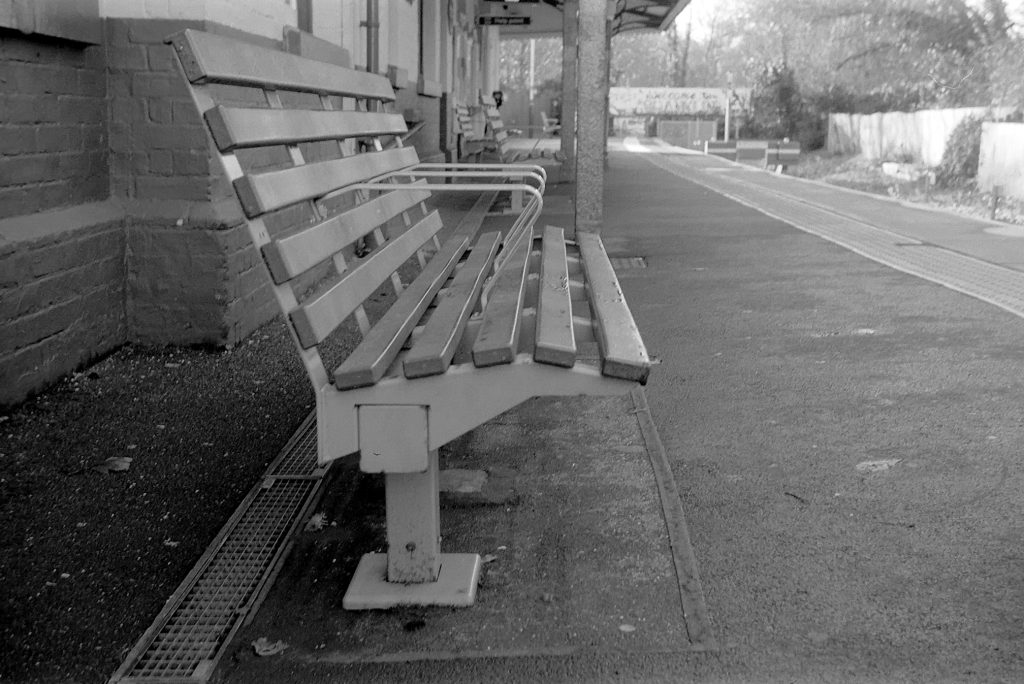
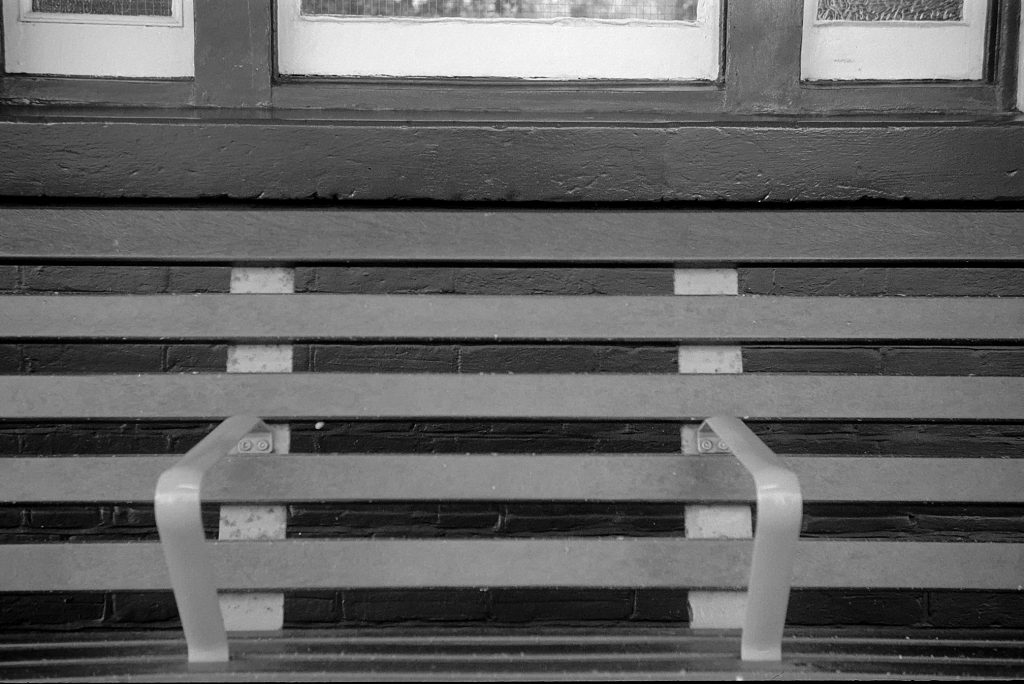
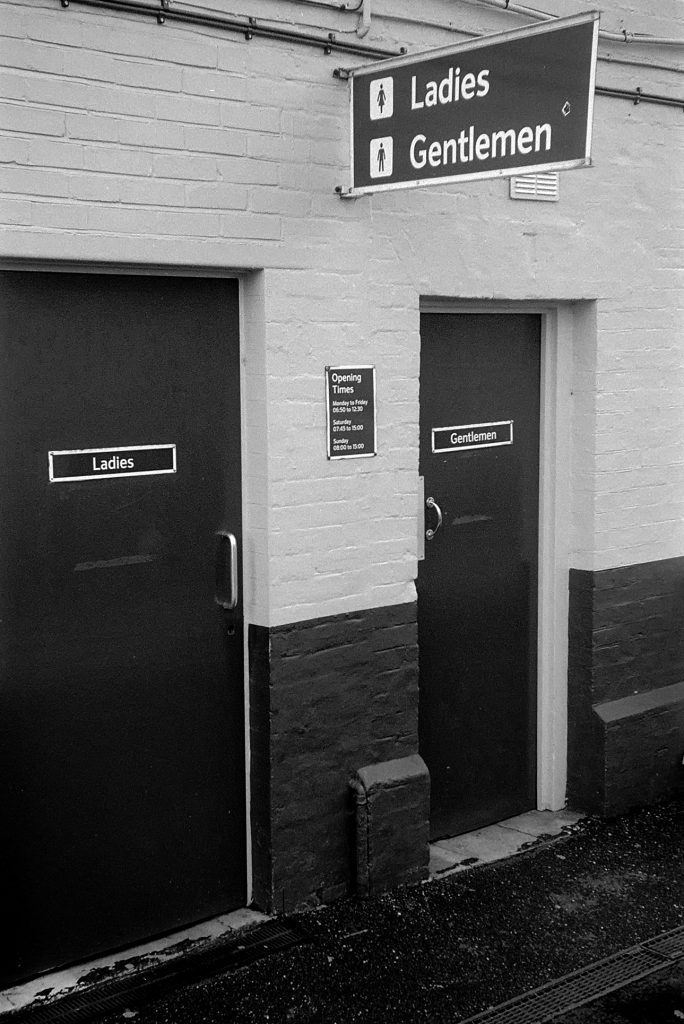
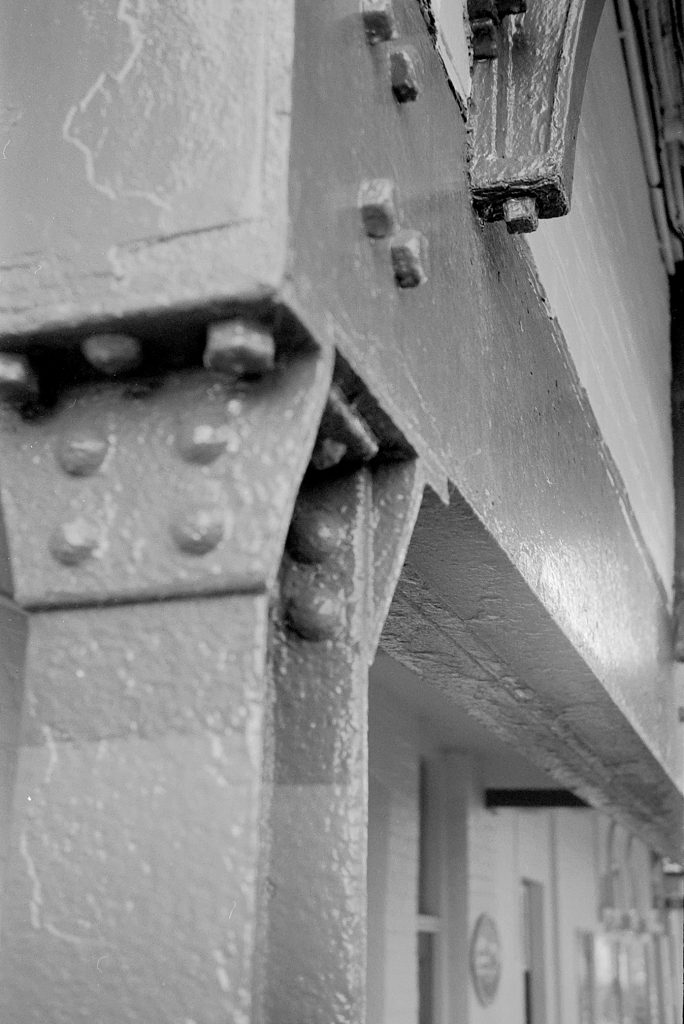
The Photographs are of Shanklin Train Station on the Isle of Wight. An old Victorian Station.
Ilford release Kentmere in 120!
If you keep up to date on social media with all things film photography you will know that on the 1st December 2022 Ilford released an article stating that Kentmere 100 and 400 are now being rolled out in 120 Format. This is great news for Medium Format shooters that love the cosy price of other budget brands such as Rollei and Fomapan. Great because Ilford are excellent when it comes to materials and quality control.
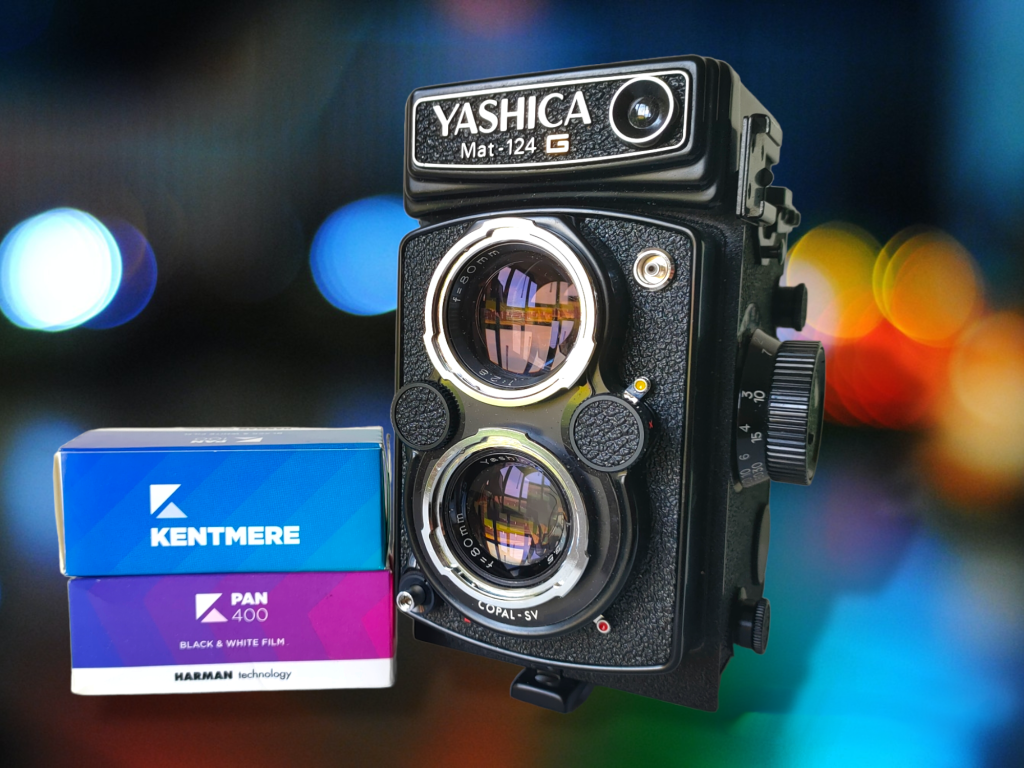
I was lucky to receive a few rolls from Ilford to show to the SFLaB Subscribers so I went out and shot the new Kentmere 100 and 400 and I must say I was impressed with the film.
Here is the video…
I’m not new to Kentmere as I have shot a lot of 35mm in the past and it doesn’t shine as much as FP4 and HP5 BUT is less expensive at just £4.92 a roll and is perfect if you shoot film for fun and want to keep your film hobby affordable. Saying that, I would have no lack of confidence in this film whatsoever shooting a commissioned portrait. It does lack the superior tones and sharpness that are offered with Ilford FP4 and HP5 but then Ilford does say it has less silver content. But it doesn’t shift that far.
I have half a tin of a 100ft roll of Kentmere 400 which I have not used in a while so before I shot the 120 Film I loaded the K400 35mm into a camera and took some photographs. These are digital scans of the negatives. You can see the darkroom prints in the video.
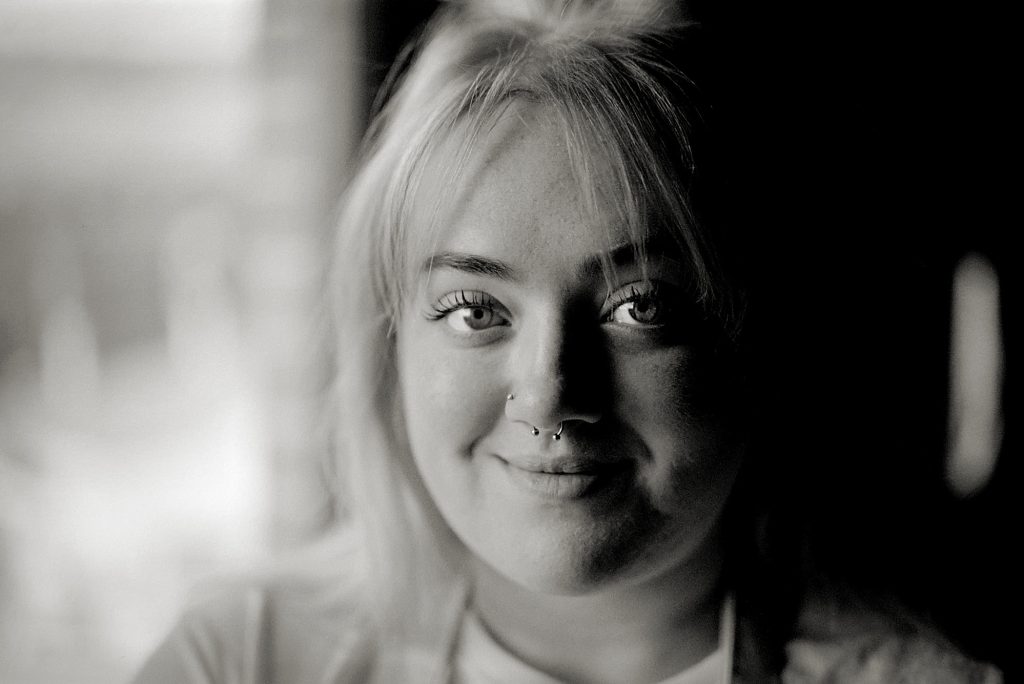
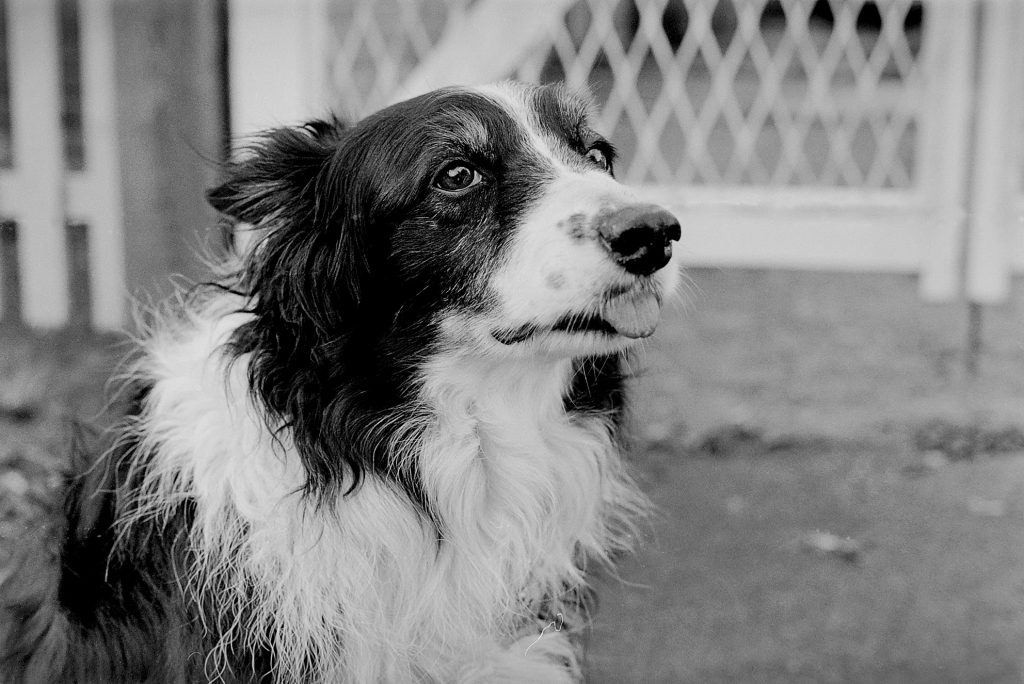
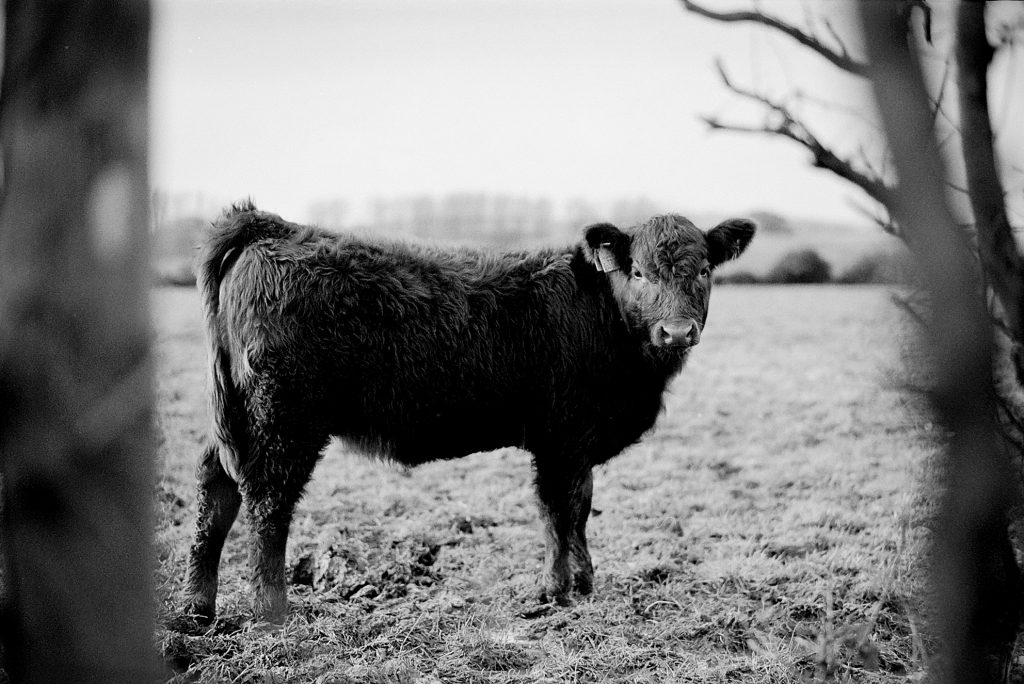
And this Cow in a field.
35mm… The grain is there on this Kentmere 400 but it’s hardly any different to HP5.
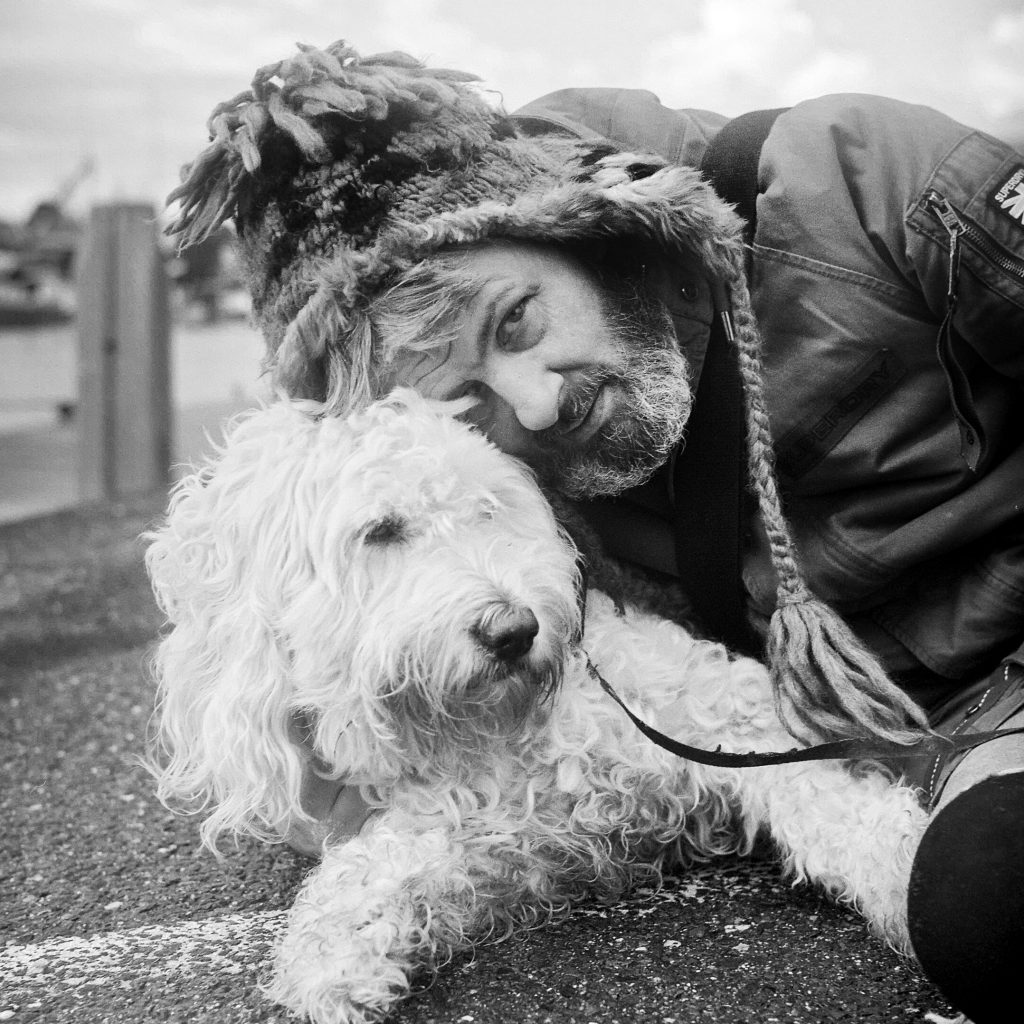
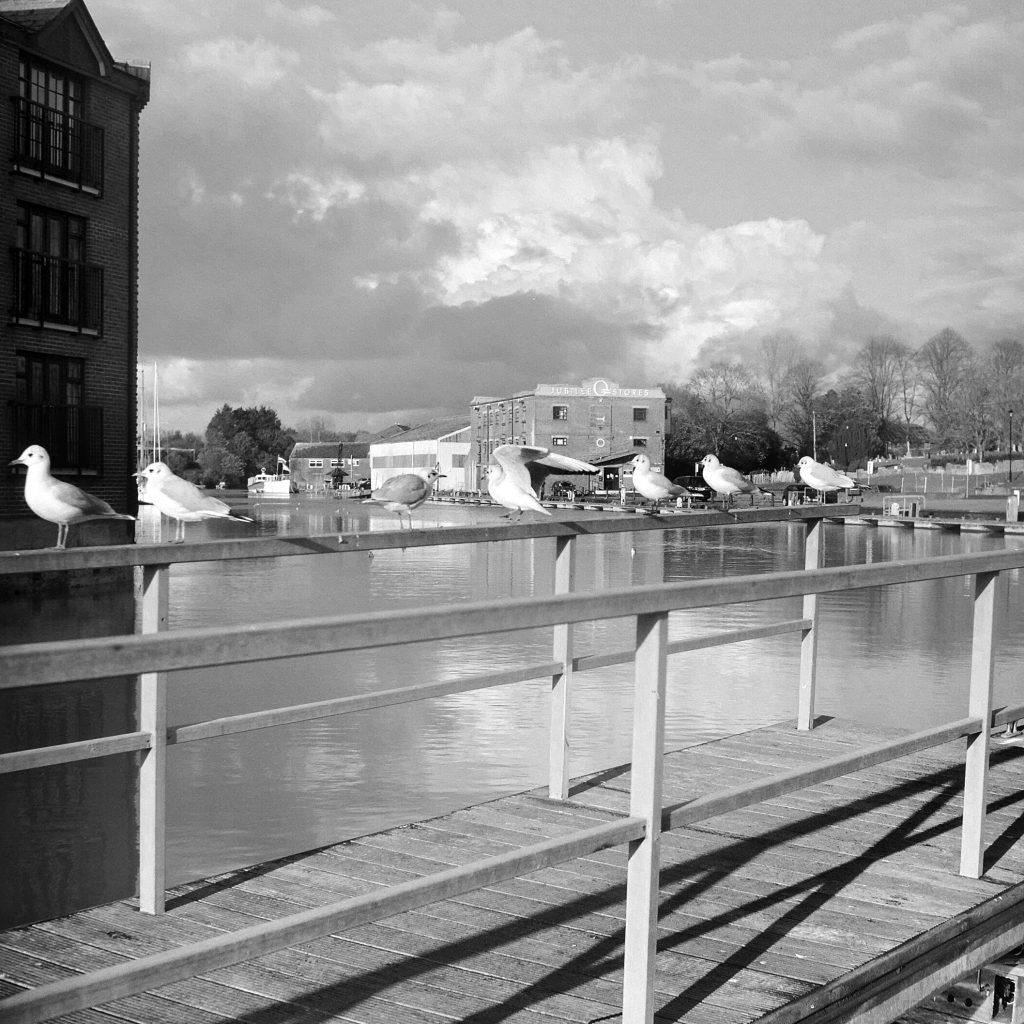
I then went out with the Yashica Mat124G with both the 400 and the 100.
Kentmere 400 – Kodak D76 Stock
Kentmere 100 – Kodak D76 Stock
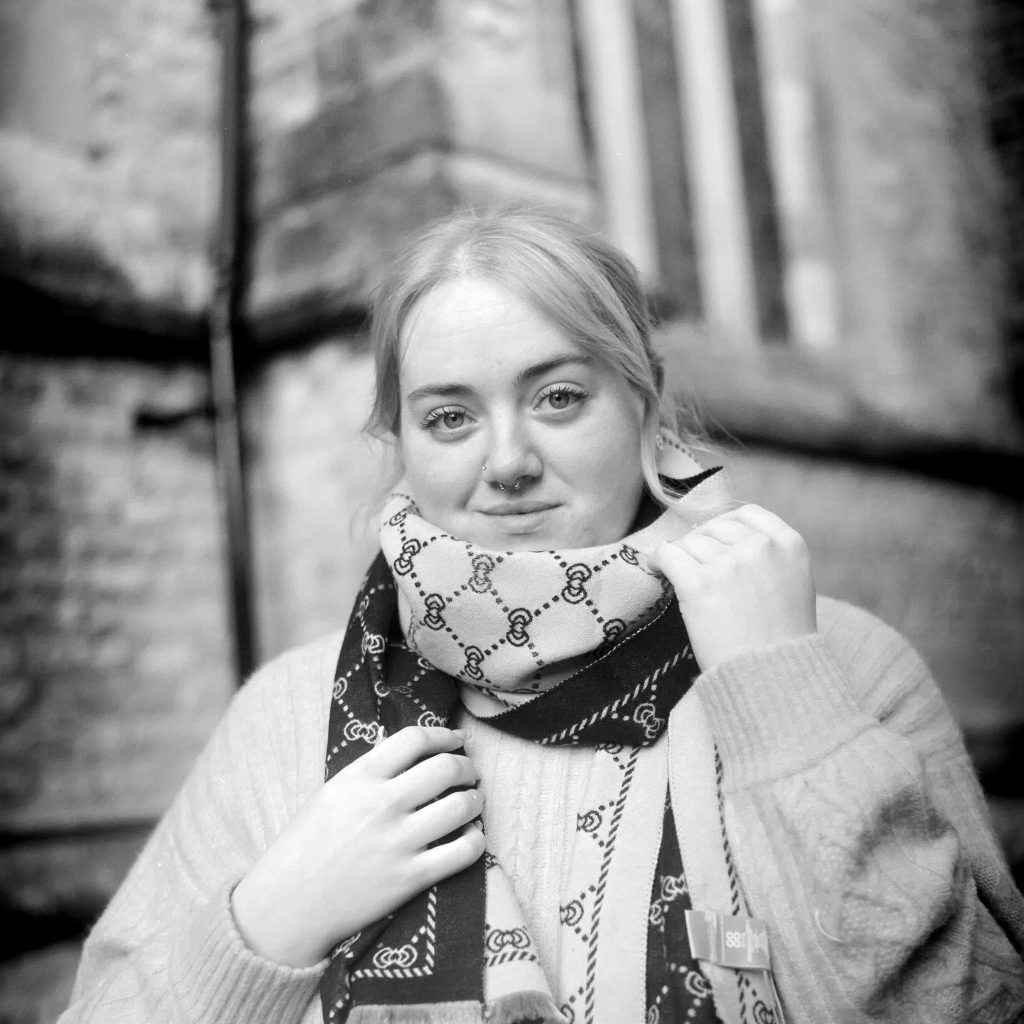
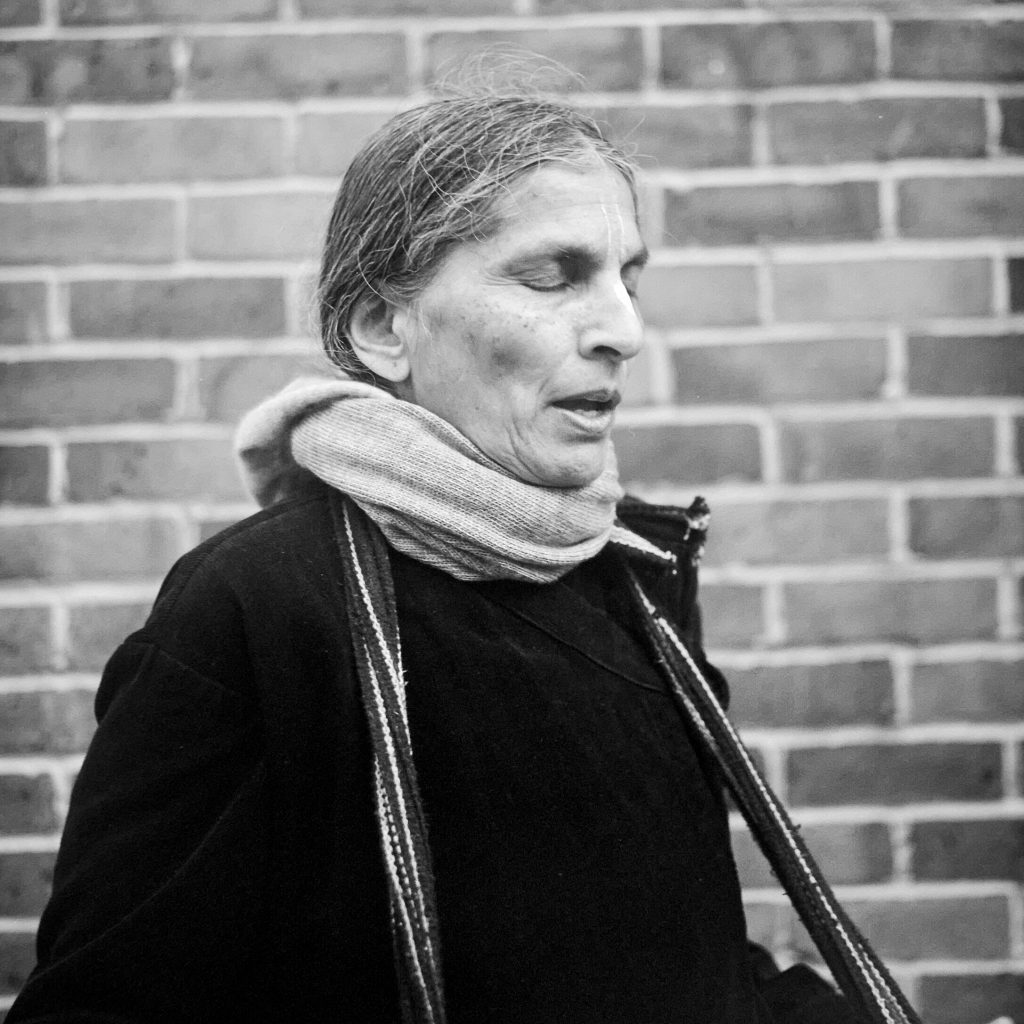
Just a couple of sample images. The 100 I was super impressed with. Under the Enlarger I struggled to find the grain. And obviously the 400 I could see the grain but it was a nice grain that you’d expect from a 400 speed traditional film. But seriously… who pixel peeps in the real world?
So well done Ilford for releasing Kentmere in 120 format. I’m sure it is going to be a favourite amongst many.
