Black and white isn’t always black and white.
As a ‘contrast chaser,’ I’m constantly hunting for scenes that deliver those striking deep blacks and brilliant whites, letting the midtones fall where they may. While subtle tonality is appreciated, a truly powerful black and white print hinges on that dramatic contrast. Of course, not every scene lends itself to such a bold approach. Ultimately, it’s the photographer’s vision that shapes the final image and there’s no right or wrong, just personal expression. And that’s precisely what makes photography so captivating and diverse.
I remember once a gallery conversation from the early 2000s has stuck with me. A debate over whether a framed print was truly black and white, or simply grey. It’s funny how those little moments linger in your mind. I just remember one saying “That’s grey! Not Black and White”.
Take this dog photograph, for example. I’ve always felt it leans too heavily towards grey. It lacks that punch, that definitive ‘black and white’ feel. I shot it on a light overcast day using Kodak XX film. Had the sun been shining, I likely would have captured much greater contrast, resulting in those desired deep blacks and whites. While Kodak XX is renowned for its contrast, the final result is always a balance of subject, shooting technique, and film processing. And juggling 36 exposures of various lighting conditions on a 35mm roll adds another layer of complexity. You can’t keep everything the same. Or can you?

You know how it is with a 36-exposure roll of 35mm? You’re kind of stuck with whatever lighting you get, right? Either you chase the same light for every shot, or you just go with the flow with whatever the weather is doing. If you’re out on a day where the sun’s popping in and out of clouds, you’re going to get a mix of contrast levels, and you’re probably just going to have to develop it normally. But, if I’m on a mission, hunting for that contrast in every single shot, then I’ve already got a plan. I know exactly how I’m going to shoot and develop that film to get the results I want. Sunny day with no clouds? Let’s get metering and embrace the contrast!
Metering matters
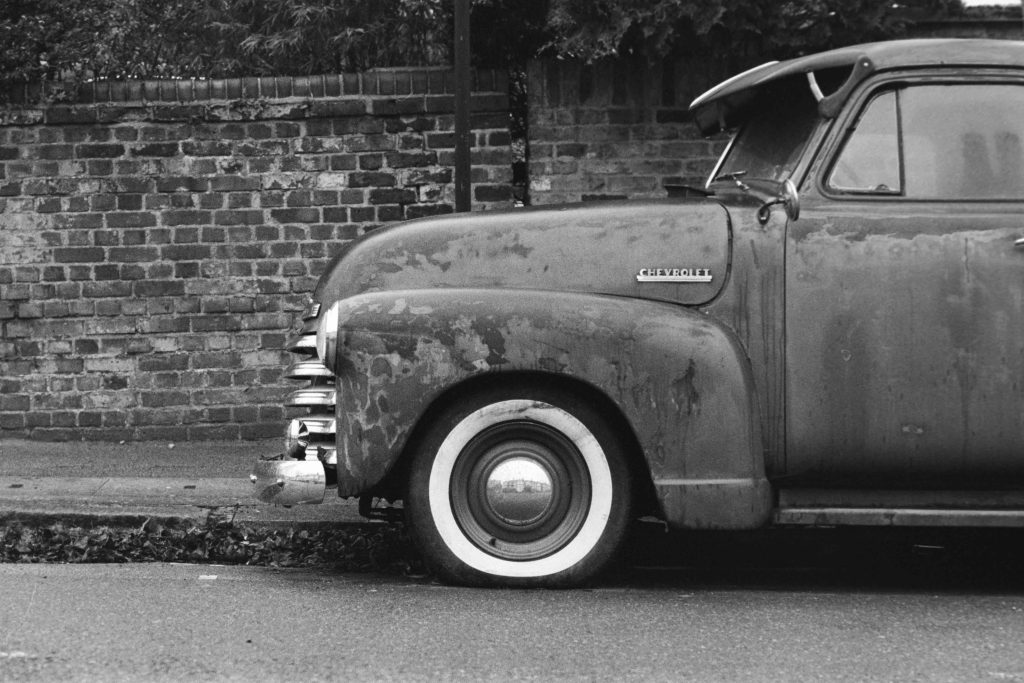
The two photographs below were taken on two different days using Kodak BW400 CN film. Which is a C41 process film. I was shooting aperture priority.
The lighting on the Chevrolet scene is light overcast and the whole scene is balanced almost equally. The cameras meter wasn’t overwhelmed with bright highlights and so I got an average contrast.
The XR3i scene, although similar lighting, shows a deeper contrast. The background is black and the car is more reflective from the white buildings opposite with highlights bouncing off the bodywork. The camera doesn’t want to over expose my highlights and so it meters for them first. It selects a faster shutter speed (aperture priority) so as not to blow my highlights out which in turn renders other areas darker giving a more contrasty look.

The moment I saw the XR3i, I knew it was destined for good black and white. The background provided the perfect backdrop, and the car’s highlights, bright but not overexposed, were ideal. The strong shadows cast by the sunny day further enhanced the scene’s potential for a striking black and white print.
This brings me to a crucial point. Metering. Accurate metering is important to achieve high contrast, seek out scenes with brilliant highlights and deep, dark backgrounds, especially on sunny days. A well functioning camera’s metering system will preserving those highlights, closing down the exposure. This naturally pushes the darker areas towards near-black, creating that high contrast effect. But what about the mid tones? They’ll only appear if they’re inherently strong within the scene. This is a critical assessment you must make before pressing the shutter.
Take this shot of the building, for example. The bright sunlight reflecting off its surface forced the camera to reduce exposure to prevent blown-out highlights. Consequently, the sky and lamp post were rendered dark. Notice the absence of prominent mid tones to bridge the gap between highlights and shadows.
I was pushing my film on this day for seeking hard contrast in scenes. And this worked well. The camera was in aperture priority, which means I choose my aperture and the camera will select the appropriate shutter speed. The bright sunlight reflecting off this building caused the shutter speed to increase thus giving me a good exposure on the highlights and rendering anything else in the scene dark.

The Scene
Let’s face it, not every scene or condition ,makes for a contrast goldmine. Take this photo of the town. The light overcast day simply didn’t produce the kind of shadows that would create dramatic contrast. Everything is evenly lit, much like the dog photo below it, which was the same day. While the exposure is spot-on, the contrast is, well, average.

Street photography is all about capturing what catches your eye in the moment. You shoot what you find and move on. In hindsight, this dog photo could have been something truly special if I’d had the chance to take him for a walk, searching for the perfect background and lighting. But that’s not how street photography works. You seize the opportunities as they appear. And what a great-looking dog he was!

But when I’m craving contrast, I head out on sunny days, camera in hand, with a roll of film dedicated solely to the pursuit. This focused approach allows me to tailor my development for maximum impact. I often push Ilford FP4 to 400, even under bright sunlight, to boost both film speed and contrast—a technique that consistently delivers results I love. However, the moment I venture into a shaded alley or the sun hides behind a cloud, any frames captured there will lack the intended contrast. But the push certainly helps it.
This photograph, taken on FP4 pushed to 400, demonstrates the power of this technique. It’s a prime example of FP4’s potential, showcasing those rich, deep blacks and brilliant highlights that define true black and white photography. I chose this scene specifically for its stark contrast and clear separation of tones. It wasn’t in bright sunlight, but the push compressed the tones.

And this photograph I took on the same roll. It lacks the same feel because there are hardly any highlights for a separation.

And this photograph of the bridge you can see I am back on track with sunlight and contrast. Deep blacks and bright whites.

So if you are looking for contrast and deep black and white prints it’s important to be mindful of the scene in front of you.
- Is the lighting strong?
- Is there a significant difference between the bright parts of the scene and the shadow ares?
- Where are the shadows falling?
- Are there any shadows?
- Is the main subject well lit? (such as the sign above)
- Do I need to make any adjustments to the film or development?
Any film or development adjustments should be thought of before you shoot your first frame or those adjustments may not work for certain photographs you took on the same roll.
This self portrait (usually I take these when I have a frame or two left in the camera), I shot this purposely for the contrast mix. The dark door in the background and the white frame on the right hand side. Black jumper, camera and well lit face from the window light. This is a nice example of good black and whites. Does it matter the camera is dark and you can’t see a catch-light in the lens. Of course not. Although it would have been an added bonus! But the light isn’t pointing there.

Pushing for contrast
So, as mentioned, a technique I often use when I am shooting street on a flat day is to push my film. I just said about pushing FP4 because I like the look. But sometimes I will push the film to compress my negatives, lose mid tones and generate a contrasted look. This is done through underexposing the film and then overdeveloping! Sounds strange to underexpose an already flat scene! Surely the shadows would be dark and the highlights would be grey or muddy? Well, they would. Thats when we develop accordingly.
You can see how flat this scene was. There is no shadow anywhere! So to make the scene look more punched with contrast I pushed the film. Again, this is FP4 at 400.

The ‘pushing’ effect we’re talking about comes from the development process itself. Essentially, the longer you develop your film, the more the highlights will build up. In this particular case, an 11-minute development yielded perfect results. Had I extended the development to, say, 20 minutes, the highlights would have continued to intensify, potentially leading to blown-out areas, particularly in the sky, which would have become a featureless white. The scooters would also have appeared significantly brighter, while the darker areas would have remained relatively unchanged. So, you can see how extending development time increases the overall contrast, though often at the cost of highlight detail, like the sky.
Now, what about underexposure? If I hadn’t intentionally underexposed and still developed for 20 minutes, the entire scene would have appeared flatter, with the darker areas, such as the houses, becoming much lighter. This illustrates how pushing film creates a more contrasty image: you underexpose to deepen the shadows and overdevelop to boost the highlights, effectively compressing the tonal range. Just remember that contrast and grain are heavily influenced by the specific film and development combination. And especially with pushing, grain can become quite noticeable.
Low Key
Another form of contrast is Low Key photography. Not to be confused with hard contrast. This is a good example of a Low Key photograph. The image is predominantly dark, with a black background and the subject appearing in shades of grey and white.

And this image is still Low Key but not as strong. It almost appears flatter with not very strong highlights and a more grey background than dark.

Low key photography can create a striking effect, whether you’re shooting still life, portraits, or even street scenes. It’s all about mastering the lighting. You can further refine the look during development by underdeveloping your film, but it’s crucial that the scene itself is already lit appropriately. An under-developed shot of an evenly lit street scene, like the Chevrolet, will simply look flat and washed out, with grey highlights.
The photograph below is from a roll of 36 where I intentionally under-developed the film, aiming for a low key aesthetic across most of the shots. When I captured this particular frame, I wasn’t specifically going for a low key image. I knew the sky would be too bright. However, the under-development yielded an interesting result. The camera’s metering, which considered the bright sky, played a significant role. The white road markings provide crucial detail in the shadow areas. The under-development prevented the sky from becoming overly bright, while darkening the road. But those road markings add a layer of depth and visual interest. You could almost call it a ‘split low key’ effect, if that’s even a thing. I’ve just invented it maybe?

Another similar “Split Low Key” Photograph.

Continuing with that same roll, where I was consciously seeking out low key opportunities, we have this shot of pigeons in a shaded area, with sunlight dramatically illuminating the church in the background. Note that this isn’t simply underexposed—the highlights clearly demonstrate that. Instead, the camera’s metering has accurately captured the bright background, while the under-development has deepened the shadows, creating a striking contrast.
This wouldn’t have worked with crows, which are uniformly black. The pigeons, however, possess subtle tonality that allows them to stand out against the darker surroundings. You could argue it’s more of a deep contrast image than a pure low key shot, but it certainly leans in that direction. And it’s undeniably effective, resulting in a powerful black and white print.

And now we are back to Low Key photography again. A character portrait. We have a black background, well, actually it’s grey but no light has hit it! And we have a strong light on the mans face. His face is well lit and blends off into the background making the whole scene low key. An example of how metering for strong highlights can yield other tones much darker.
In essence, low-key photography is about using a predominantly dark palette to create a mood of mystery, drama, or introspection

And with this window light portrait. Now we can see good contrast. It’s not low key. But it could be if the background was black! The subject would have blended into the background. But it’s not high contrast. If it was then the mans face would be brighter and the white frame in the background would be more white. I’d say this is well lit but a mid to medium contrast.

Compare this to the photograph below we can now see a high contrast.
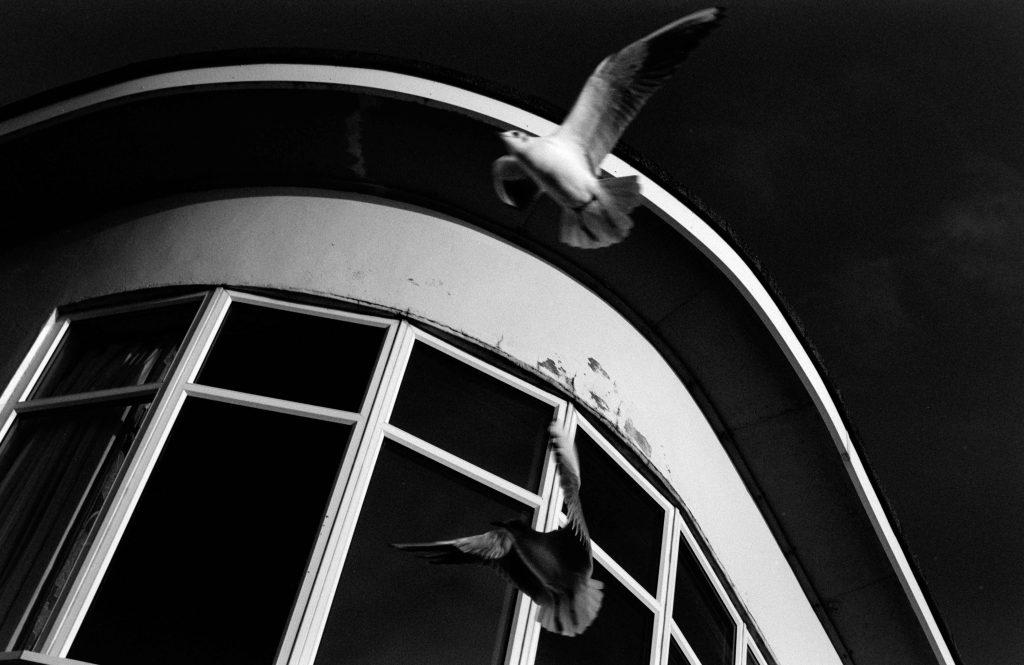
And another example of contrast. I wouldn’t say this is hard contrast. We have deep blacks but the whites are not bright enough for strong separation. Or at least not enough white in the scene.
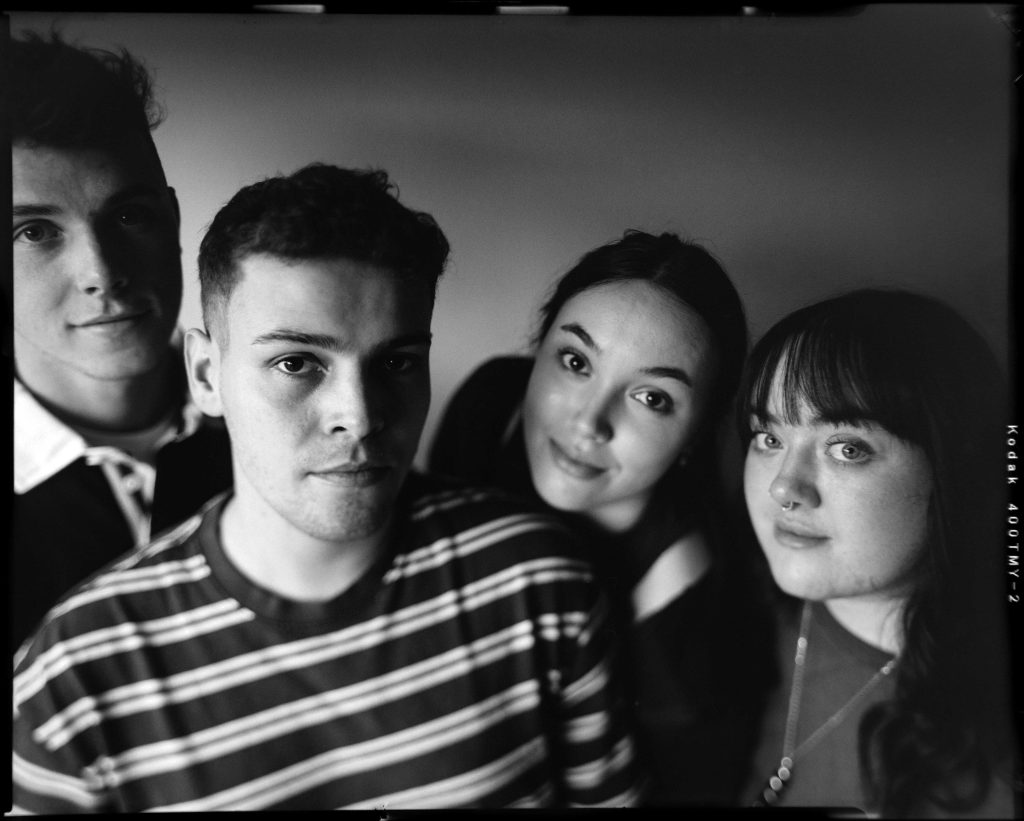
Black & White not Grey
Having been in the darkroom for many years I have got to know, in my mind, what makes a good Black & White print, especially when it is framed on a wall. I found the most impressionable prints of mine are those that are deep Black & White catching some tonality within. And it comes from
- The scene
- The lighting
- The film and Development
- Metering
When all of these elements come together it works perfectly for my style. Such as this photograph. I saw the scene and knew it would be a perfect moment for Black & White. It’s all there.

And another below. The sun bouncing off a textured white building. As long as I meter right for the highlights then the rest of the tonality follows. It’s all deep black and bright whites with a bit of shadow tonality thrown in. It makes for strong contrast.

And then we come to the total opposite end of the contrast topic. This scene here of a lake and another of a field. They wouldn’t have worked so well with hard contrast. Sometimes not everything suits. It was a light overcast day which suited this scene well. Shooting the film at box speed and developing normally. There is detail in most areas and it works. A harder contrast would have made the shadows far too dark for this scene. And thats what I said at the start of this post. Not all scenes suit contrast. And it’s up to us as photographers to decide how to make a particular scene look. But it’s wonderful we have this creative choice for our own work.


And as it is going to be sunny this week I am planning to go shooting the streets looking for more high contrast scenes.
