Home » Shoot Film Like A Boss
Category Archives: Shoot Film Like A Boss
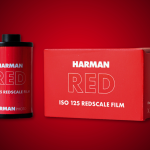
HARMAN RED (REDSCALE)
Harman release a brand new film and they call it “RED”. Well, sort of new anyway.
It’s a “Redscale” Film. And if you don’t know what Redscale is, it’s colour film that has been flipped the other way round in the cassette. Yup! The gloss side of the film is facing the lens. And when you shoot and develop the film in C41 the red layer of the film gets exposed first and it creates this Red, Orange, Yellow look. I read it was discovered by mistake back in the day. Probably by a large format photographer putting his colour sheet film in the wrong way round.
Harman sent me some to try out so I wasted no time and was looking forward to seeing what I could get from it. So I went to the beach. It was a light overcast day. I wasn’t sure if Redscale needed strong light but after reading online that it hold up perfect on light overcast days I felt rest assured I was going to get some nice Redscale negatives.
Here is the vlog I made for the channel.
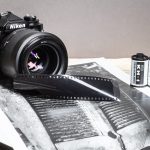
I used my Nikon F6 with a 50mm Zeiss Milvus f1.4 lens and developed the film in Cinestill C41 chemistry. Rotary processed.
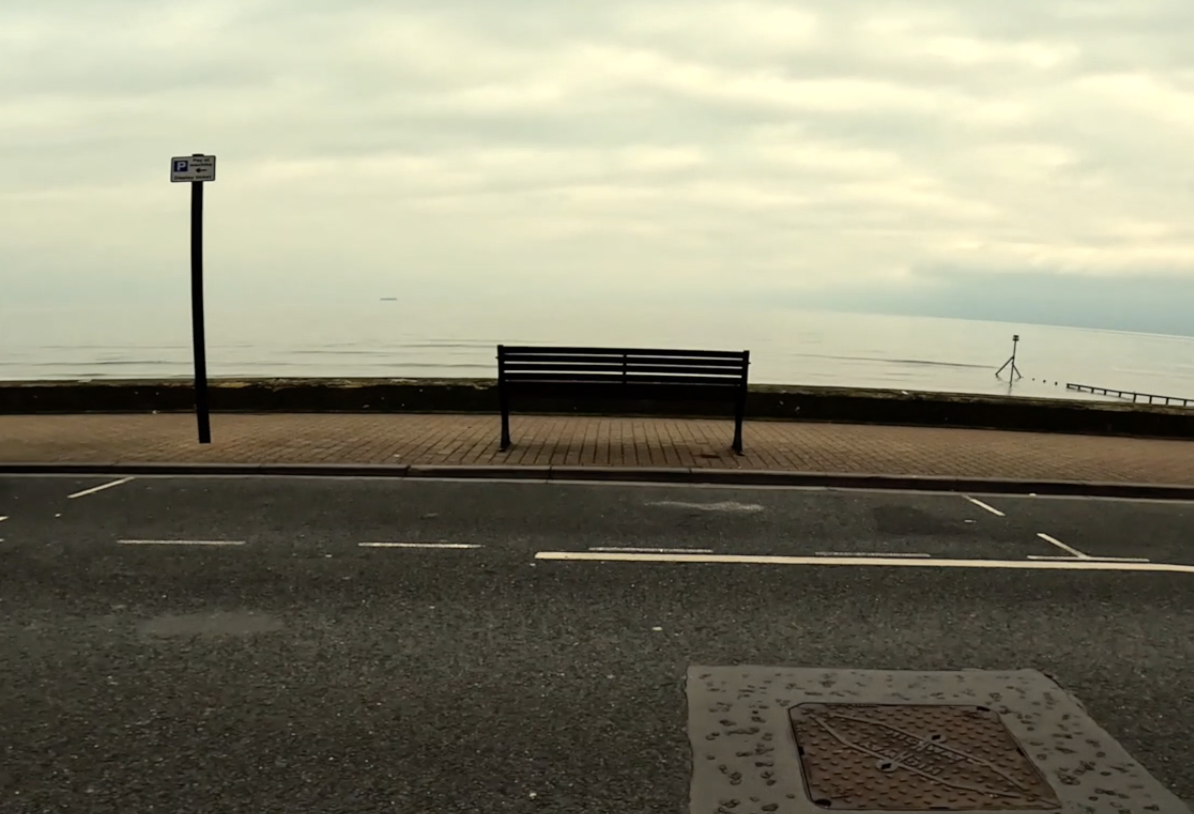
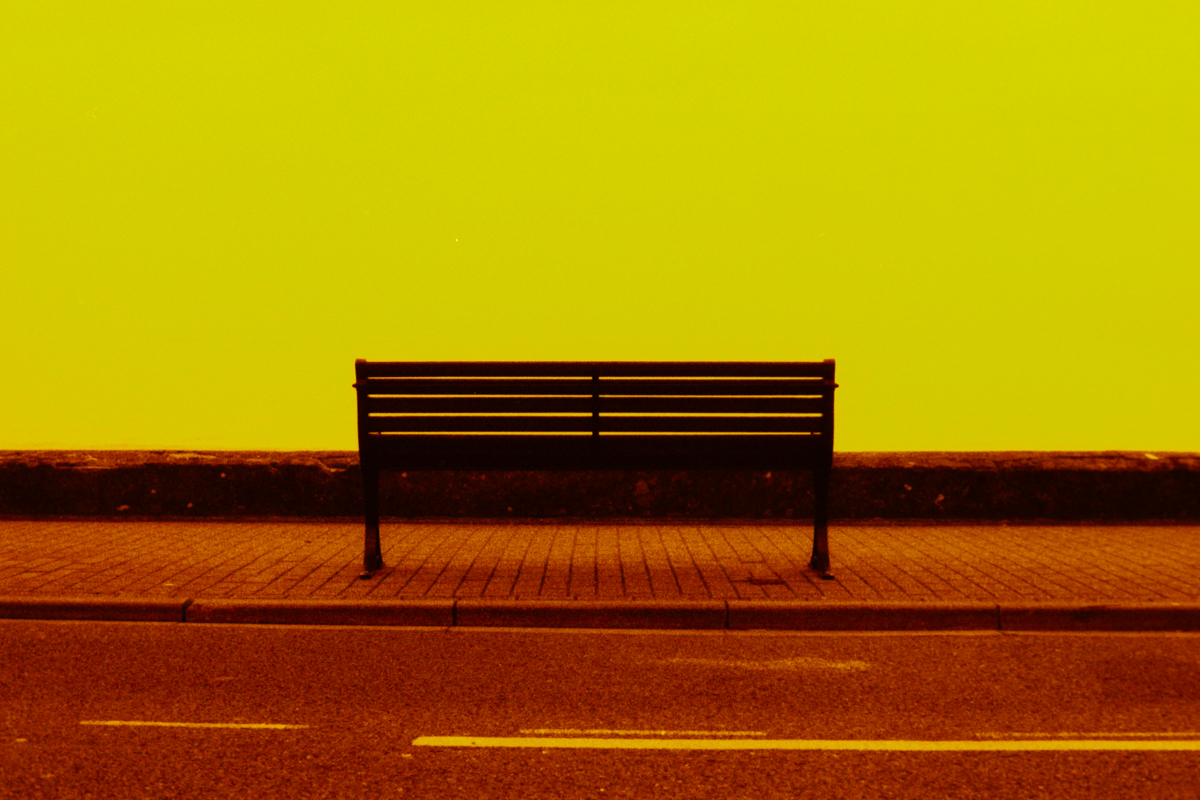
When I saw my scans inverted I was pleasantly surprised that I didn’t get a totally red looking overlayed image. As you can see my sky is Yellow! Leading into an Orange Red towards the bottom.
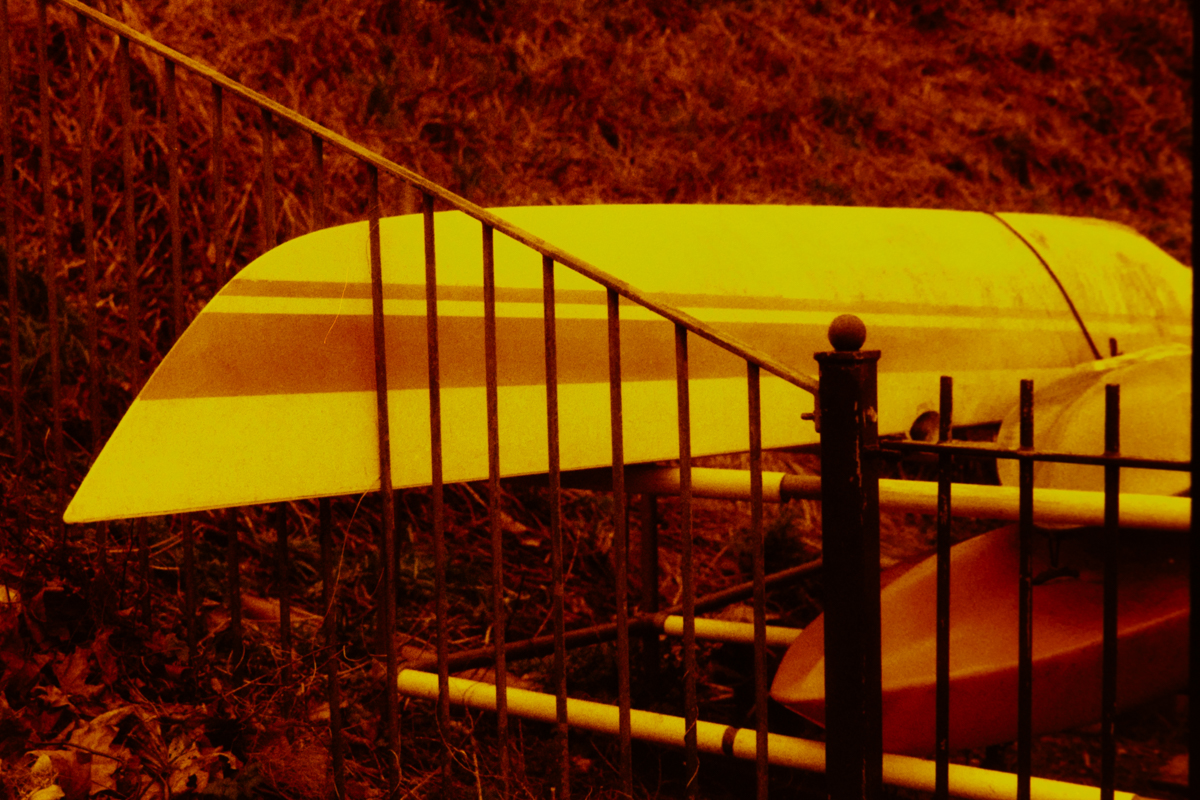
Here are some more images from the beach. The light hardly changed.
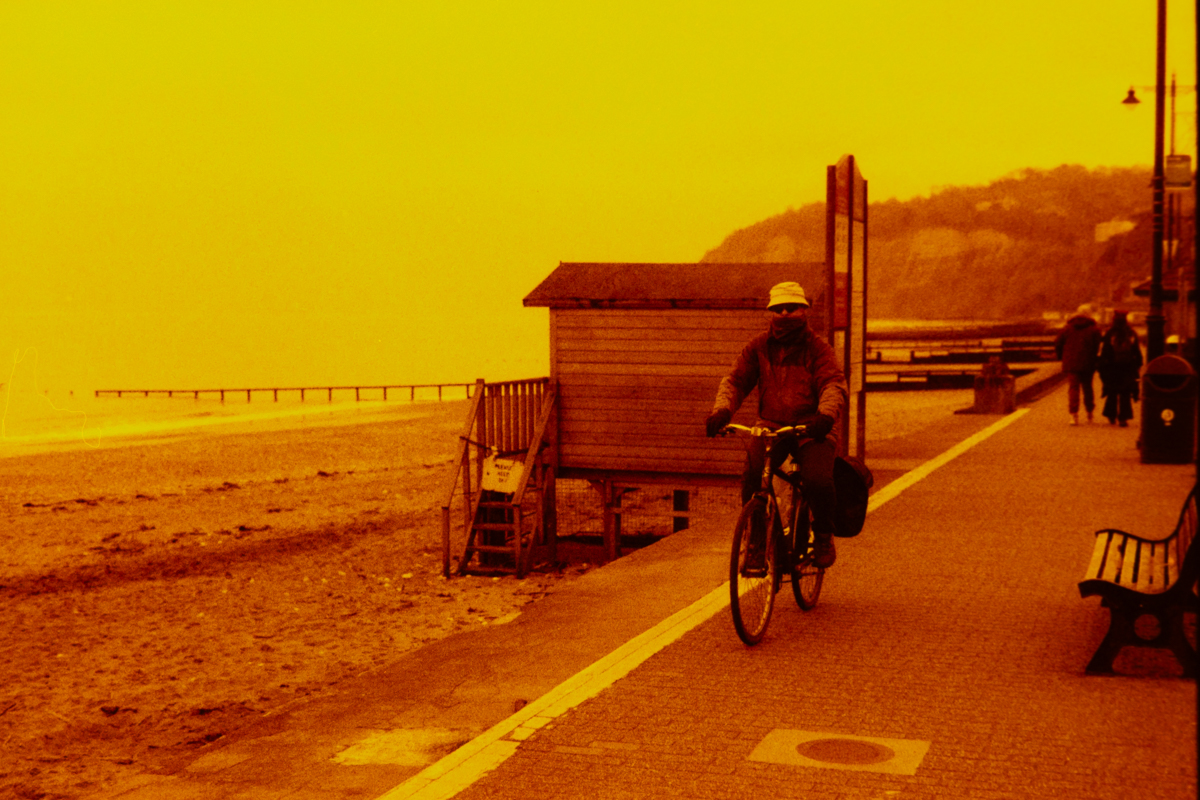
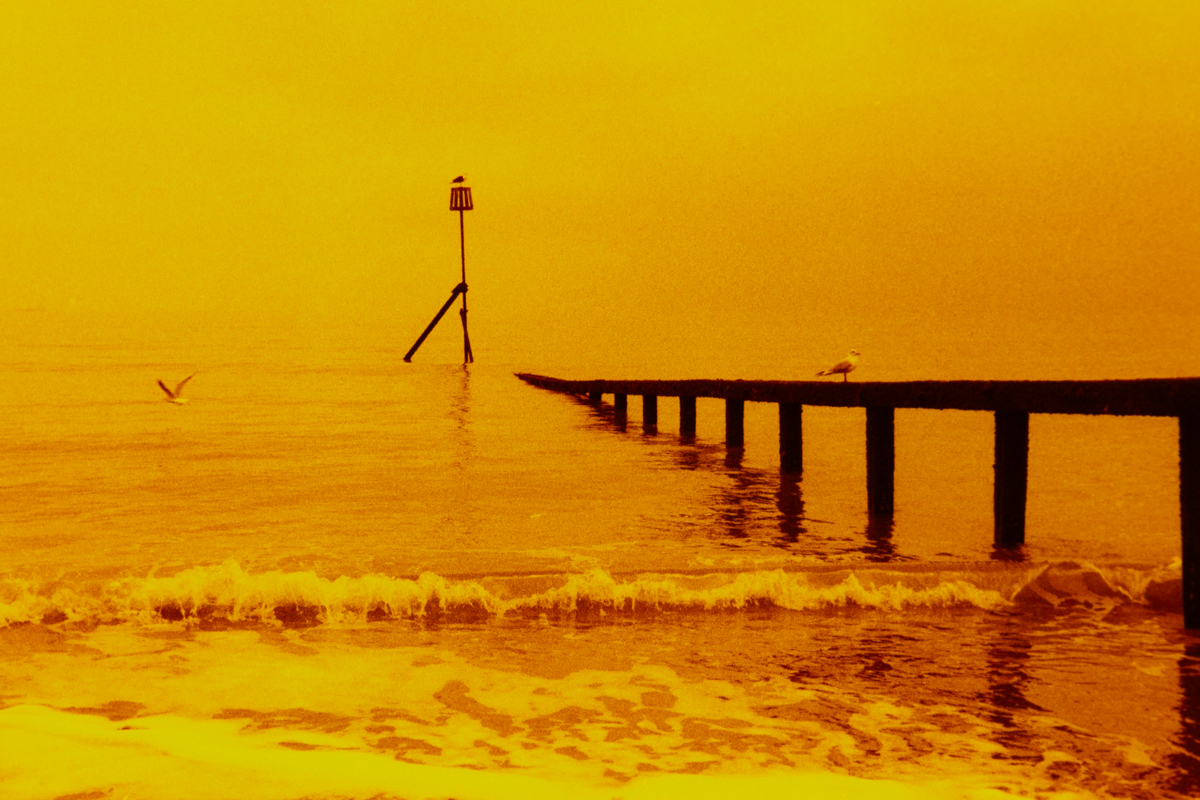
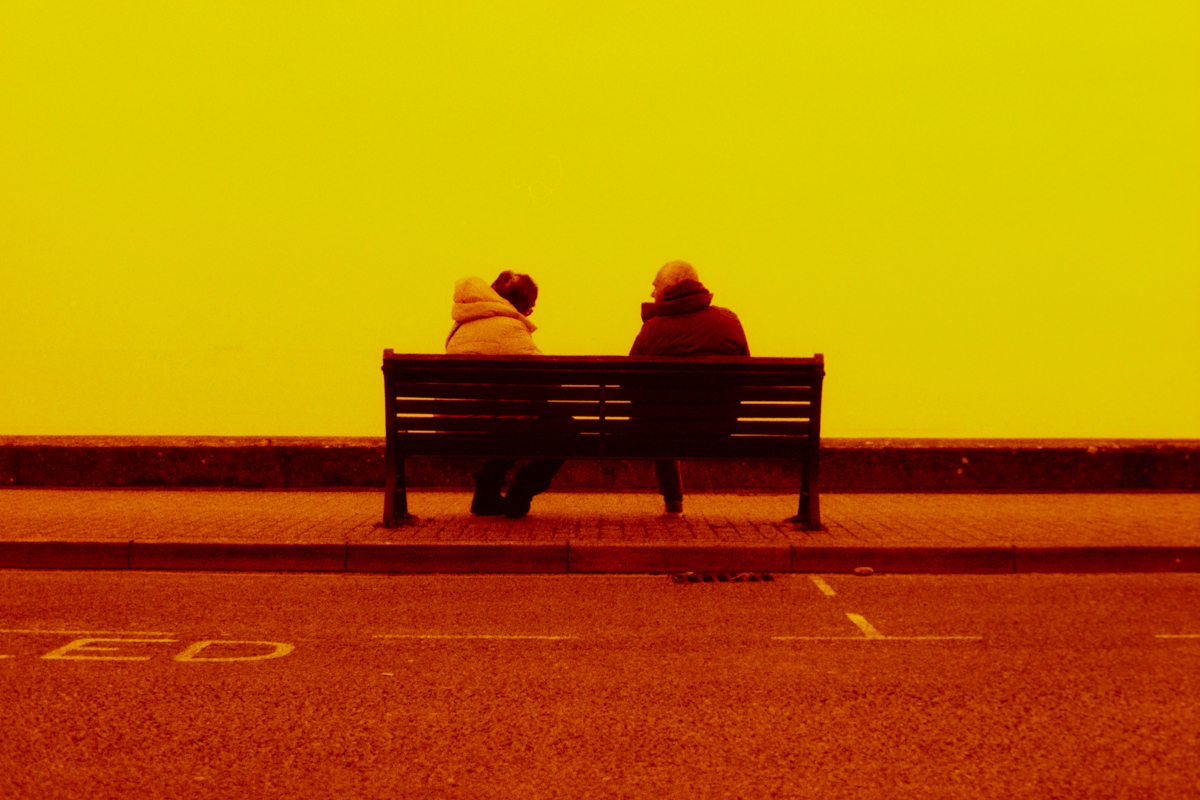
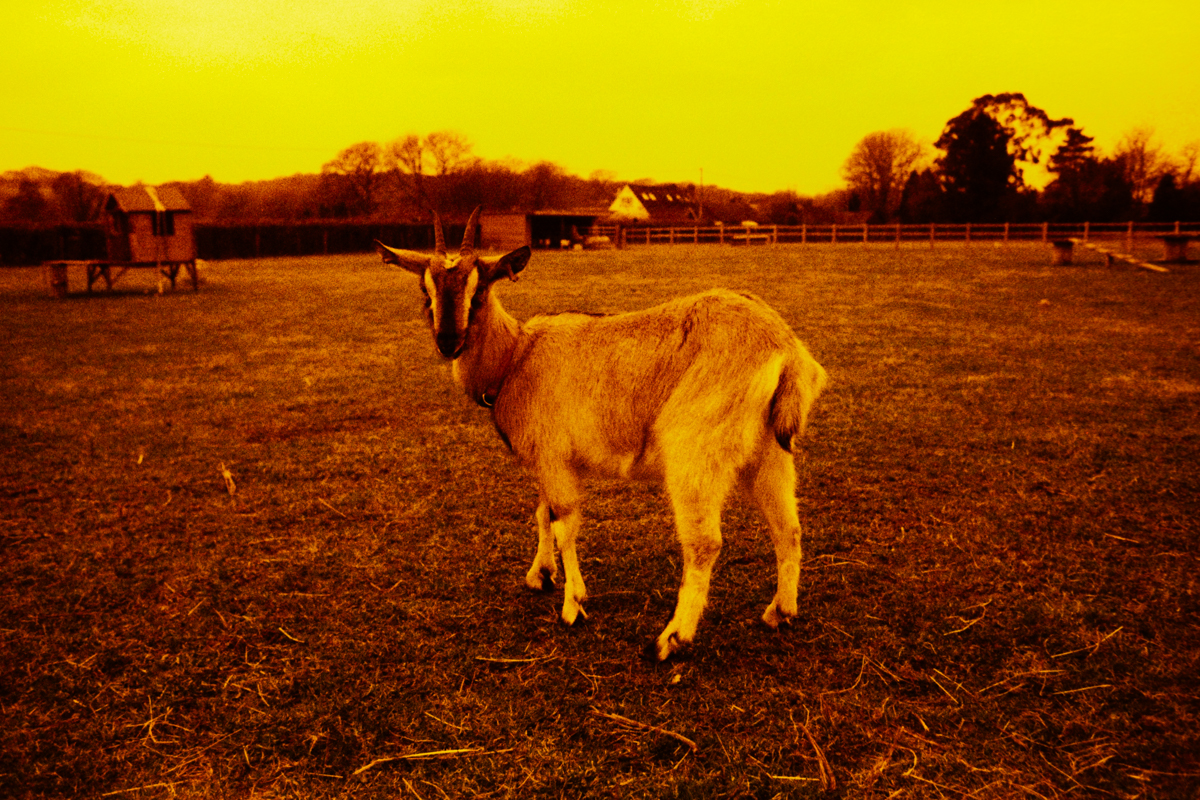
I wasn’t so convinced at first. I’m not sure seascapes does Redscale much justice, so I took another roll and went off to the local farm. The lighting was similar to the beach. Same camera, lens and process.
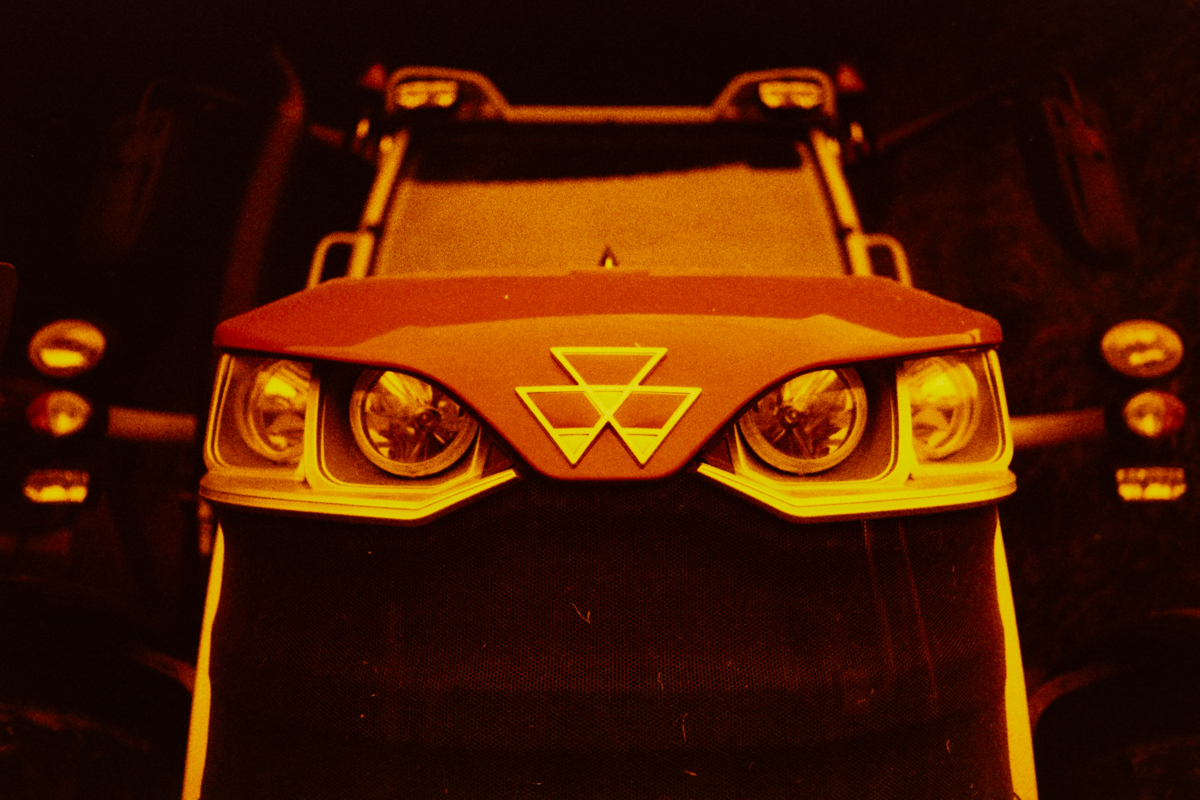
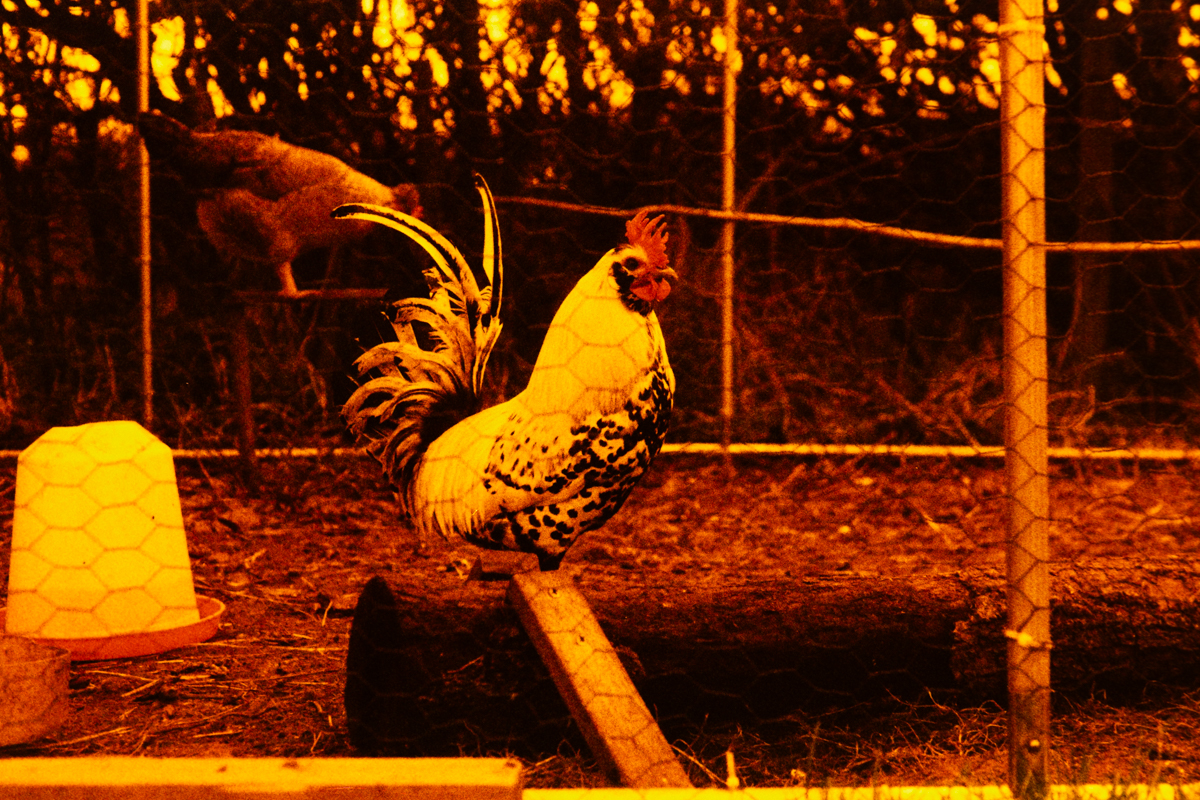
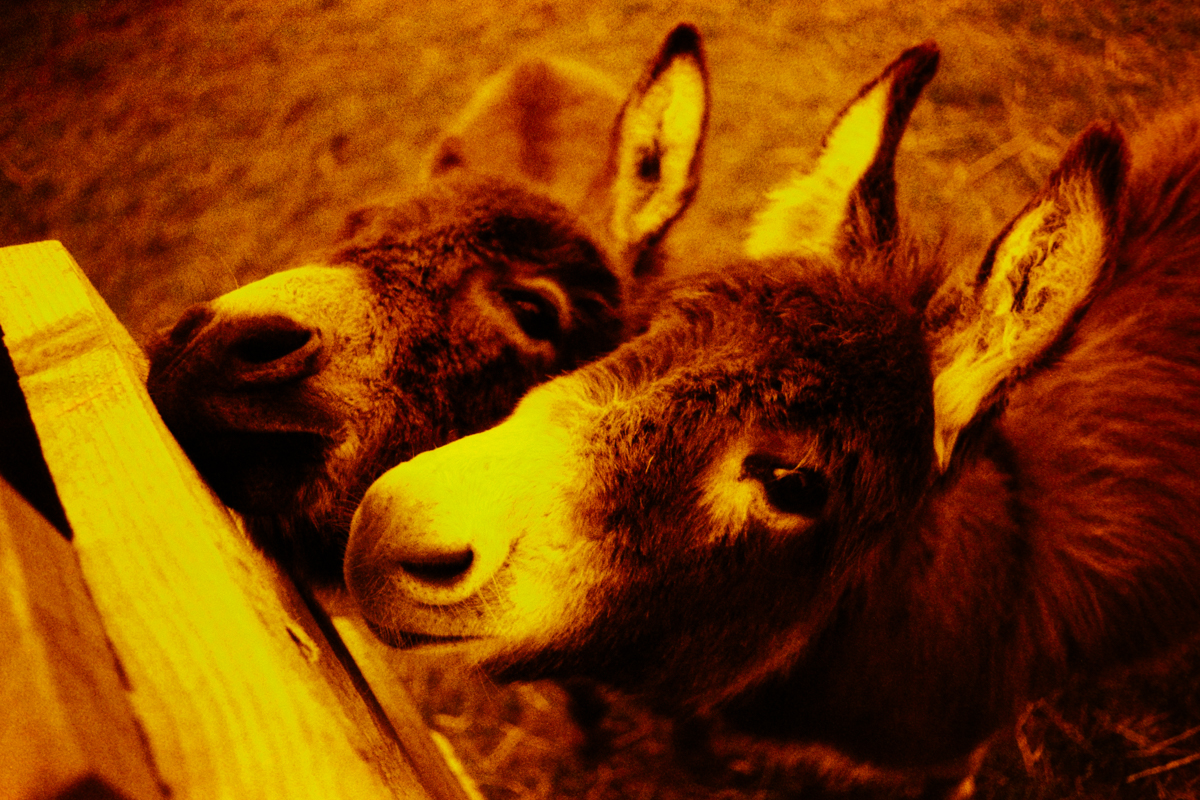
These were much different as this time I hardly had any sky in my photographs and I started to get a more deep red.
I didn’t really know what to expect when I was shooting these films. And I wasn’t sure if I liked the idea, but the more I looked at my photographs the more it got me wondering about other scenes of photography. Street, Woodland, Urban, Buildings, Portraits. And the more variety I photographed the more I began to enjoy the look. Unfortunately I can’t print colour in my darkroom. But there is nothing stopping me scanning and making an inkjet print, framing and putting on the wall at home for something different in-between my Black & White and Colour prints. Redscale could look pretty quirky in the right home.
Phoenix 200.
So we know Harman already has a colour film. Phoenix 200. It’s their only colour film. And you’ve guessed it. They have taken Phoenix 200, flipped it in the rolling machine and relabelled it RED. And because of the “Flip” they have rated it at 125 ISO. But I still got good results more or less.
It’s no secret. You can clearly see the Phoenix etched on the RED negatives.

And although Phoenix 200 is a very good film, in it’s own unique way, you don’t have to buy Redscale Film if you have a darkroom, closet or anywhere else that is pitch black to shoot Redscale. Just take a roll of colour film you have into the dark, pull it all out of the cassette, cut the end away, turn it over, tape it back to the cut end of the film that is hanging out of the cassette and rewind it back into the cassette. You now have Redscale film to shoot. It is a bit of a faff and can be quite tricky to do in the dark, that’s why Harman have done all the hard work for us.

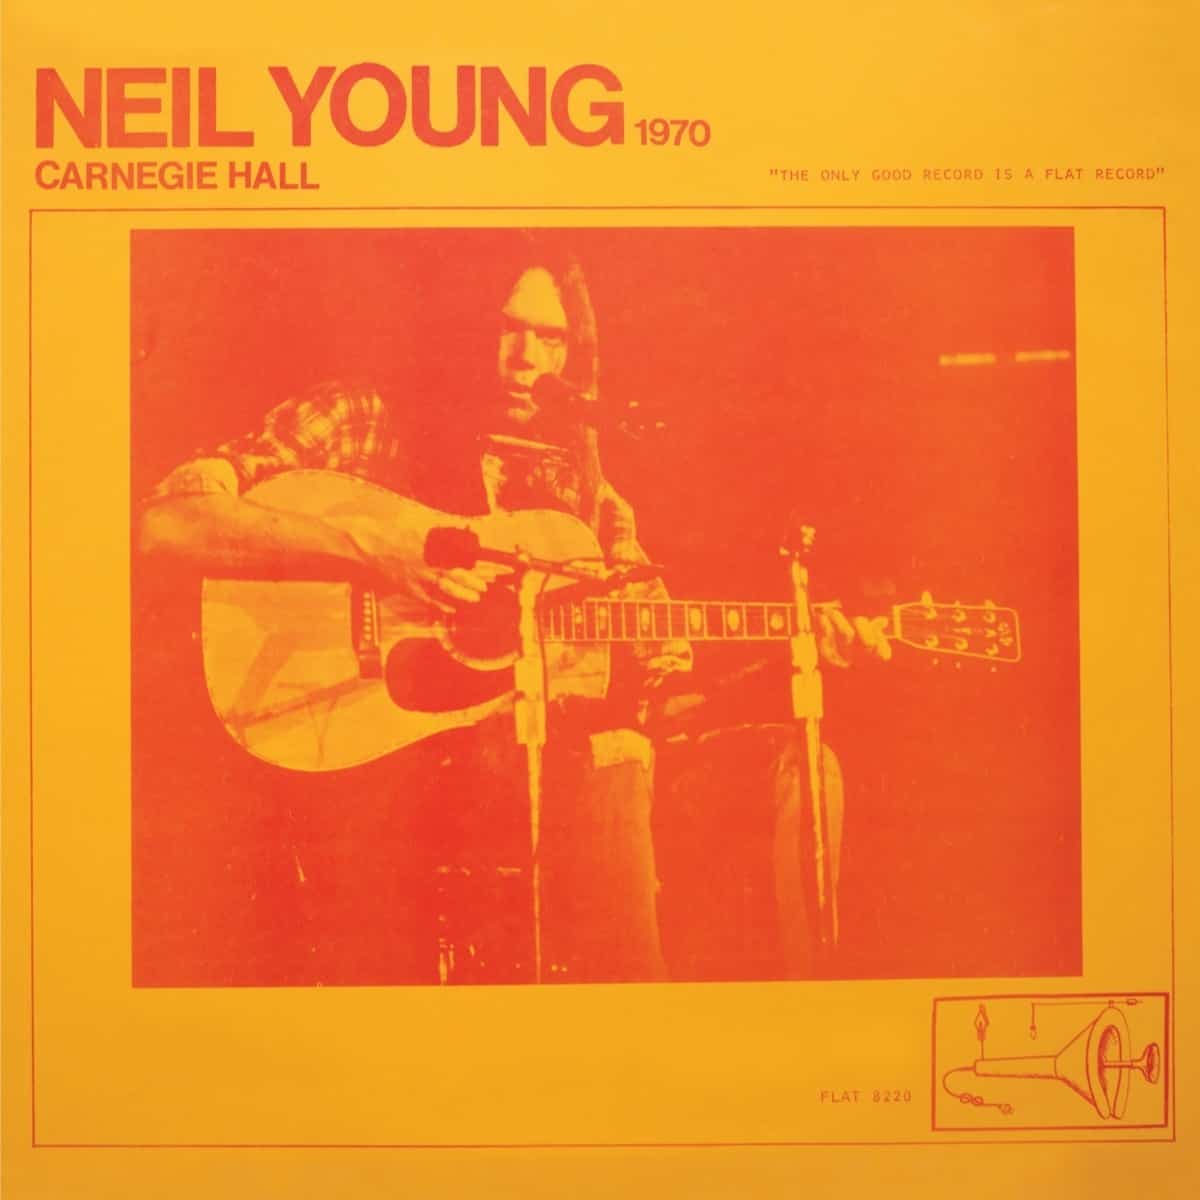
I even tried a selfie of myself with a static light indoors. Manual lens. Always a bit hit and miss to focus but it’s not that bad! Different anyway. Or is it different. You’ve more than likely come across this look in magazines and record covers in the pre digital days. Unless it was an orange filter on the lens. Who knows.

Was Redscale used for Record Labels pre digital era?

Back at the Farm.
Of course it’s not going to be to everyone’s taste. And if you are pretty good with photoshop you can create the same look without buying or sabotaging a roll of colour film, but where is the fun in that? I’d rather shoot a roll of Redscale.
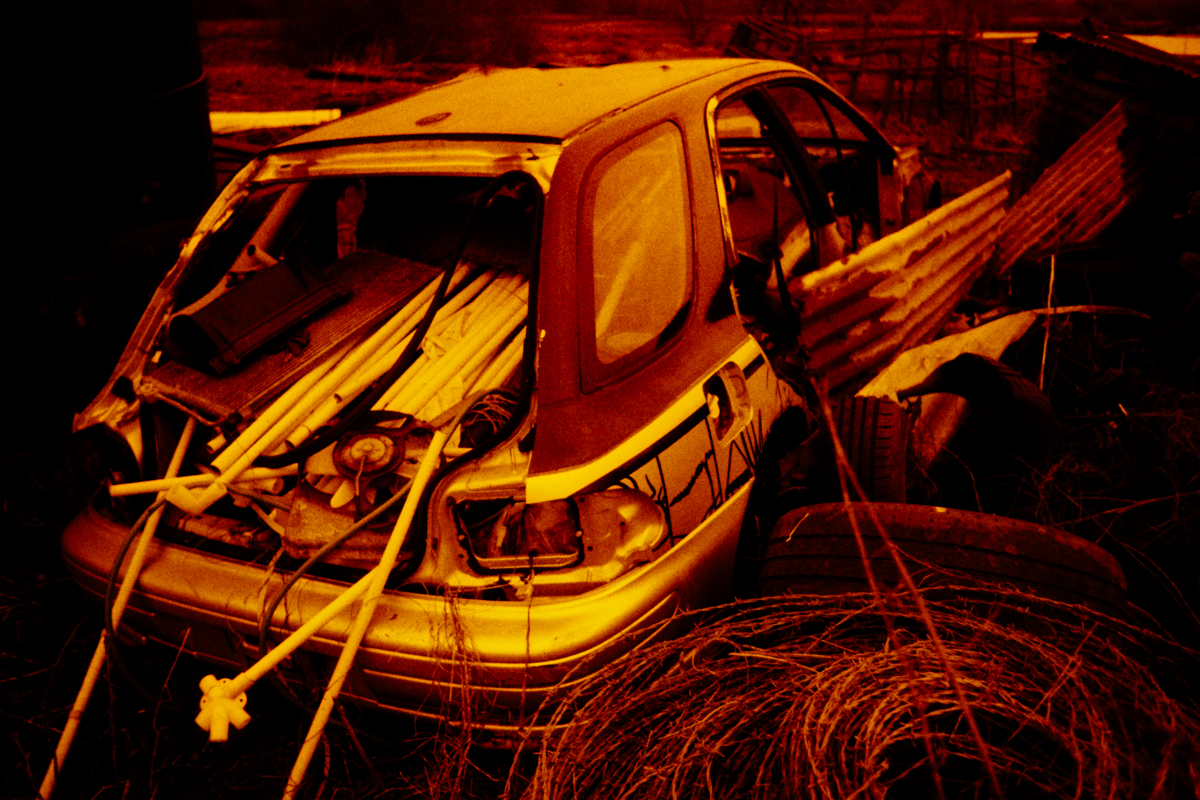
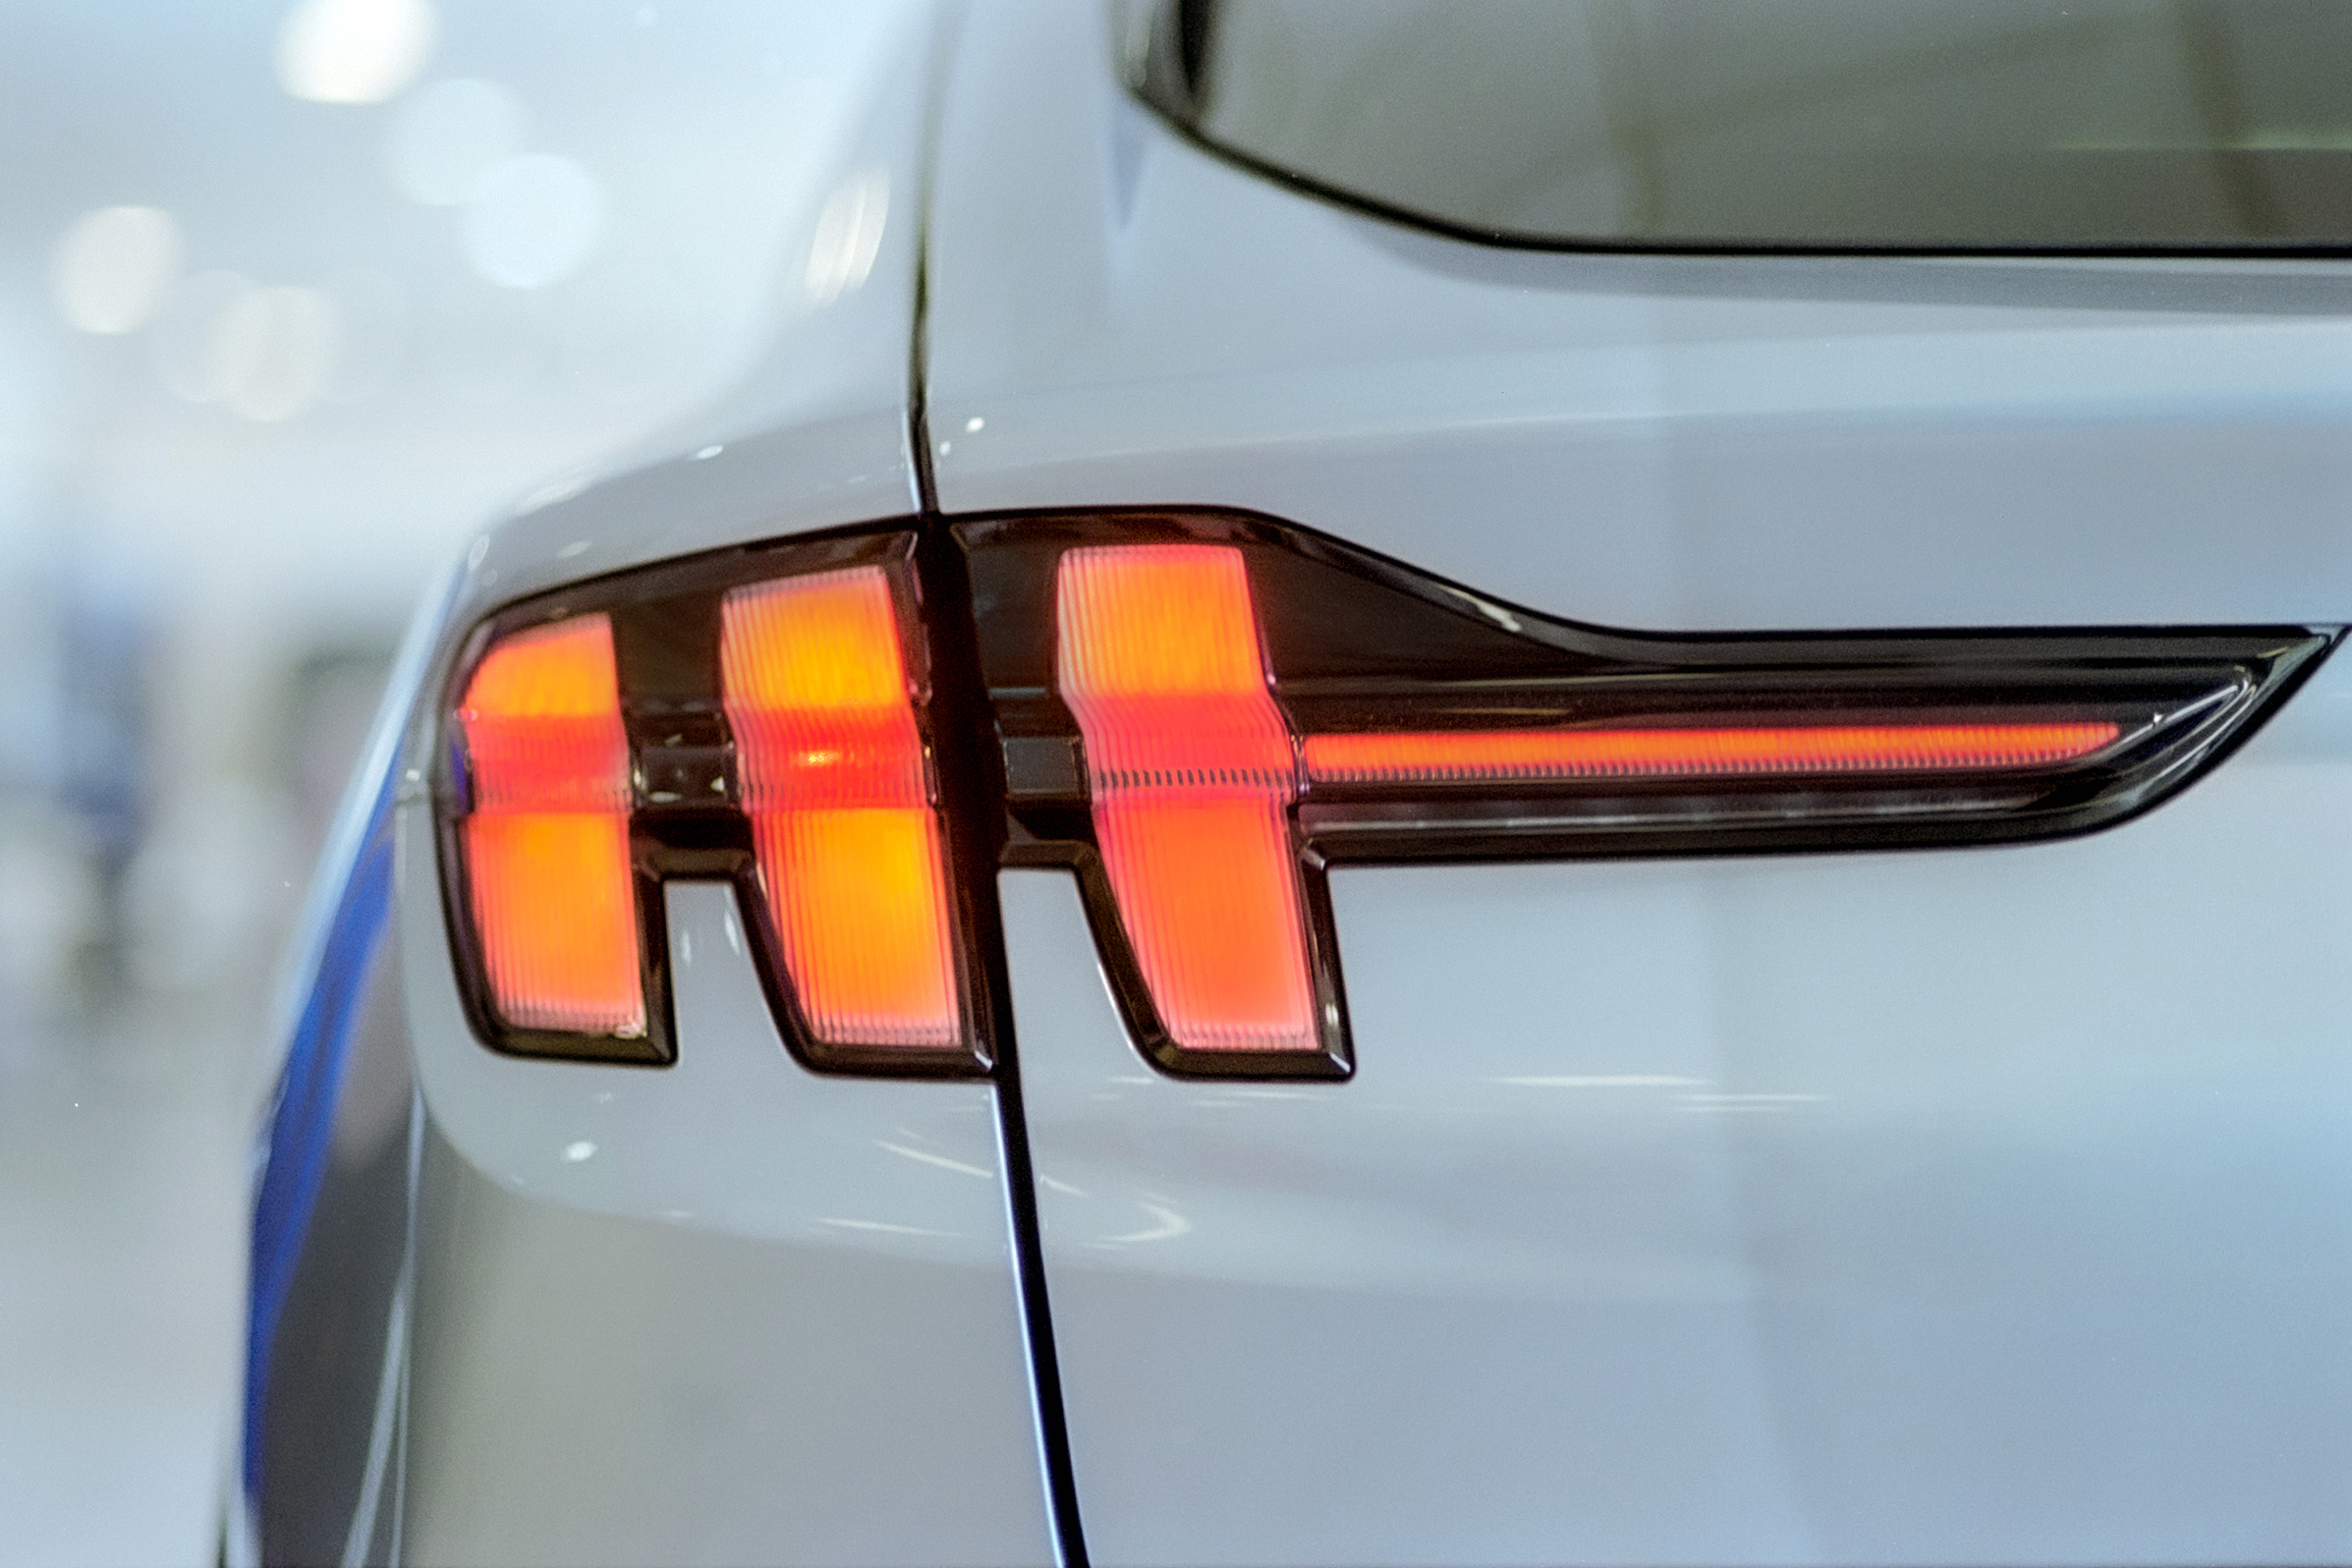
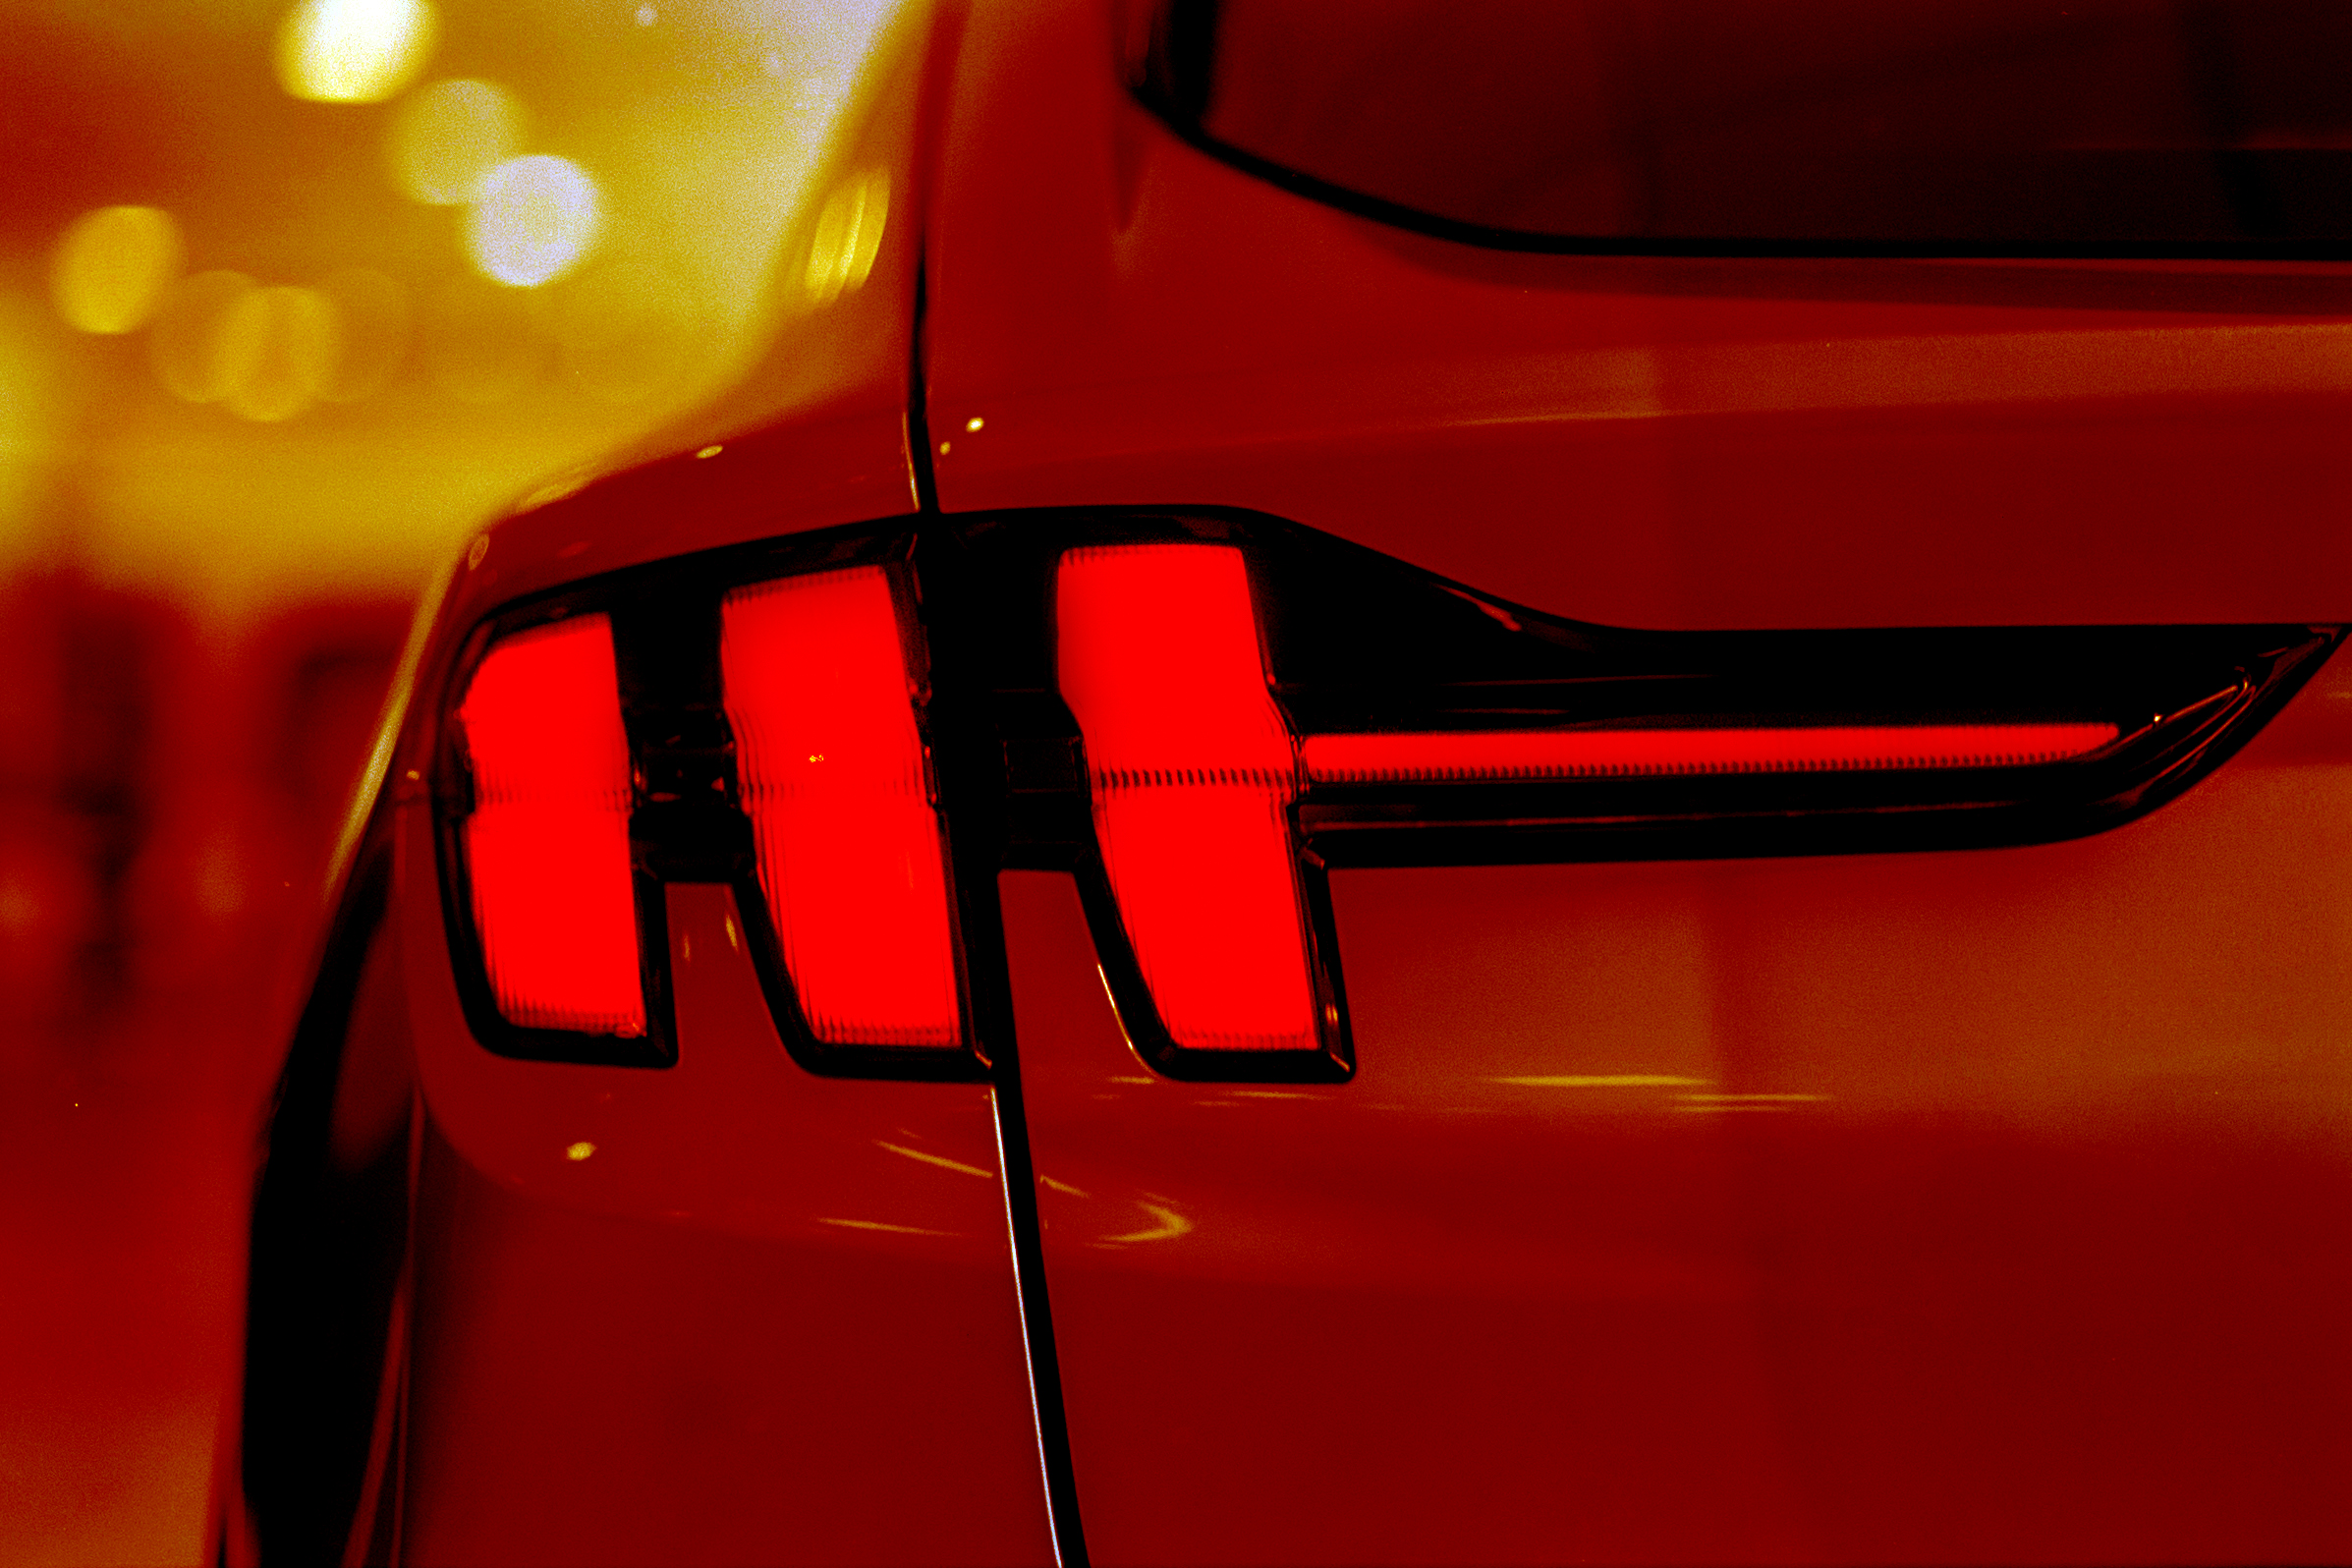
Here is a Car that I photographed for a showroom. And you can see I turned it into Redscale using a dark orange layer in Photoshop.
I don’t think you’d ever want to shoot someone’s Wedding or Commercial Event on Redcsale. Of course you wouldn’t. But loading a roll with intent for experimentation is fun. As I found out.
We haven’t had much sun here lately so I am looking forward to getting out on a sunny day, or maybe in the golden hour, around town for some Street/Urban Photography. I think that is where this film would suit me best.
Above all, well done to Harman for making this film possible for us to try. Can you imagine a Film Photography Community with no new products?
I’m definitely going to try more with Redscale. I may even try other colour films and flip them in the darkroom and see what results they give.
New Film Merch!

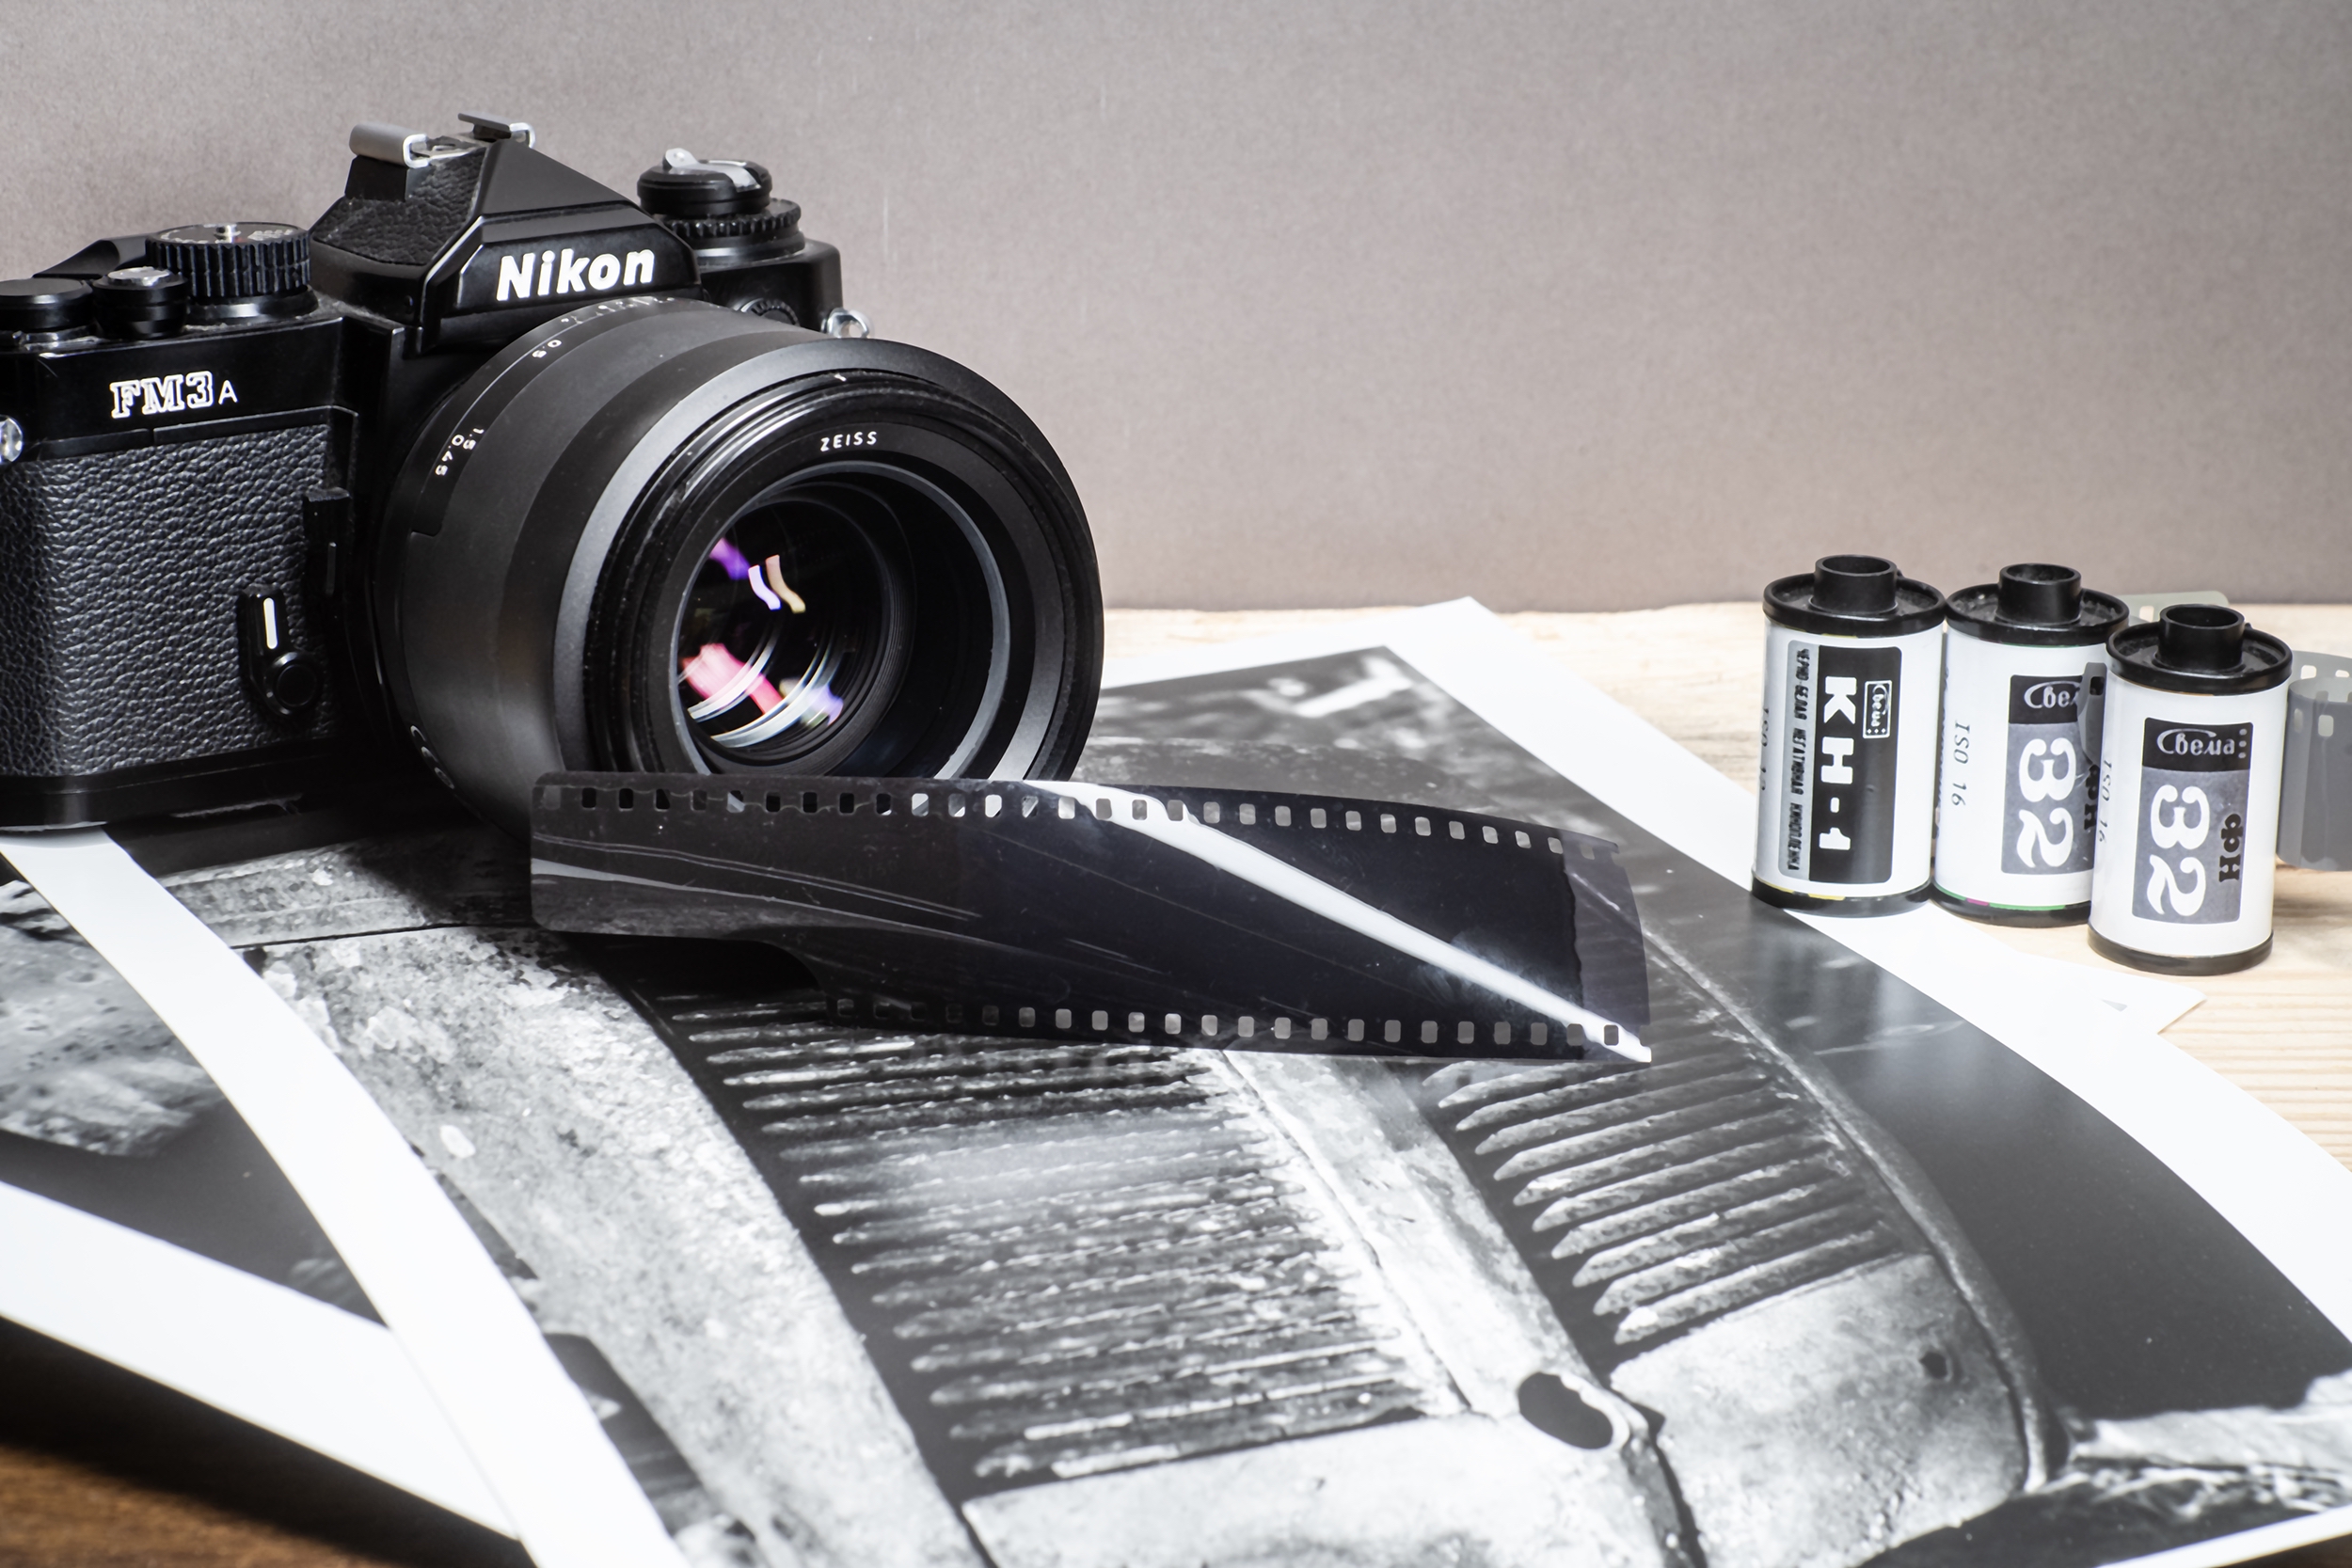
Svema KN-1 Expired Film
Expired Film! We either hate or love it! Hate it because we just spent hours shooting and developing just to find an emulsion full of mess or love it because we just managed to successfully shoot, expose, develop and print a film that was made 30 years ago.
See the Video…
This Soviet film was produced around the late 80’s and was kindly sent to me by the Ukrainian Film Photography Group, in Ukraine. And this film is being re-spooled and sold by an online store in Ukraine.
It is one of those low ISO films. 12 ISO. Your first thought is that pain in the arse word – TRIPOD. I love tripods. Where would we be without them. But at the same time they are a pain to lug around the streets. And most of the time public areas such as shopping centres and complexes won’t let you use one. Try taking a tripod on the South Bank in London. You get told to put it away! But. With ISO 12 you have no choice.
I don’t know the history of this film. I couldn’t find much concrete answers online. Maybe it was originally a 100 speed and because of the age the people spooling and labelling it have stamped ISO 12 on the box to count for sensitivity. Whatever it is, it is really nice!
After doing some developing tests (you can see the video here) I set out to shoot some still life subjects indoors as a test. I have two rolls to play with. I set up a simple scene indoors with some rather old objects.
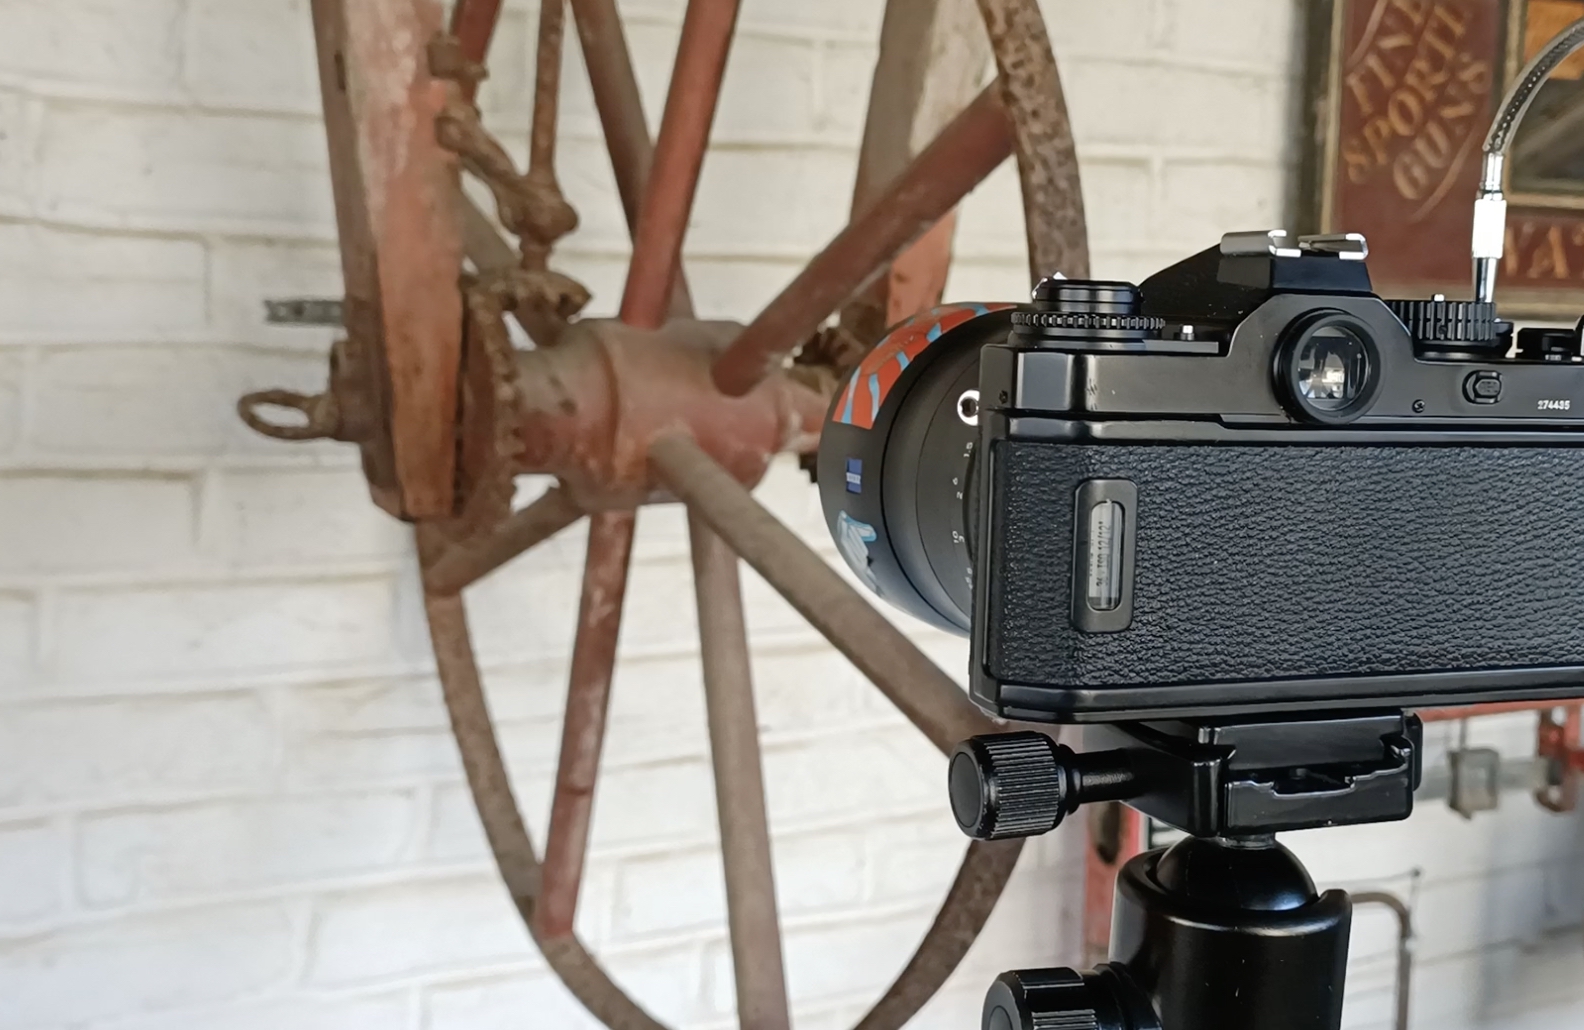
And here are the results after rotary processing in ID-11 for 9 minutes 1/1 at 20 degrees. Camera was a Nikon FM3A with a 50mm Zeiss Milvus Lens. I set the Aperture to f2.8 which gave me exposure times of just 1 second. I din’t want to go slower than that incase I hit reciprocity.
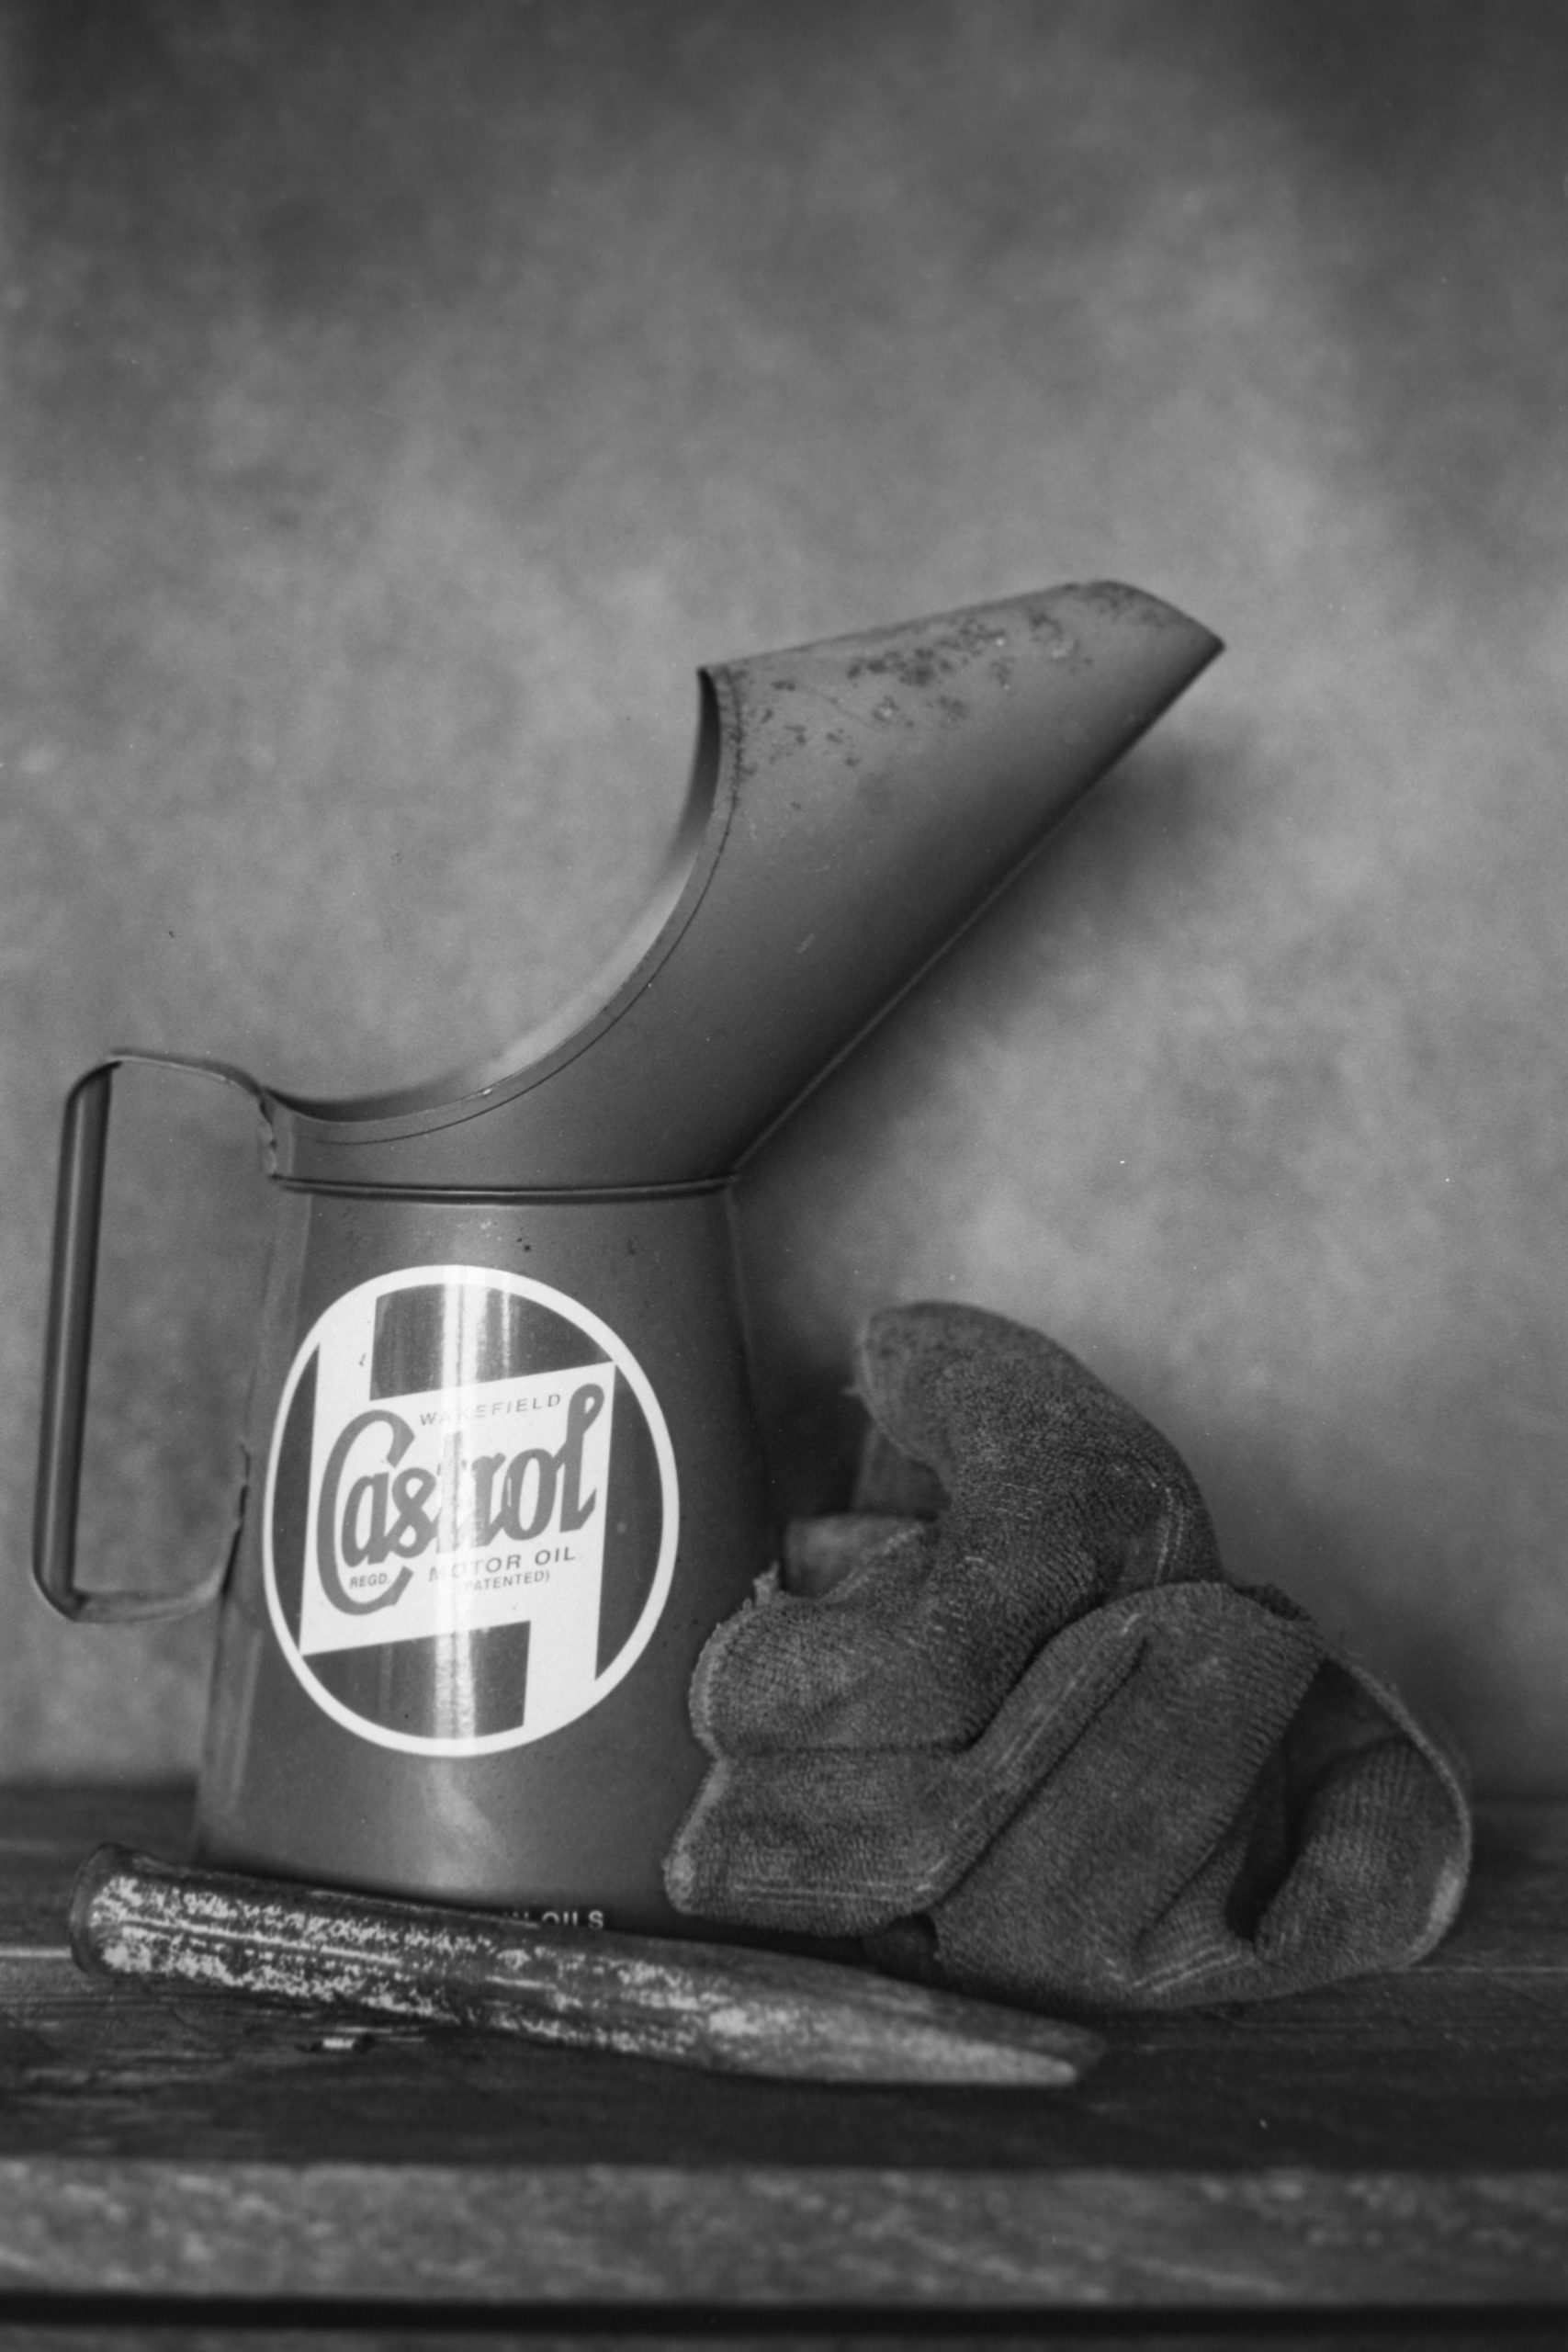
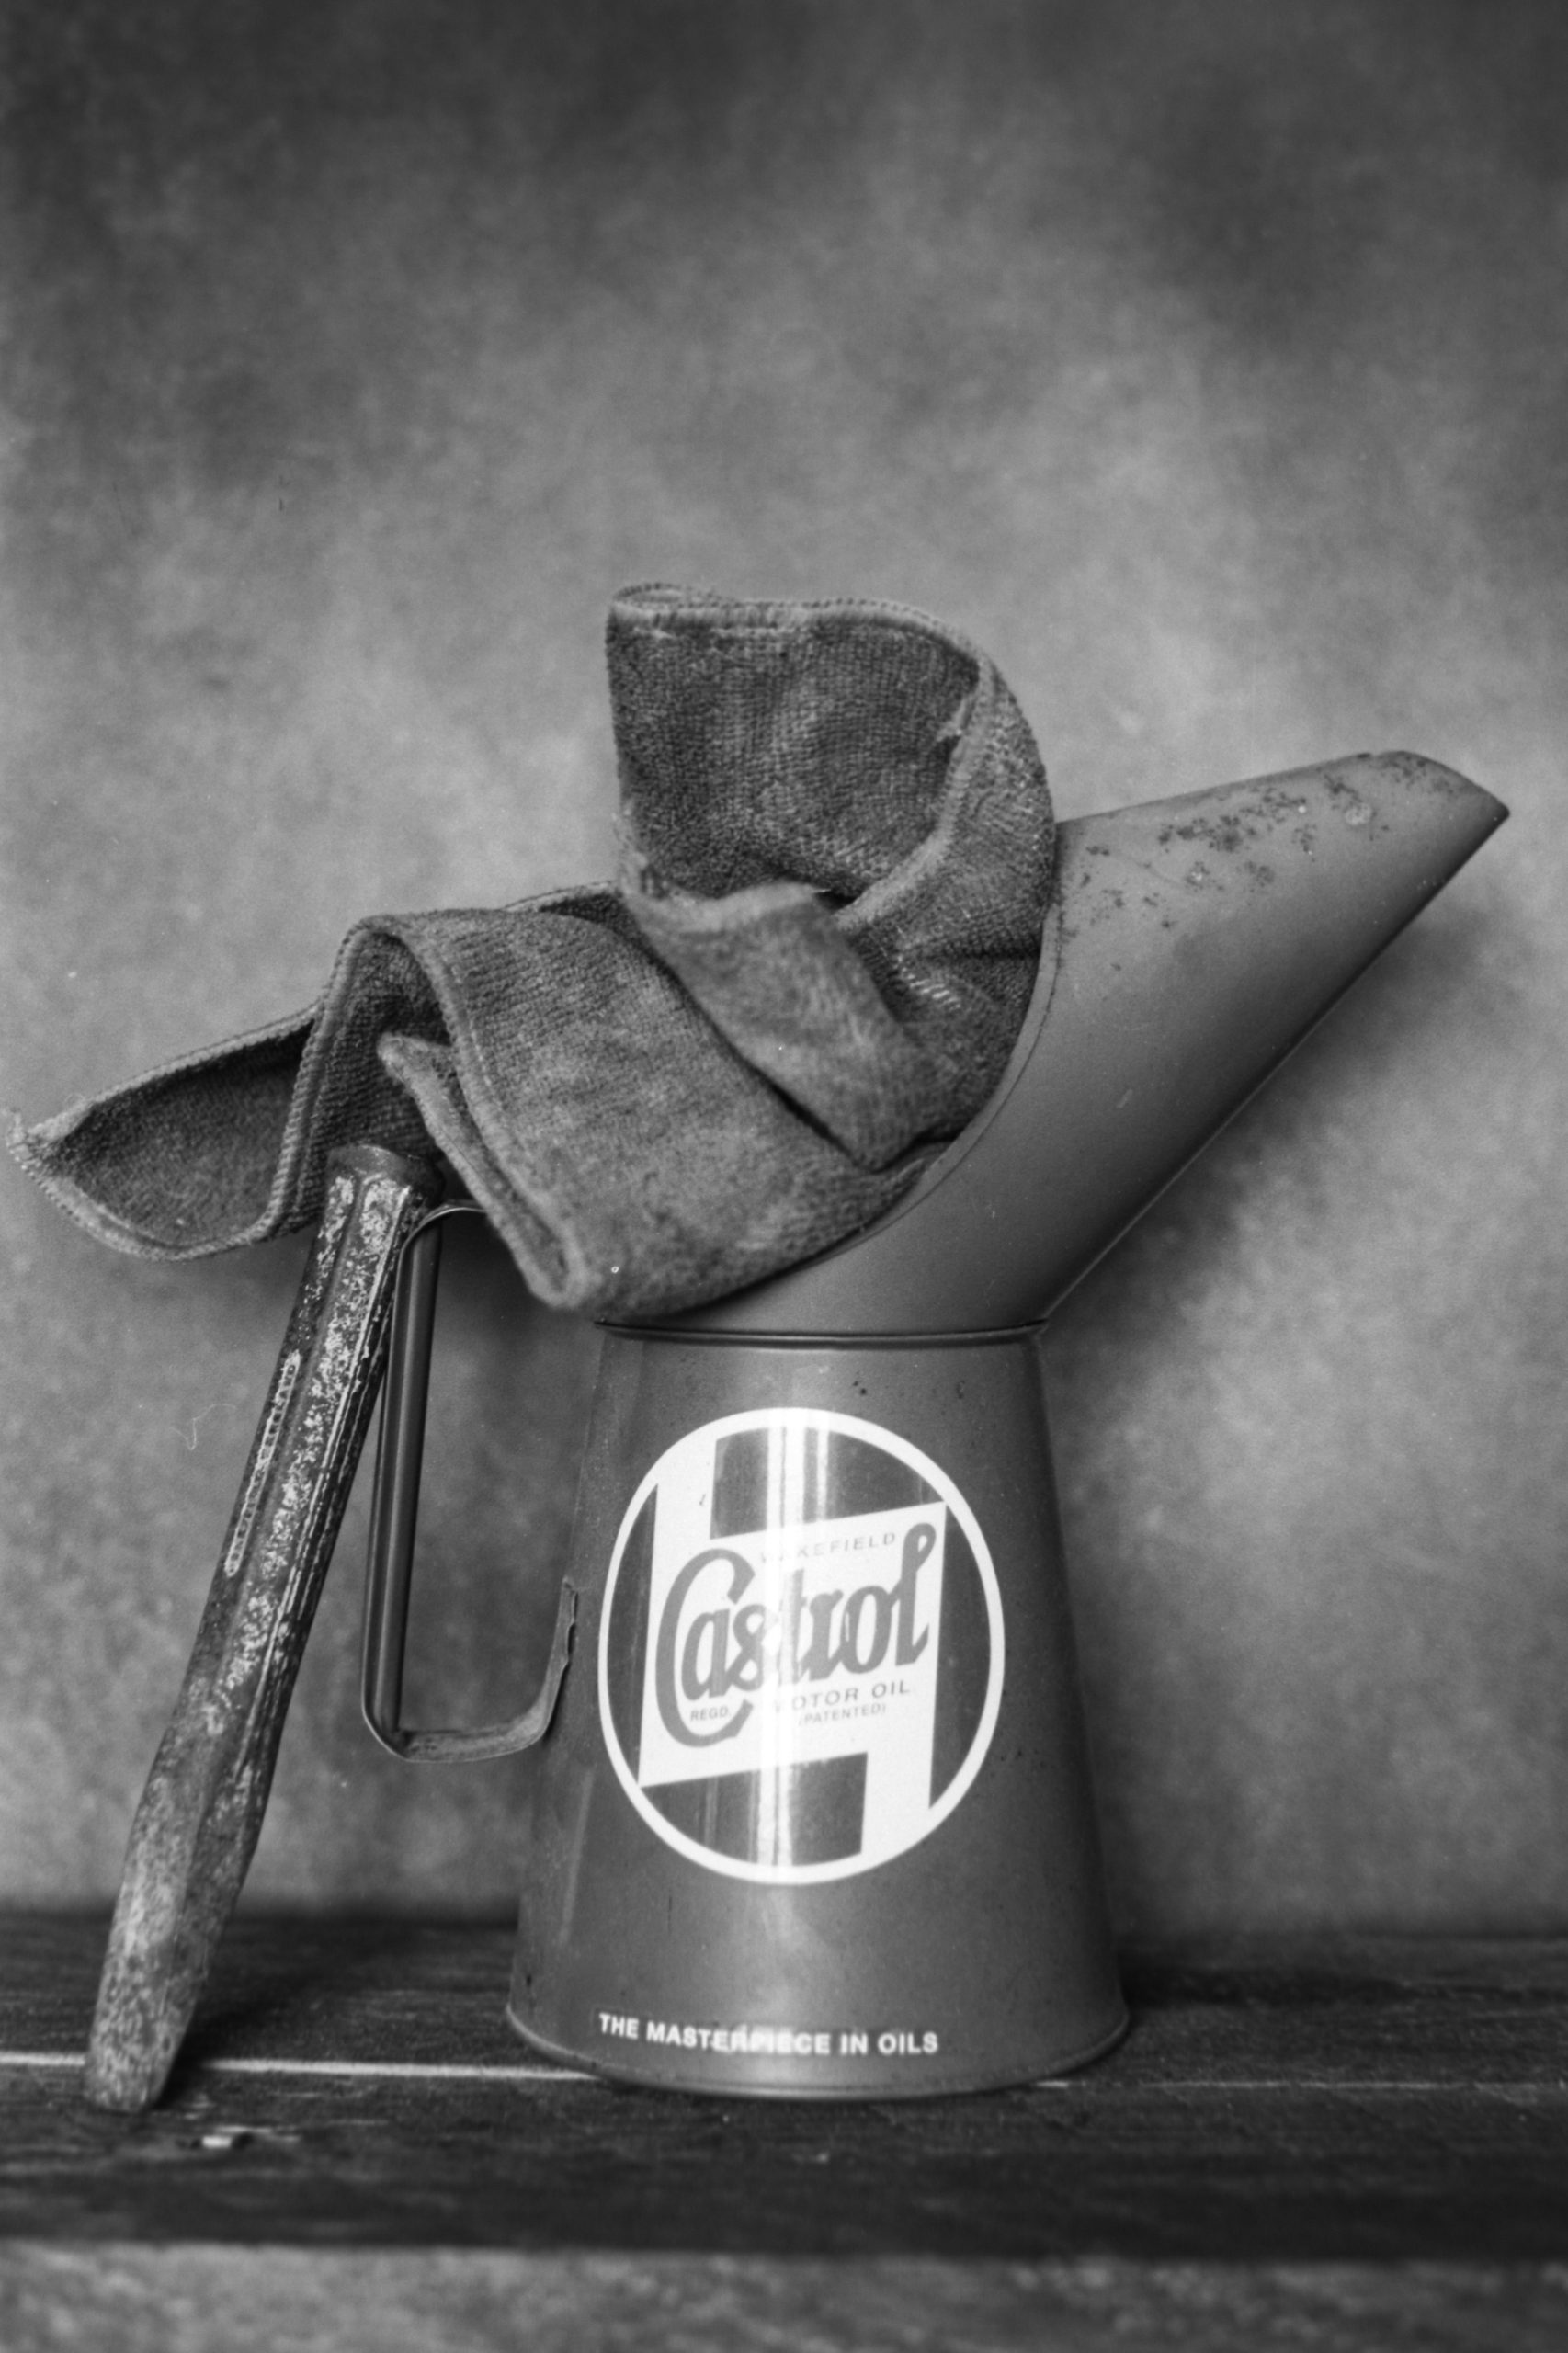
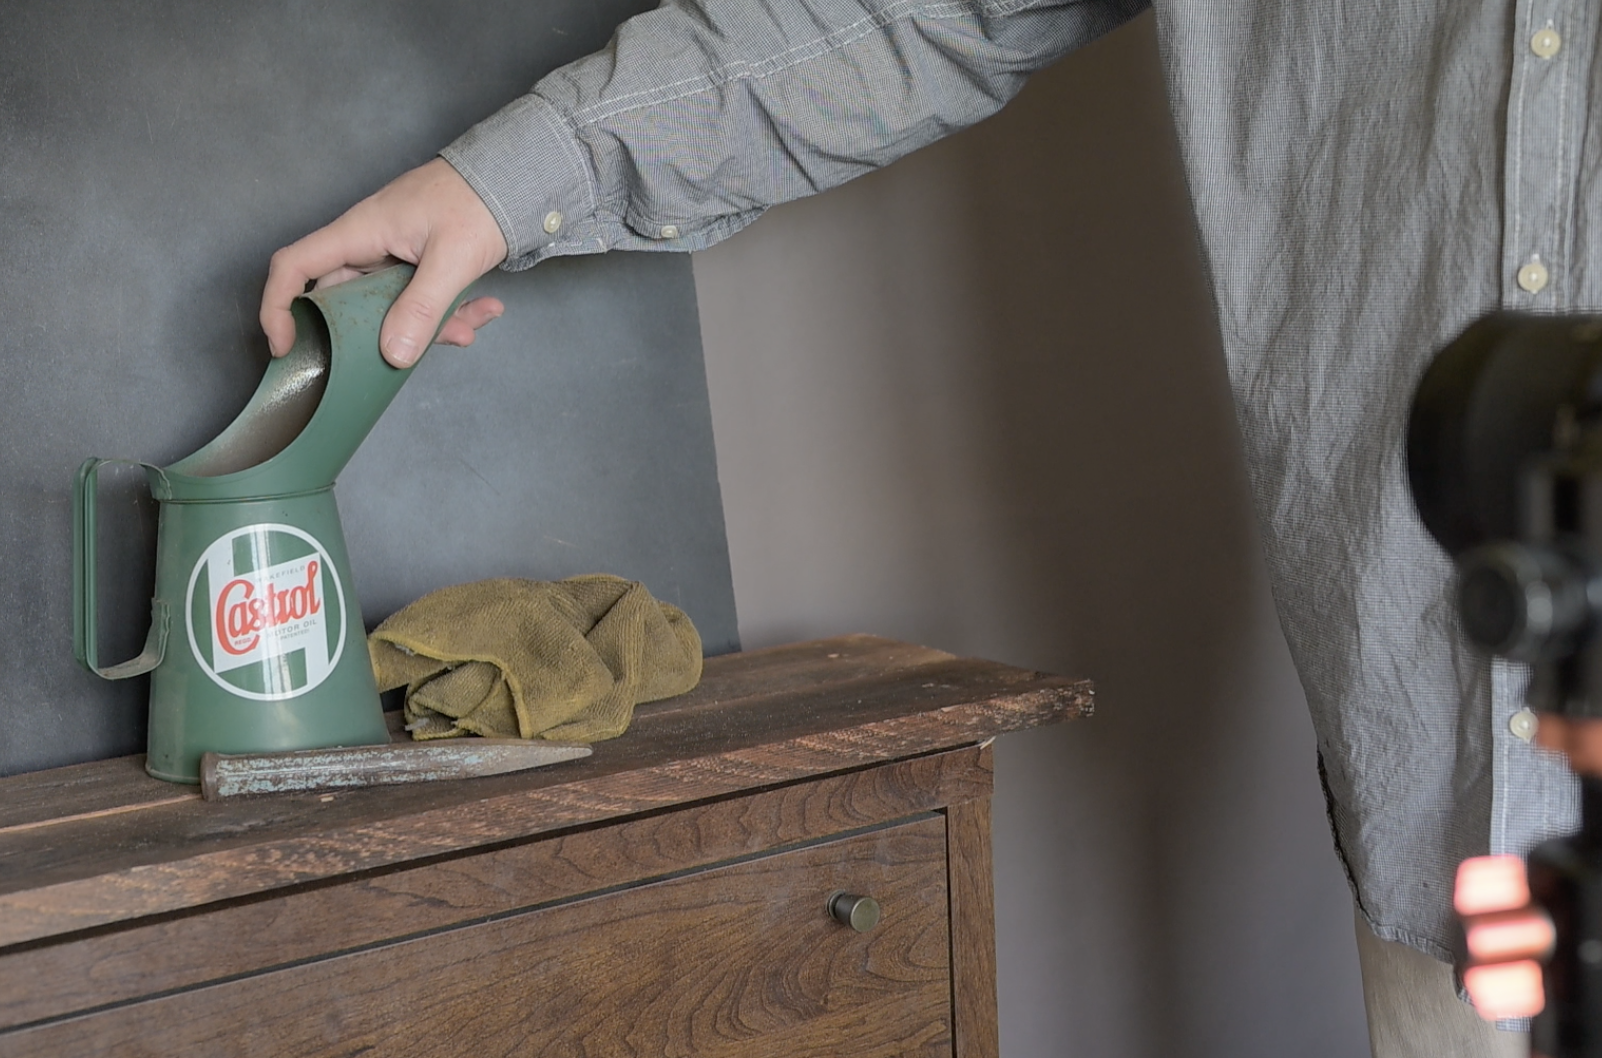
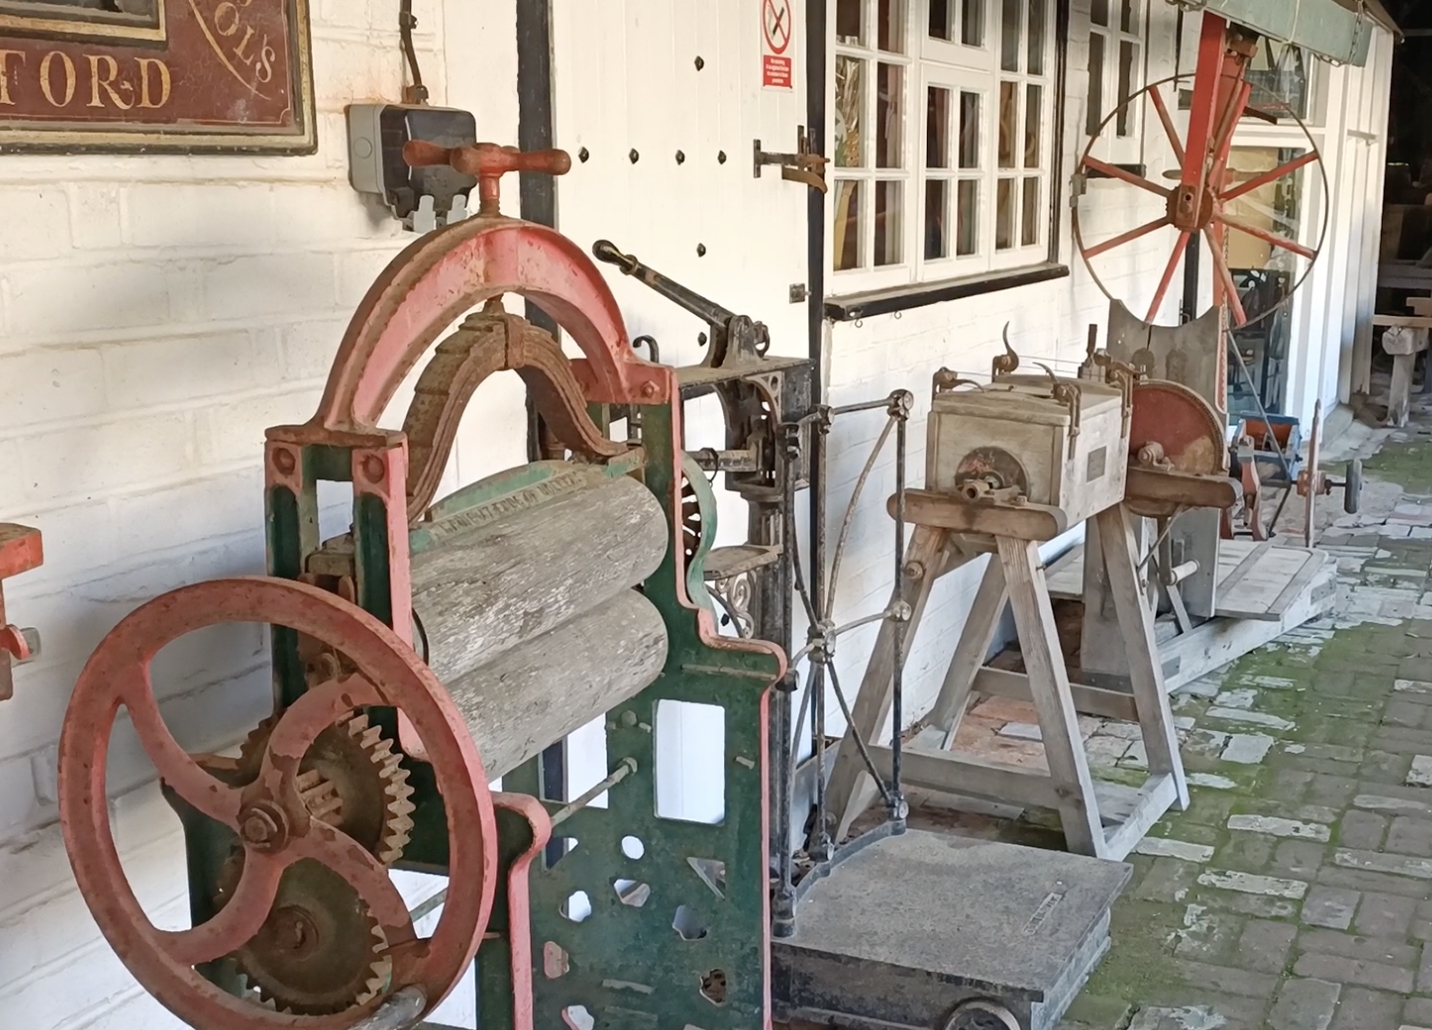
I then took the camera to a local attraction called Arreton Barns. This place is basically a Pub and Restaurant with a few small barn shops scattered around. The owner collects old stuff and he puts them on show around his premises.
What a beautiful film! I must admit I was surprised. The film base feels very much like Ilford films. Quality. And for the price, which the guys in Ukraine are selling it at, £2.70 or there about it’s a steal!
The negatives printed really well in the darkroom too with most straight off a 2.5 grade filter. The screenshot from the video doesn’t do it much justice.
And this one I framed.

It just goes to show that, even though expired film is a gamble, sometimes it has been stored well and still gives quality results today if exposed and developed correctly.
Halina 35X Film Camera
My friend found this little gem at a bootsale amongst a pile of junk. The Halina 35X 35mm Film Camera from 1959.
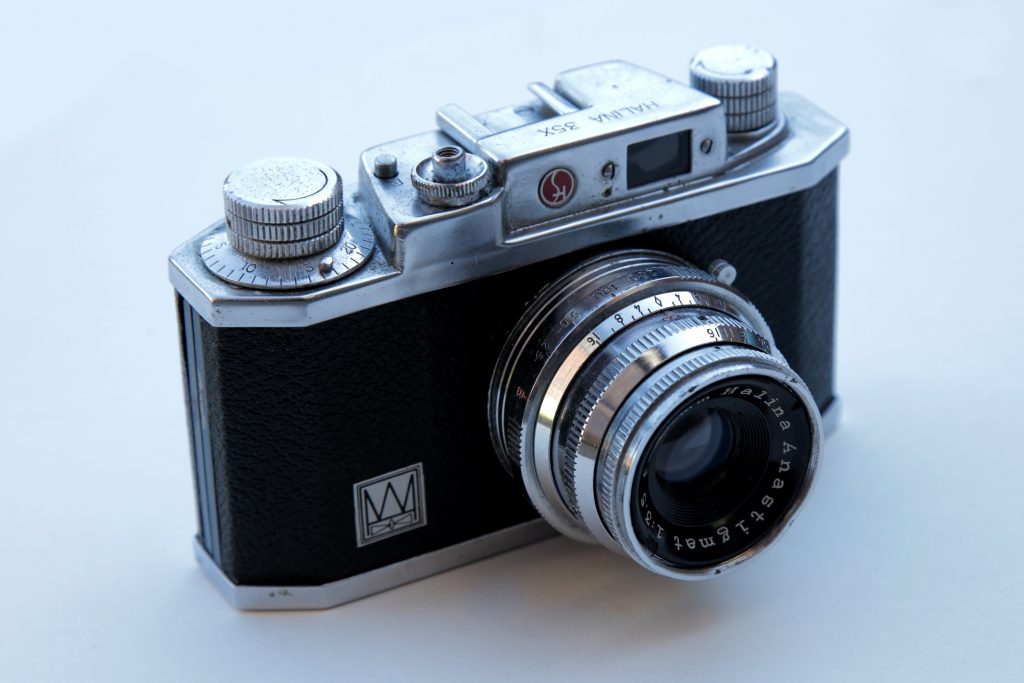
I do like an old camera. But only if it works! I’m not one for buying a camera only to gather dust. If I own a retro camera I want to know that I can use it when I want to and still get great results. And that is exactly what this did.
At first glance is was in a real sorry state. Very dirty and sticky. Nothing that a bit of metal polish couldn’t fight. The tricky part is the mechanics. Do the aperture blades open and close? Is the shutter mechanism working? Does it fire!?

Well, all of these were a but stiff but I went to work and started to lube the mechanics of the camera using a drop of hair clipper blade oil on the end of a cue tip. A dab here and a dab there and decades of dirt was being lifted leaving the cameras shutter, aperture blades and focusing ring nice and smooth to operate.
Last thing was the lens. It was very dusty but fungus free. Taking the lens apart wasn’t hard at all and I soon had the lens clean again using a drop of DSLR Sensor cleaner and a lens cloth. Ready to shoot!
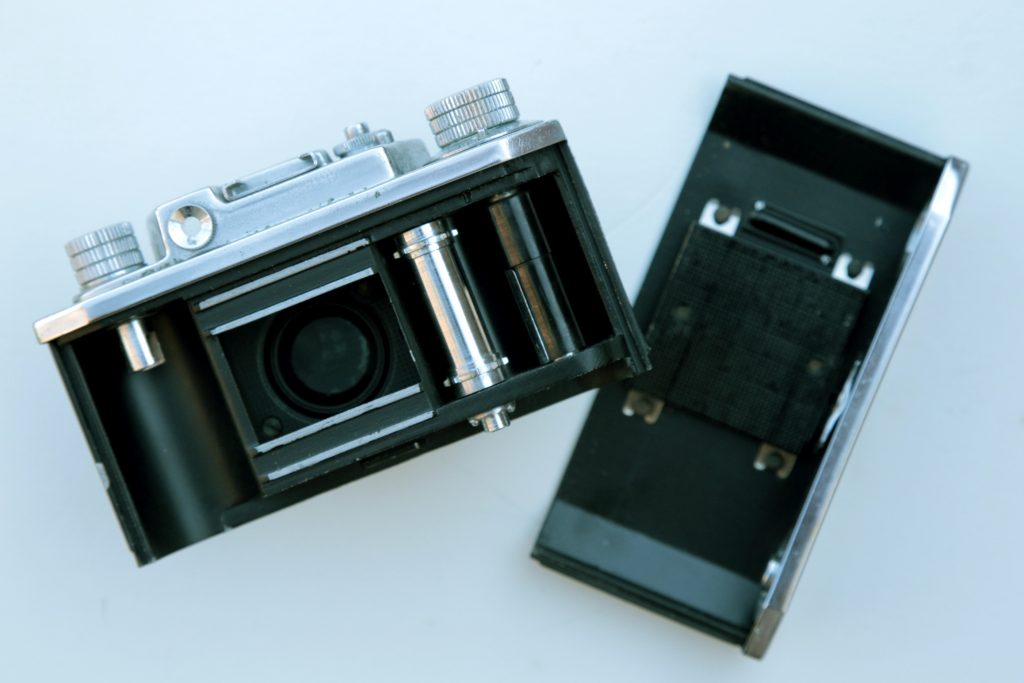
I had to test it first for light leaks. For that I would (in total darkness) cut a strip of film out of a 35mm can (Kodak Tmax 400) and place it in the back of the camera. With the back closed and ready to shoot I took the camera outside into bright sunlight and took a photograph. Then develop the strip of film and examine if the camera leaked light. I could not see anything obvious so I was confident to load the roll of Tmax and go out and put the camera to the test.
There is nothing but manual control for this camera. No rangefinder, no light meter, no auto focus, no auto advance. You have to judge it all yourself. Which is great. It makes your photography more enjoyable I find!
After going for a walk in my village I came back with some pretty nice photographs.
I found the camera easy to use, fun and also the images were very sharp making me think the lens is a good one!
Here is the video from my channel on using this camera.
Zeiss Ikon Nettar
Wow! Just Wow!
I’m quite lucky as I have use of a friends Mamiya 645 for shooting medium format film, however, I do love the look of the 6×6 square negatives. Hassy’s are out of my price range as too are a few others I could mention so I went onto ebay and searched “6×6 film camera”.
A range of cameras started to appear but of course I was looking at the price tag and a whole load of folding cameras appealed to me. Not knowing much about them I started to google the makes and models that I had seen. I thought you can’t go wrong with Zeiss!
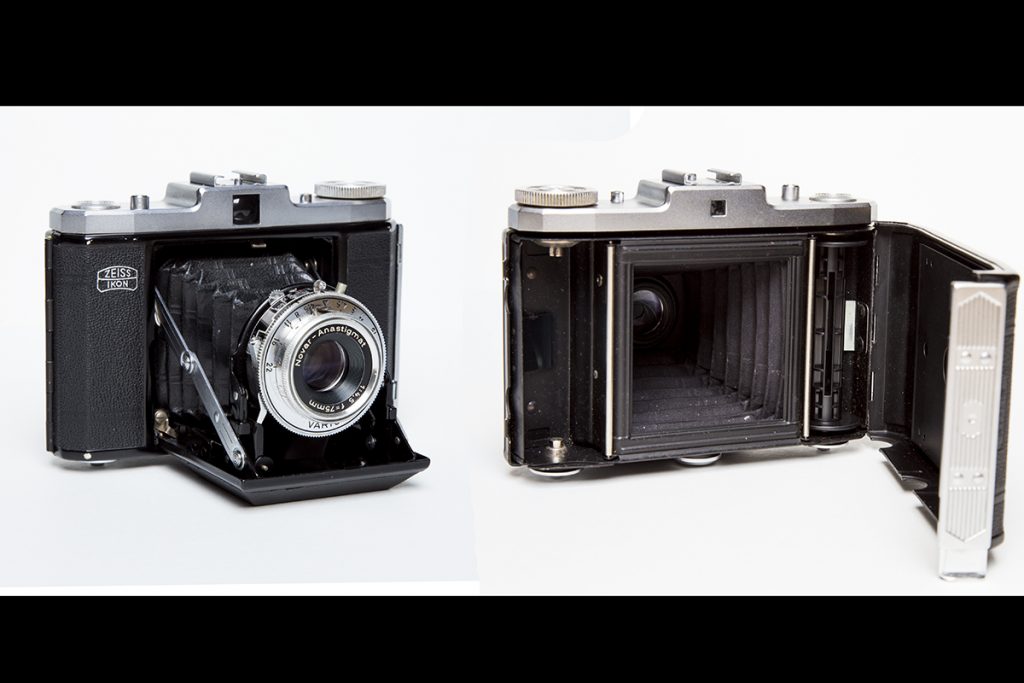
So i purchased this little gem above and I am so glad I did.
It’s a simple camera. Once you have figured out how to load the film in the back you’re ready to go.
The aperture settings are from f4.5 to f.22. The Shutter Speeds are Bulb, 25, 75 and 200. All good so far. The only tricky part I found is the focusing. This is not a rangefinder camera and it is not a TLR (Through The Lens) either. So you have to measure your focusing distance from the lens to your subject. There is markings, in meters, on the lens for you to control the focus.
I figured that using the camera at infinity was the best predictable result I could get which was pretty fail safe. Just point the camera at something in the distance and you’d get a sharp image. Anything closer then you’d have to guess, or measure the distance. But that is part of the photographic process with this camera. Or you could buy a shoe mount range finder.
Everything on this camera works well. No rust, the bellows are tight, no leaks, the controls move as they should and the shutter seems accurate. So I was very happy.
The first roll of film I used I managed to double expose one of the frames. So that was then another part of this camera I had to get used to. Not double exposing frames. Because it does not wind onto the next frame itself, so it’s easily done!
The second roll of film I used, shown in the video, I got into the habit of composing my shot, then winding the frame on, then cock the shutter, then take the photo. I closed the bellows and moved to my next scene. Knowing that to take another photograph I had to adhere to the same practice. Compose, Advance, Cock, Shoot. By sticking to this I knew I wasn’t going to double expose. And I didn’t. You just have to look at the red window on the back of the camera when you advance the frame to make sure your next frame number is exactly in the middle of the window. Tricky to see in the shade!
I am looking forward to making some amazing square prints with this camera that I am certain I can print up to 30 inches and still keep a good resolution.
Watch the video on the Zeiss Ikon Nettar.
Using Film Can for developing
I wanted a more economic solution to investigating cameras for light leaks other than shooting a whole roll of film and developing. In the past I have loaded a roll of film, shot a few frames in bright conditions, then using black tape cover the seals and shoot the rest of the roll as normal. If the camera leaks then the first few frames would tell me. But then I thought of, in total darkness, cutting a strip of film. Placing it in the back of the camera, take a shot in bright conditions and developing that strip. Just to see if the camera leaks light. I didn’t want to waste developer on just one strip of film so I was thinking of what I could use as a developing tank.
See the video here or keep reading…
I tried developing in small trays, in the dark but that was not comfortable at all standing in pitch black for 15 minutes. Then it dawned on me. Why not use the film can as a developing tank! All I need to do is put the developer in the film can (1ml or Rodinal), turn the lights off, take the strip out of the camera, put it in the film can, put the lid on, turn the lights back on and continue. The film can is light tight and it worked a treat!
I had two jugs next to me, one for stop, one for fix and in the dark I would stop and fix after developing.
After I had established my camera had no leaks I started to do all kinds of experiments. One of which was after developing and stopping I would turn the lights on and fix. I was amazed to see the results.
A whole roll of FP4 later I had Pushed, Pulled, Stand, agitated like a cocktail amongst other things and had a bag of fun in the darkroom.
Just a great way to try new things if anything else.
How to Develop 35mm Film Photography
Shooting 35mm Film is great fun and really not that hard to get into and can be very rewarding in terms of learning core photography skills and it really isn’t that expensive to get into either.
Watch the video or continue reading below…
Starting out
As 35mm Film Photography is making a huge comeback cameras, lenses and developing equipment has started to make it’s way onto the web auction sites with prices slowly creeping up. But there are many bargains out there to snap up if you look for them.
The Camera
There are so many brands of SLR out there it can be confusing to decide which cameras to look out for. If you are a student starting out in Photography I would suggest looking for a fully manual camera. You will learn and understand far more than choosing a fully automatic point and shoot camera.
Here are a few cameras to look out for. They are fully mechanical, have an internal light meter (if it works) and are fully manually operated. Meaning you have total creative control of your photographs.
Pentax K1000
Pentax Spotmatic Range
Chinon CS
If you are lucky the light meter inside the camera will work. But it’s always good practise to use a handheld light meter or just use the “Sunny 16 Rule“. There are also phone apps you can try. I use “Lightmeter” for my Android and it works very well, and it’s free.
Choosing a Film
So you now have your camera. But what film do I choose?
There are many films on the market and they all have their own creative characteristics. But let’s keep it simple for starting out.
Ilford have an excellent range of films that give you either 36 or 24 exposures and the three most popular for Black & White Photography are –
FP4 125 (A fine grain film rated at 125ISO)
HP5 400 (A good alround Film rated at 400ISO)
Ilford 3200 (A sensative film ideal for low light rated at 3200ISO)
If you are familiar with ISO then the numbers on the film should make sense. Yep, it’s the ISO rating.
For your first time loading your camera and shooting film I would recommend Ilford HP5 400.
Developing Your Film
Once you have taken your photographs you can’t see them until you have had the film developed. You can either do this yourself at home or send them away to a lab to be developed.
A Lab will develop your film and send you back the negatives, scanned images on a CD and also prints. But it’s not a cheap way to get into film.
A better option and certainly a cheaper option is to develop the film yourself at home. It’s not difficult to do and all the equipment needed you can find on internet auction sites. Here is a list of equipment you will need all shown in my video.
- Film Developing Tank and Spiral
- Three 1000mm Jugs
- Measuring Cylindar or Syrenge to measure millilitres
- Thermometer
- Bottle Opener
- Scissors
- Changing bag or a dark room (Small bathroom is ideal made light tight)
Then you will need three chemicals.
- Developer
- Stop Bath
- Fixer
You can find these chemicals at many online photographic stores. There are many different brands but for starting out I would suggest using the Fotospeed range. Very well priced and work and will last you for many many rolls of film.
That’s it. You are now shooting and developing film. The developing process is described in my video. It doesn’t take that long and like I said, is very rewarding and if you are a student learning photography will also teach you core photography skills.
Turning Negatives into Photographs
Chances are is that you have not got a darkroom printing facility. But you can still scan your negatives into your computer. There are many film scanners on the market and also other ways you can get the negatives into your computer. Just search “Scanning Film Negatives DIY” on youtube and there are lots of handy ways to do this.