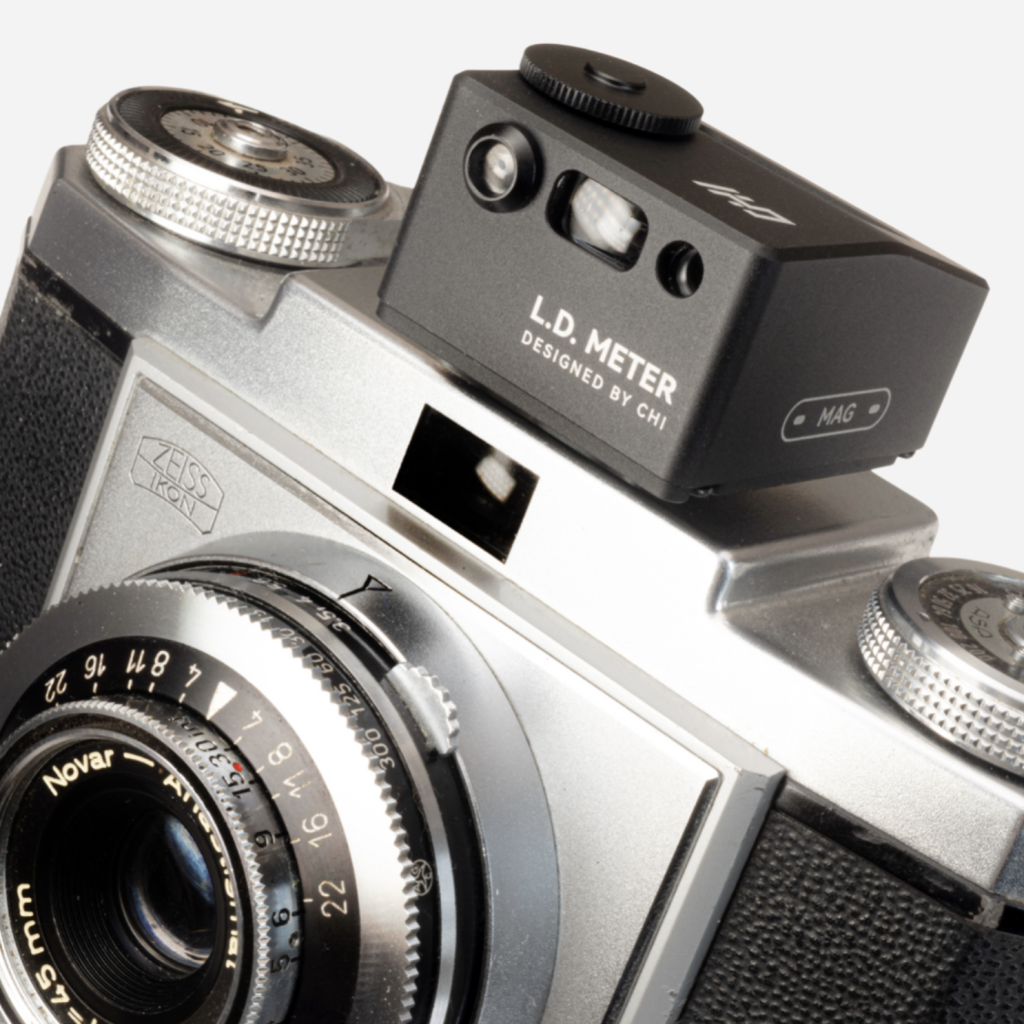
L.D. METER by Chi
If you shoot classic cameras like the Zeiss Ikon Contina (pictured above) or vintage folders, you know the struggle of focusing. I’ve lost count of how many times people have asked me where I got my ROWI Rangefinder! It’s old, but there are many rangefinders on the used market for your fully manual classic!
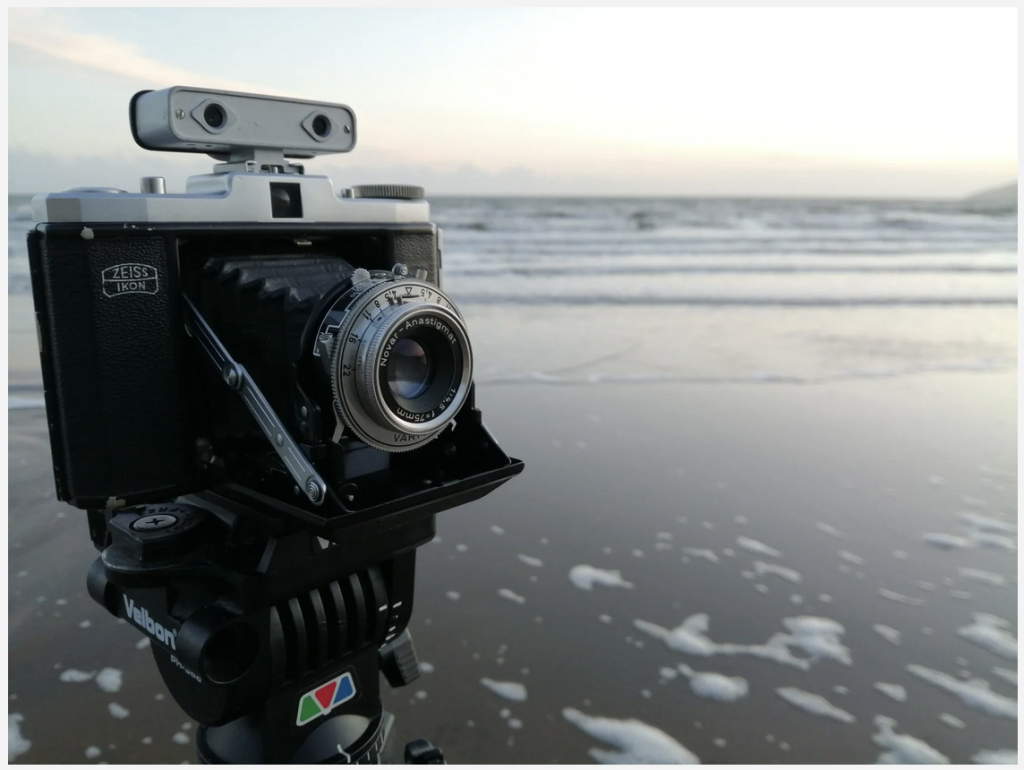
But then, CHI, a company in China, sent me their new Laser Light Meter. Could a laser pointer on a camera actually replace my trusty ROWI rangefinder? I was eager to find out! Until now, the only photography-related lasers I knew were those bulky handheld devices used on construction sites. Lugging those around with a Sekonic Light Meter is quite a load in your pockets!
See the video Review – Or read on…
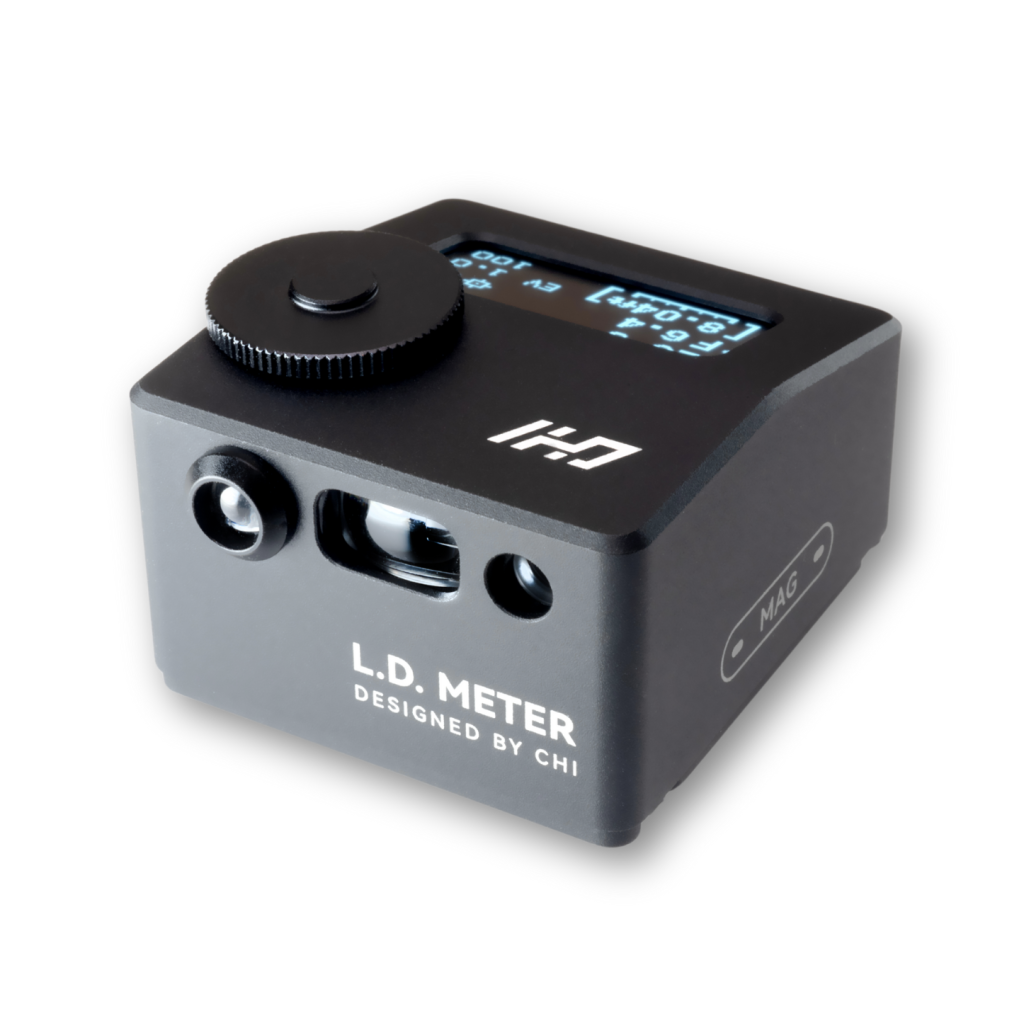
As you can see it is small, stylish and compact. Perfect to carry about or fit on one of my folding cameras. I’ll go over the features of the meter and then show you some images I took using it.
Features
This little meter packs a punch! It measures reflected light and offers both aperture priority and shutter priority modes, giving you creative control. With a 30-degree light receiving angle, it captures a good chunk of the scene. And the built-in laser rangefinder? It’s accurate from 0.1 to 50 meters! You can even switch between meters and feet. All this information—shutter speed (from a super-fast 1/8000th of a second to a full 60 seconds!), aperture (f/1 to f/64), distance, ISO (3 to 8000!), and exposure value—is displayed on a clear 0.96-inch LCD screen.
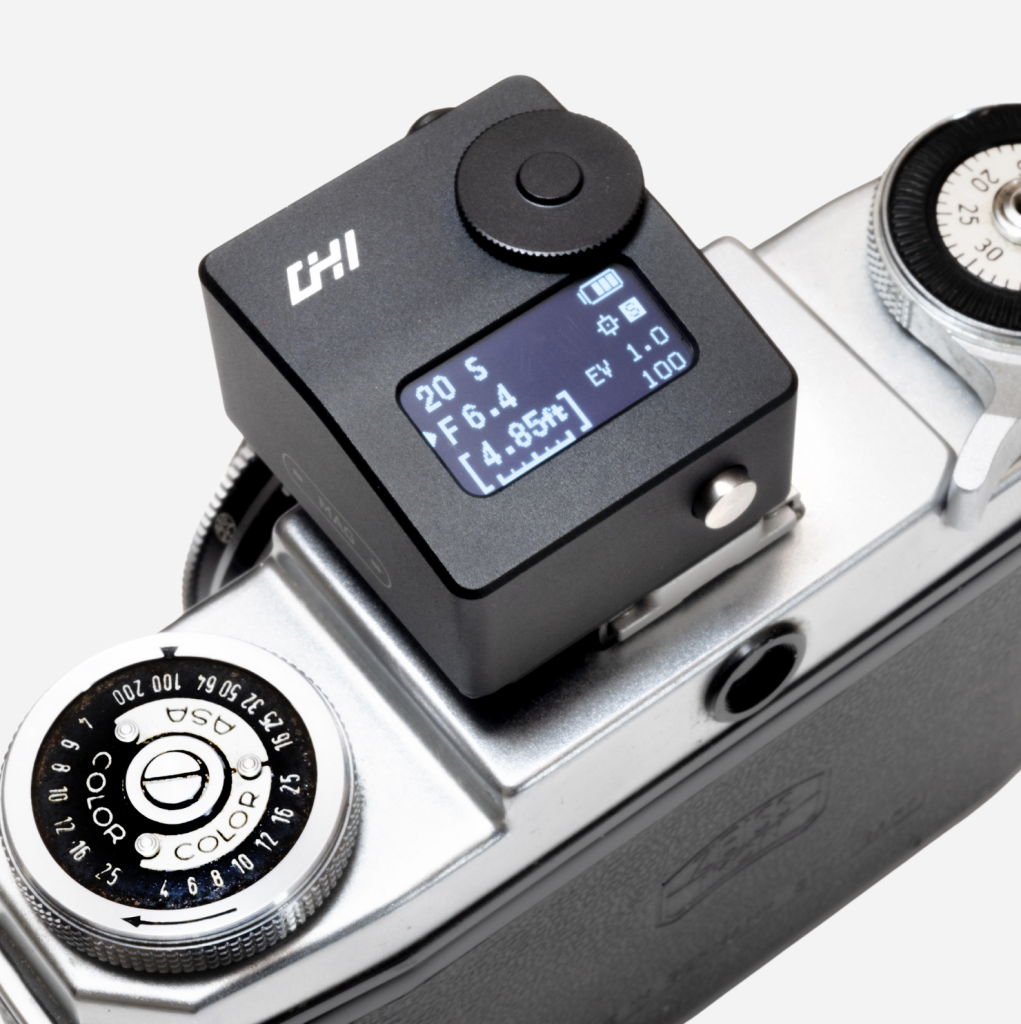
One of the things I love about this meter is its versatility. You can use it as both a light meter and a rangefinder, simply by switching the laser on or off. And with a rechargeable battery that lasts up to 90 days of standby time! and convenient USB-C charging, it’s ready to go whenever you are.
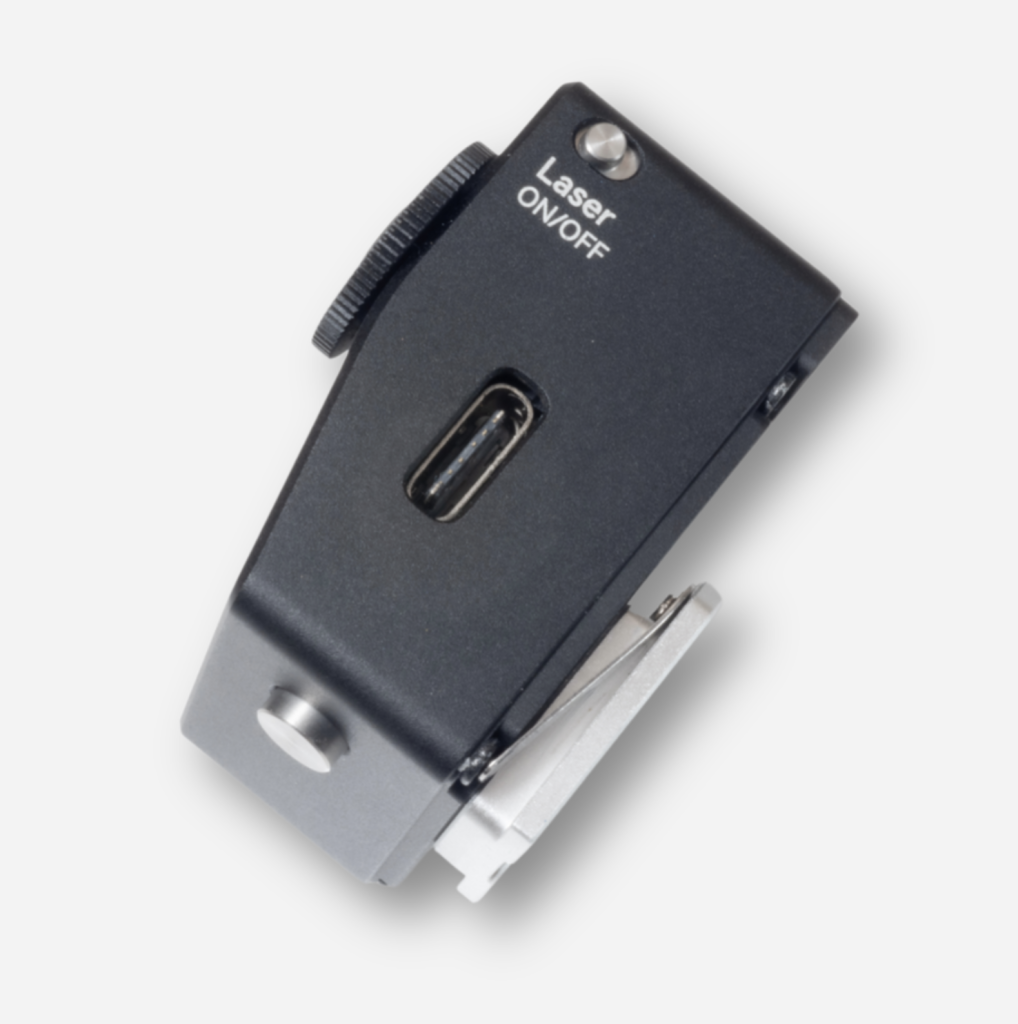
Functions
Navigating the CHI meter’s settings is incredibly intuitive. A small silver button and a jog wheel give you complete control. The jog wheel cycles through aperture, shutter speed, and ISO settings. It even lets you switch the laser distance measurement between meters and feet—a huge plus for those of us with cameras that use both! The laser itself offers impressive flexibility. Choose between a continuous blinking dot, an on-demand burst, or a permanent flashing measurement. And if you want to disable the laser entirely, a handy side switch lets you do just that.
The silver button has two functions. Press all the way down or press half way down.
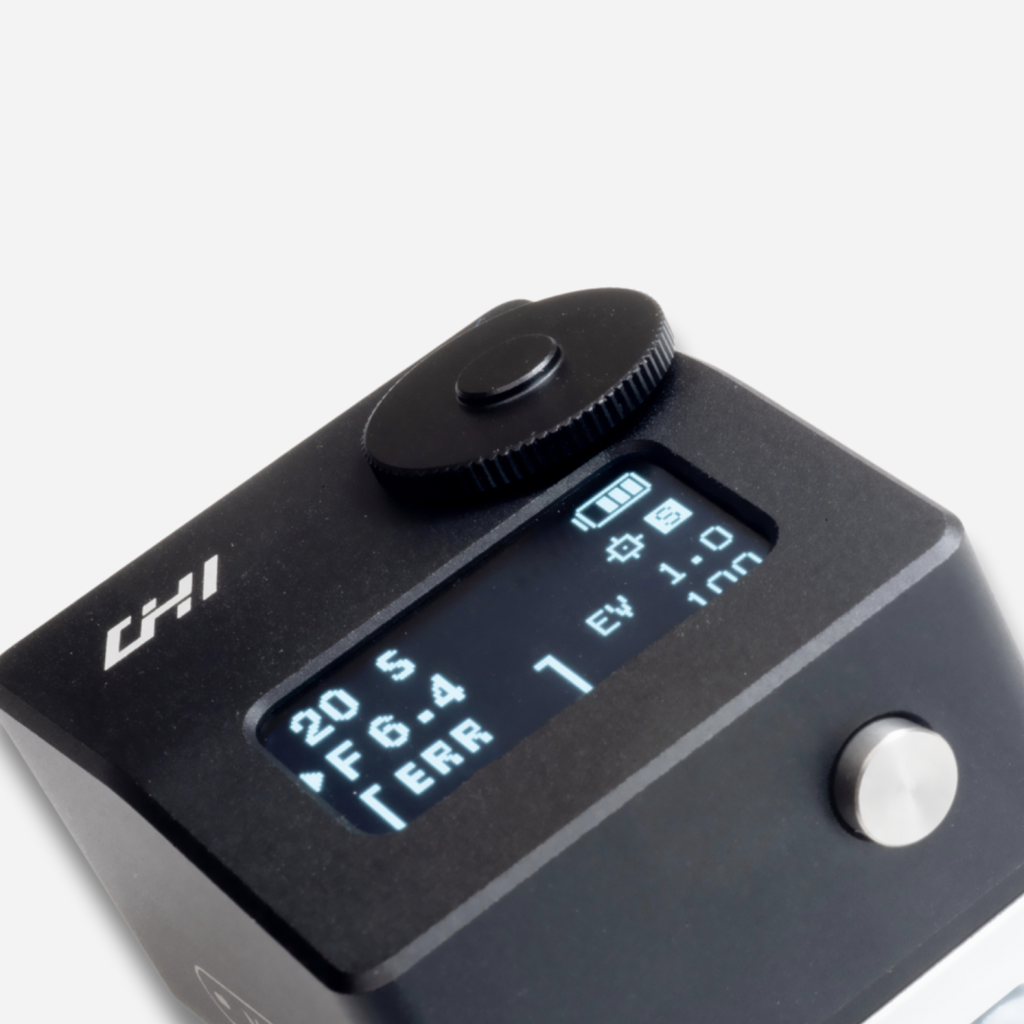
To get a quick burst of laser light, simply press the button halfway down. The distance reading will remain on until you press it again. For continuous laser pulses, hold the button down for a few seconds, and the laser will emit short bursts automatically, giving you plenty of time to find your target. Switching between aperture and shutter priority is easy—just press the button fully down twice. To adjust the ISO, press down and hold the button for a few seconds. The ISO will start flashing, allowing you to use the jog wheel to select the desired value.
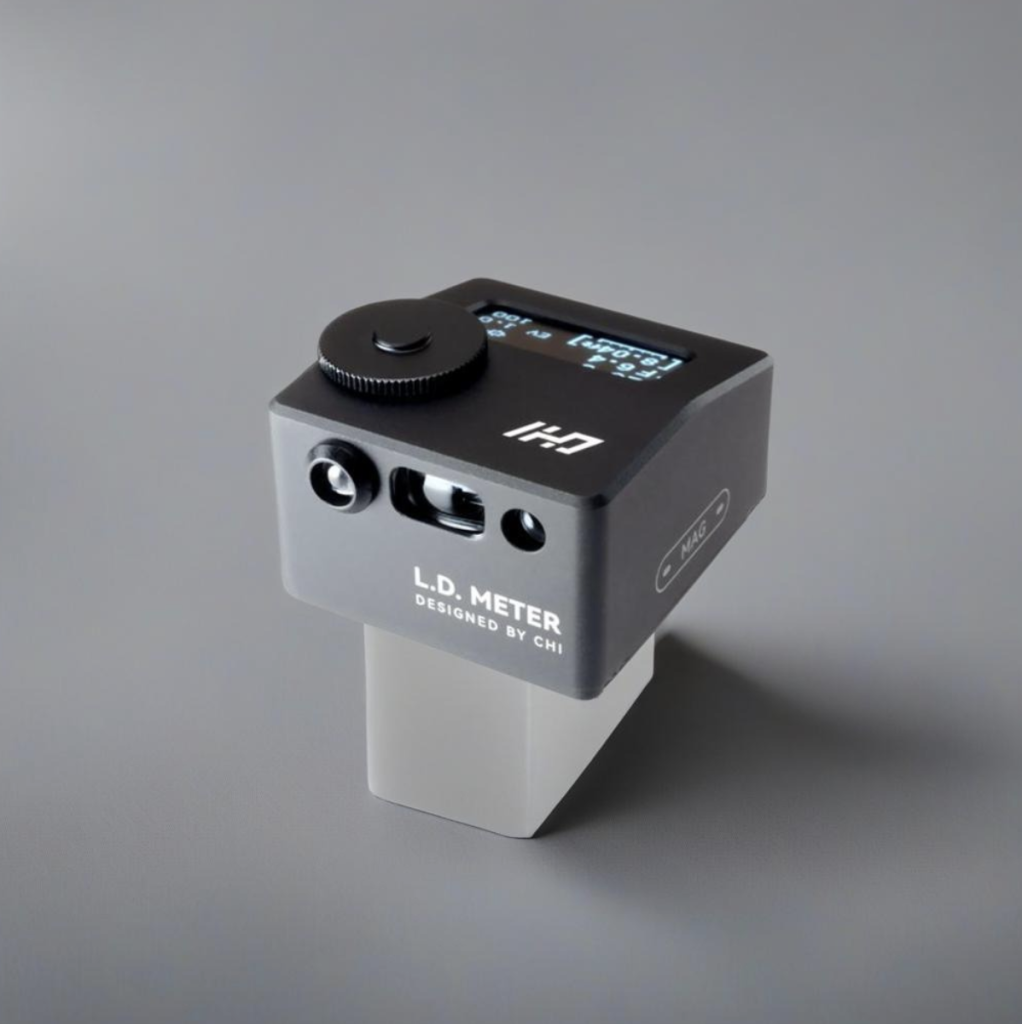
To activate constant mode for the light meter, press and hold the button for a few seconds until the mode switches from “S” (Single) to “C” (Constant). In this mode, the light meter will continuously read the light levels wherever you point it. The laser will also operate in continuous mode, emitting pulsating flashes. If you don’t want the laser on, simply switch it off using the side switch.
Easy to use
It is real easy to use on the field. But I did find it slowed me down a tad. Larger scenes such as tree trunks and walls I could see the red dot perfectly. It was a bit more tricky on smaller subjects such as leaves. But who minds slowing down, we shoot film! And we need accuracy in our focusing right? In my experience the sun was starting to go down so I needed to be a bit quicker. The ROWI Rangefinder would have saved time but not that much.
Going Forward
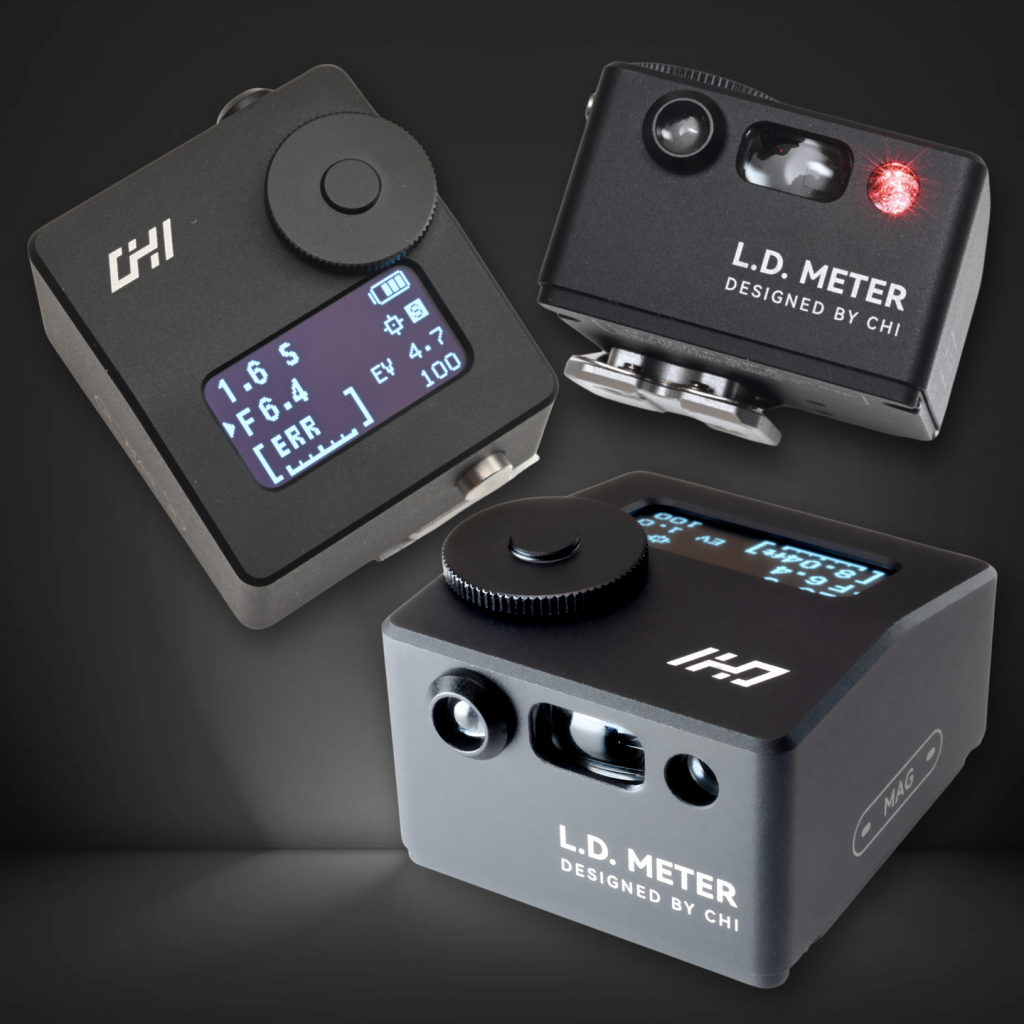
So, going forward with my photography will this device make me leave my ROWI Rangefinder at home? It’s possible! I still have only used it once in the woods. Time will tell but I can see no reason why I would take both out. Maybe I will alternate as they both do the same thing, except switching between Meters and Feet! And as it has a light meter built in it’s a no brainer to take it with me most of the time!
Tiny Light Meters
I have reviewed a few of these tiny pocket light meters on the SFLaB Channel. Something I never thought I would use as I have an awesome Sekonic Spot/Incident Meter but these tiny light meters work very well indeed! I find attaching a lanyard on them and slipping over your neck to be very convenient. I don’t take them out with me all the time though as most of my cameras have built in meters but I find myself taking them out with my SLR’s that don’t and usually when I am shooting street. Just to check the light quickly. When I am shooting my larger medium format cameras such as the Mamiya RZ67 and also Large Format I will use the Sekonic. Because thats what I am used to.
Photos
I used a Franka Solida III Folding Camera which has a very nice lens! All these photos were focused and metered using the CHI. Fomapan 100 developed in 510 PYRO.
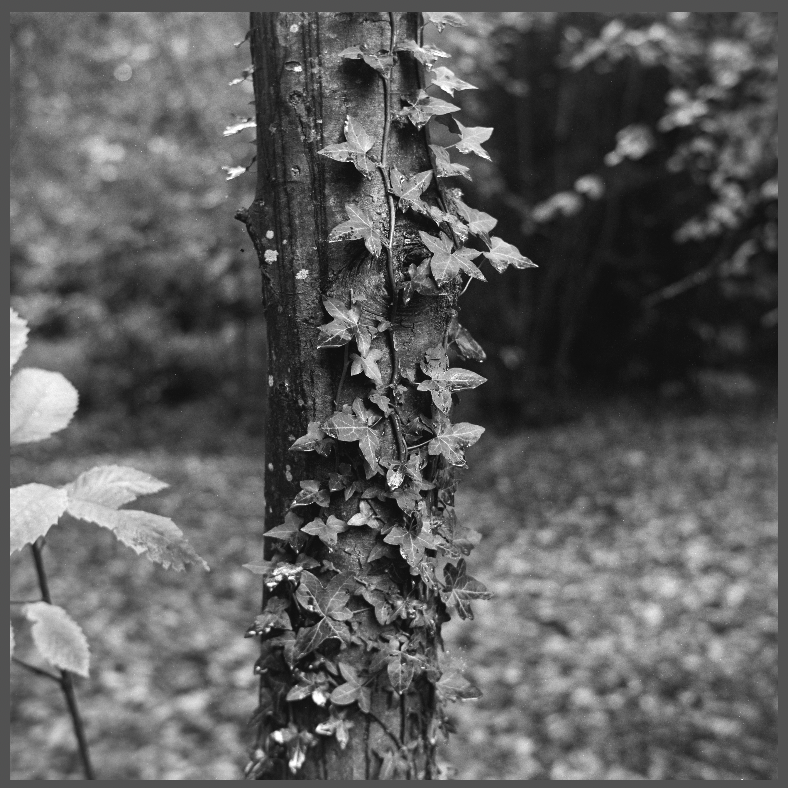
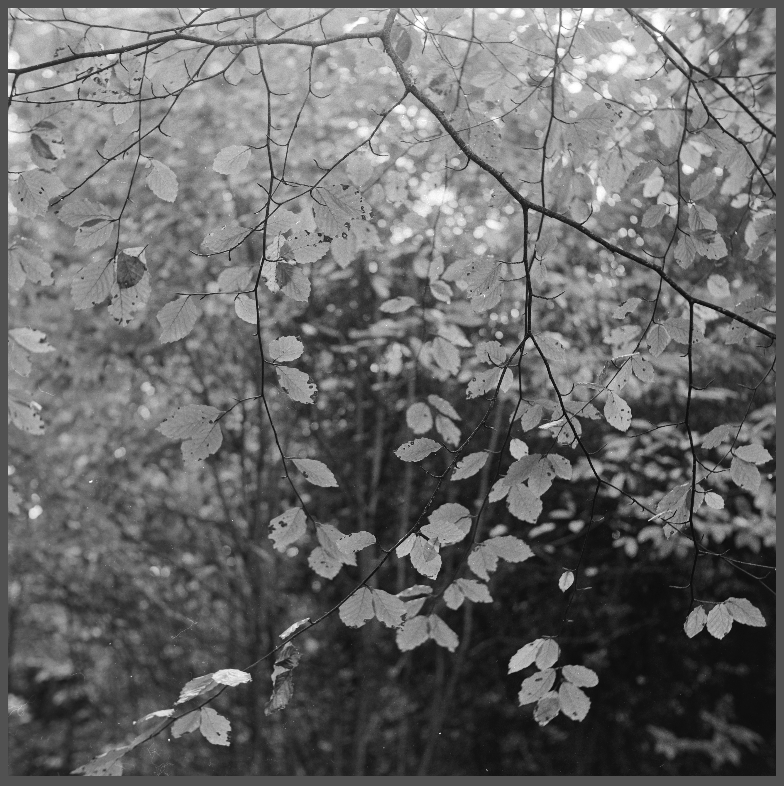
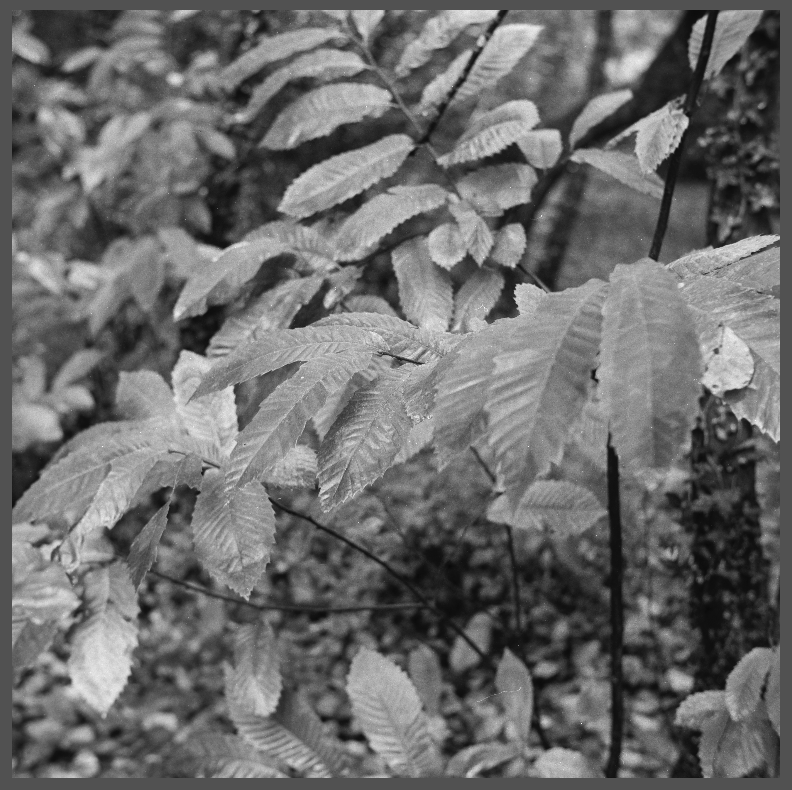
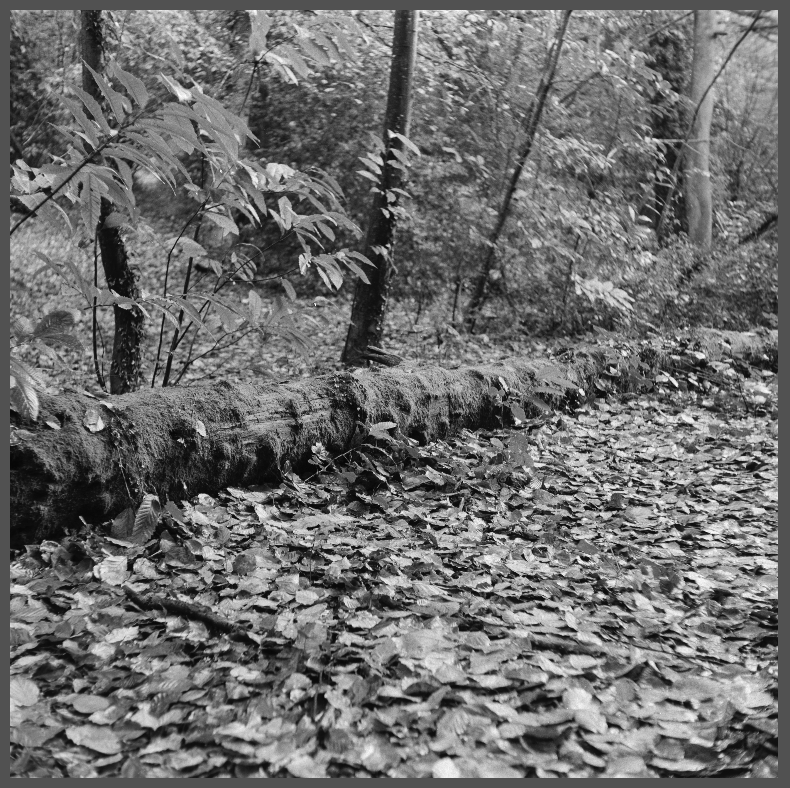
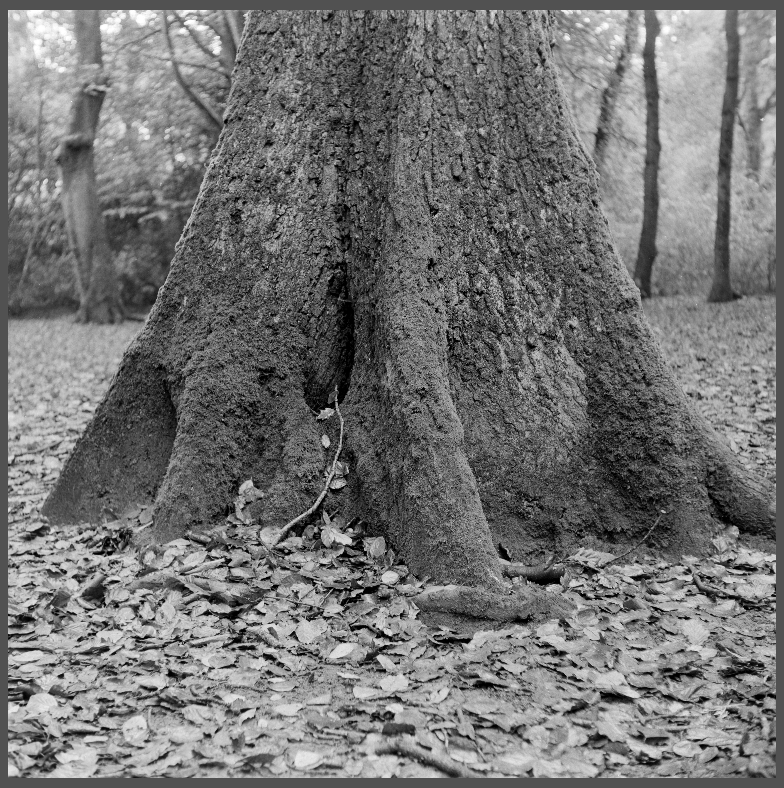
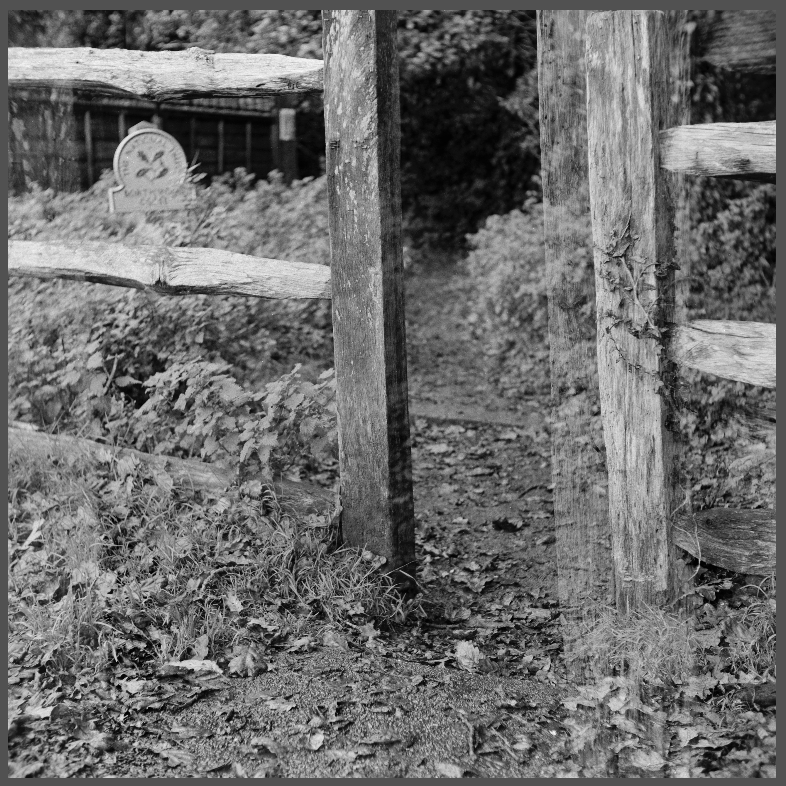
The last photograph was an accidental double exposure!
I hope you enjoyed this little review and no doubt you will see me using this device on the channel in the coming months. You can read more on the CHI website, although it is a bit vague. https://chinotechs.com
